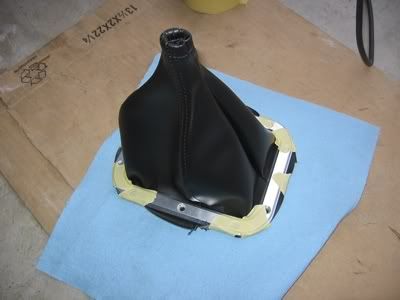
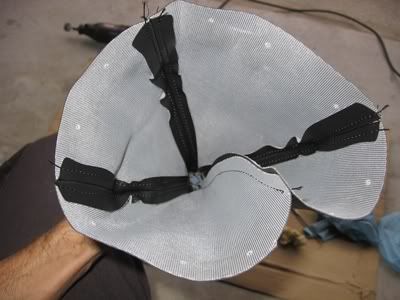
Holes have to be marked on the shifter boot for the bezel screws. The only way I could find to hold it in place in order to mark the holes is to use some masking tape. It worked like a charm. I marked the centers with a scribe. The screws do the rest. Once the boot is installed, the excess that you see on the sides is trimmed with a razor.
I then made a rubber gasket for the adapter plate. For this I just placed the bezel on a sheet of rubber and carefully cut out the shape with a razor. I marked the centers with the scribe and cut out the holes with a hollow punch. A leather punch will probably be easier but I don't have one. Hopefully this will be enough to seal the plate to the floor. I used 1/32" thick High-Strength Multipurpose Neoprene Rubber. It is oil resistant, abrasion resistant, impact resistant, weather resistant, and flame resistant. All sound great for use in a car!
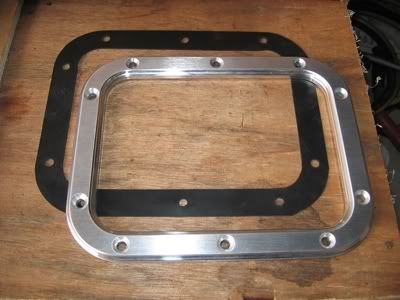
And here it is all together!
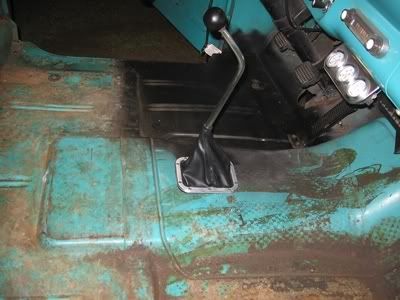
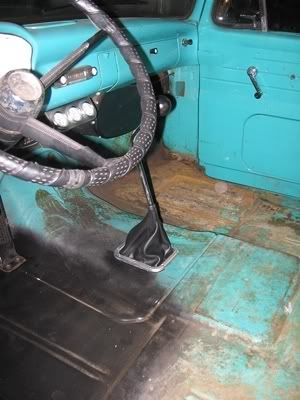
I forgot to take a picture of the finished adapter plate. I'm sure you can guess by now that I painted it black. Note the completed floor pan! The old speedo cable and drive gear seem to bolt right in and seems to be real close to it's original location. I'll see how that works once I am able to drive it.
Now I just have to figure out what's going on with the clutch. I'm sure I'll have more to post about that. But this should pretty well cover the installation of a T5 in a 61 F100 and is probably mostly the same for the other years.
Lawrenceville, GA