Now comes the part a lot of you have been waiting for... "How in the Devil is he going to get that engine and transmission back into that car?"
Welp, fighting the Devil just happens to be my area of expertise!
Take note... and let the Y block follies resume:
It was late last night, er... early this morning about midnight to be exact when I wrapped up the other work and decided to get prepped to install the engine and transmission in the car together. We all know the drill - it tends to be the question that pops up frequently on the forums. "Do you pull the whole engine and transmission out together?" "How do you take it out with an automatic?" "Do I put them both back in at the same time?"
Well, let's get rolling. The car has had an original Fordomatic ever since I can remember, and I have only ever pulled/installed a Y block in the car with an automatic. Since that original Fordo is CAST IRON and weighs about as much as the car , I have always split the two (engine and transmission). However on the umpteen parts cars I have fooled with I have always pulled the Y block out with the transmission and to be frank it has always been quite messy, a lot of bumping, groaning, metal grinding, etc to get them out. The angle has to be pretty steep.
So what to do? Well at midnight "I ain't thinkin' about that." Let's just get this clutch (remember I lost it ... had to order a set but it was only $100 shipped) "only", bellhousing, and transmission all back together and we'll just throw it back onto the frame tomorrow. No trouble.
Yeh right.
Dufus me at midnight ... I was really not thinking straight. So with the nice Y block on the stand and all of my other parts painted up and what have you, I mounted up the clutch and pressure plate with my pilot tool. No problem. I had installed a new pilot bearing, had nice, clean bolts, and even got the torque wrench out to check my specs. We're good.
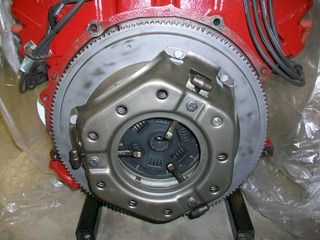
The fun ensues when I make the bonehead mistake of trying to install JUST THE BELLHOUSING first and then try to mate the transmission to the bellhousing and the clutch and the crank, etc. NO GO! A real Devil of a time I tell ya!
So after I wake up a little bit and tell myself, "You ain't turnin' in until you get this thing all together son," I snap my fingers and remind myself to mate the bellhousing to the transmission and THEN MATE THE BELLHOUSING TO THE BLOCK.

Literally 5 minutes later and the Devil was gone. Nice - turn out the lights and call it a day.
----------------------------
Next morning....
----------------------------
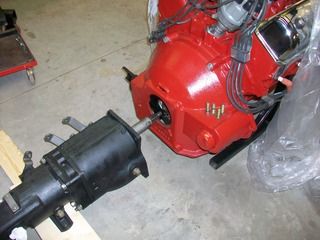
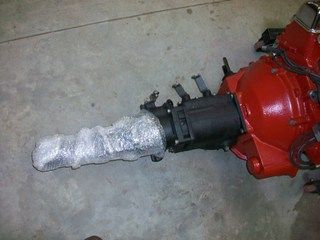
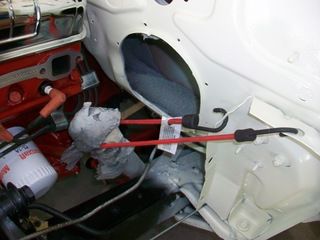
First things first, WRAP THAT TRANSMISSION'S TAIL! I acquired some bubble wrap and went around the tail shaft a few times as you can see. I tell you - this idea saved my bacon and my firewall paint a few times during the install.

A couple of caveats... 1. I have not installed an engine and trans combo before and 2. Sometimes a blind hog finds an ear of corn
Now back to the blog.
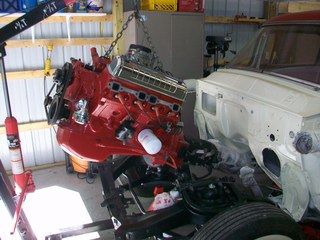
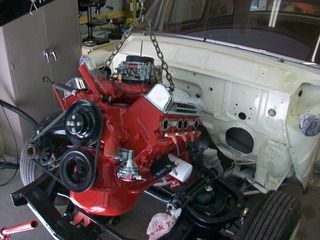
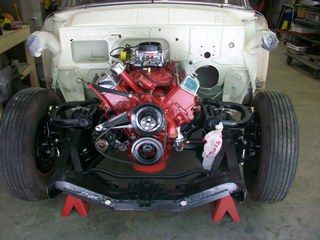
I contemplated going out and doing the tool loaner thing to get a leveler to attach to the engine hoist. Seeing as how the nearest auto parts is literally 20 miles away from me, "I don't think so!" We will get this done if we can get the right angle. Don't ask me how I did it, but the angle created by my attachment points on the block (front and rear) and the weight of the transmission were absolutely perfect. That, coupled with the fact that there was not front end sheet metal on the car made this doable. I am sure this would not work with front end sheet metal on the car... just not possible.
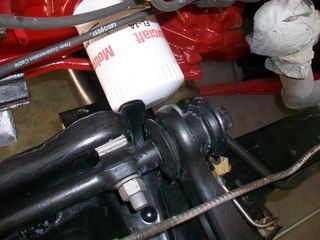
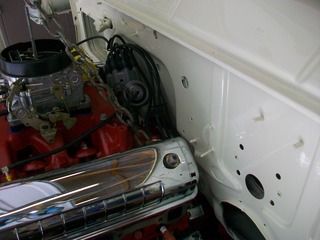
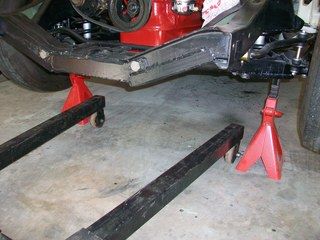
Anyhow, after clearing all concrete of debris (you don't want your shop wheels stubbing over gravels or other tiny substances that will make your engine sway when you stop suddenly!) I got out the shop jack and placed it strategically so that I could make sure the tail shaft cleared the welded crossmember (see photos).

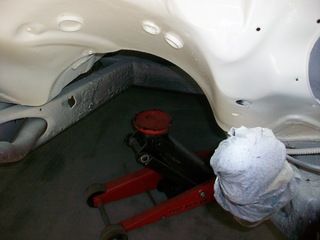
The idea was to keep the attack angle the same until the tail shaft got to the jack and then go back and forth between jack and engine hoist so that the trans cleared and the engine mounts got lined up at the same time. For the record, I did wrap the threads of the engine mount studs with duct tape for a little protection.
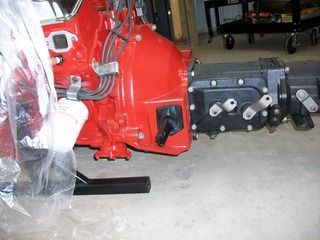
How I did this by myself I don't know... I guess it took 30 minutes from start to finish. Constant checks on the tight tolerances ARE a must. I had to get a bungee cord and wrap the exhaust pipe on the drivers side to the sheet metal so that it would be out of the way. I had to remove the levers on the transmission because they were about to hit the firewall tunnel, etc, etc. Follow the photos below and rejoice with me!
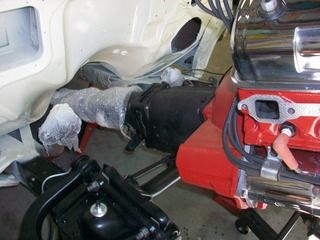

Yep, everything was tight. Sometimes it seemed that clearances were so tight when you were moving the whole works that you couldn't even swipe a credit card!
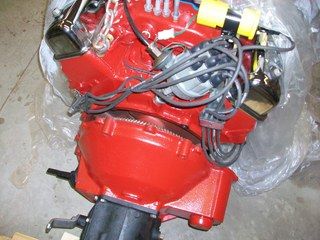
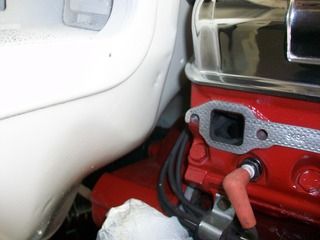
It all went very well and here she is all fastened down...
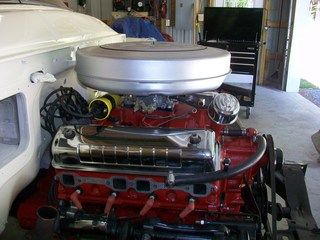
for the record I got excited when I thought, "Man, I made it here and no dings on the firewall and not even a scratch!" Well I have to be honest to you fellas. I have no idea how when it happened but there is a small 1/16" inch of scratch on there. It is hard to see and I think the driver's side head makes it to where no one will ever see it so we are ok.
Gotta get the dash and then the steering column/pedal bracket in next. Any pointers?
Daniel JessupLancaster, California
aka "The Hot Rod Reverend" 
check out the 1955 Ford Fairlane build at www.hotrodreverend.com