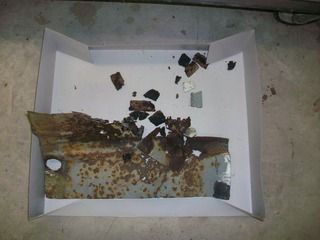
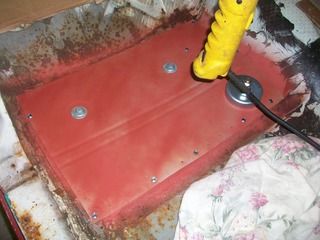
You can follow along in the photos below to see the floor pan work. I did cut out all of the rot, checked on the condition of the remaining, and then cut the panel to fit. The panel was then drilled with 3/16" holes for spot welding and then fitted to the floor, shaped, fitted again, shaped, cut, filed, and then fitted one last time. I used the orientation of the body bolts to help with measurements and orienting the new metal correctly.
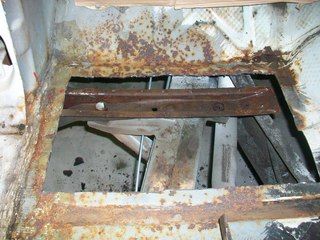
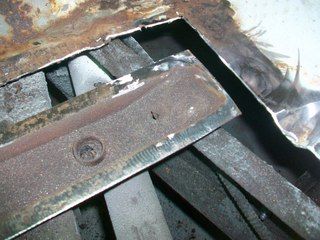
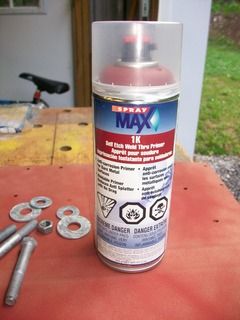
I did use a "weld through" primer on the top and bottom and it worked pretty well. The conductivity must have been good because I had to dial back my welder because of early blow throughs and all. I also used self tapping sheet metal screws to keep the panel tight to the overlapped floor so the seam would hold pretty good.

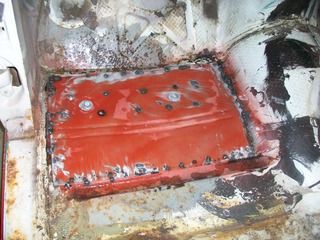
The panel is not perfect, but she looks good from underneath. I still need to hit it with sealer and then I will paint both top and bottom with chassis saver paint.
On to other things...
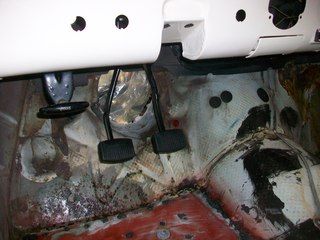
I was glad I had restored the pedal assembly sometime ago. It felt good to just pick it up and bolt it in. I did try to duplicate Ford's original "anti-rattle" fixes by using a spongey type of neoprene for the bracket to rest on the dash (I believe the factory used cloth?). I did that same thing when I mounted the dash too.
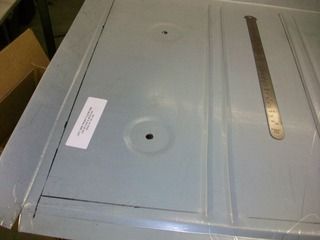
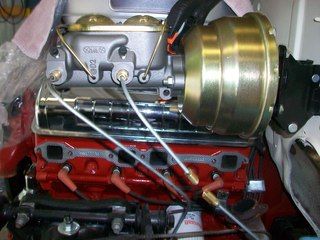
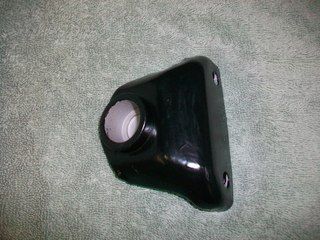
Next came the mounting of the aftermarket MP&B Power Booster and Master Cylinder. The instructions given on paper were good, but not very thorough. There was something they missed on their sheet - namely the adapter plate that bolted to the firewall. It held the rubber grommet for the brake pedal rod/lever.
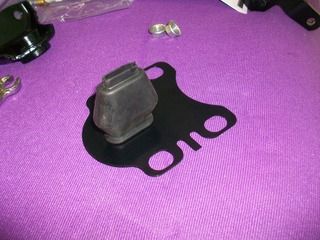
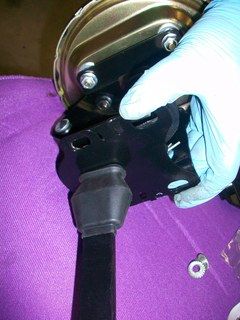
I got everything mocked up and wondered how the lever was going to be sealed to the firewall because the instructions never mentioned. I just figured it was because it fit so many years, blah, blah, and I would have to make one. I actually took measurements and started wondering where I could find some generic grommets so large. I went back to the shipping box to put the MC box back inside and what do you know? The adapter plate was lying there in a plastic bag. I picked it up and knew immediately what it was for.
Then I sighed and said, "Yep, you've got to take it all apart Dufus!"
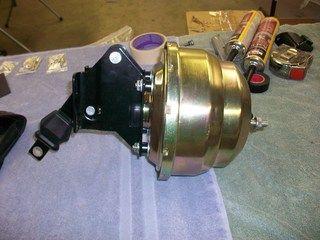
here is a photo of the booster assembly with the special bracket for the firewall
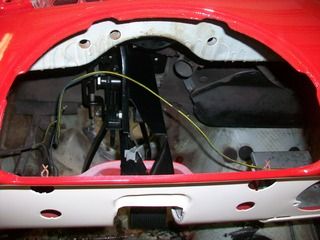
All went well until I mounted the MC just to check on my bends and mockup for the brake lines. All went well up front - no issues - just the right amount of distance. However, you can see what happened at the rear.
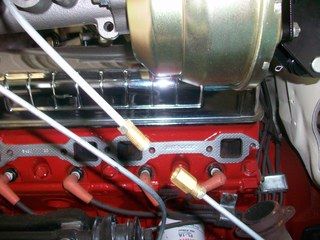
Aaaaaaaaaaaaaaaaaaaaaaarrrrrrrrrrrrrggggggggggghhhhhhhhhh! I am missing just a couple of inches. So... back to the store to get a longer brake line. I will say that the brake lines I had were a complete set from Jackson's Auto Parts but they were a set for original brakes - not for this FrankenFord I am putting together.
However, the booster and MC do fit well and although it is kicked it into the engine compartment more than I would like, it does not interfere with anything.
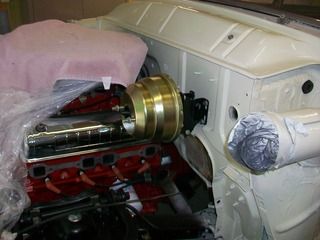
I did check the fit of the exhaust manifold and what have you just to be sure.
When I get more photos loaded I will tell you about all the fun we are having with the clutch linkage!
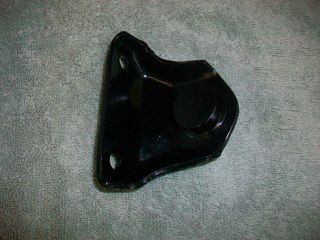
Here is the little booger that is so much fun::::
Daniel JessupLancaster, California
aka "The Hot Rod Reverend" 
check out the 1955 Ford Fairlane build at www.hotrodreverend.com