Well, well, well... another story to tell about the new alternator and AC compressor mount that involves a lot of receipts, conversations at a parts counter, and chasing a scrap of part-numbered scrap of paper through a parking lot! :confused: Buckle up, time for the Ford Follies...
Where do we start? Let's start with the front porch - after being out of town for a few days working with scores of people at a church hundreds of miles away I was looking forward to getting back into the garage to unwind and "rest" as it were. Thankfully, the new alternator had arrived, along with some other goodies, so in the afternoon we were all set to get a few things done.
If you are working through a restoration for a car that will be as about as original as possible, usually things fit - FoMoCo saw to that years ago. For those types of cars and trucks it is just a matter of finding the right parts, or even period pieces, getting a hold of a good shop manual or Ford parts book with diagrams and away you go. If you are doing a restomod that will be a daily driver, then well, good luck. :o You guys that are experts know full well you have to plan, measure, research, plan some more, use some of your own sketches, think things through, etc.
Ok, after thinking, "Yeh - it's a Vintage Air bracket, it cost quite a bit of money, they are bound to think through how this all fits together..." I went ahead and pulled the 10SI alternator out of the box. It looked pretty good since I went the chromed route and 120 amps no less. A 10SI or a 12SI is what the bracket calls for... so down we go.
"Wait, what's this?"
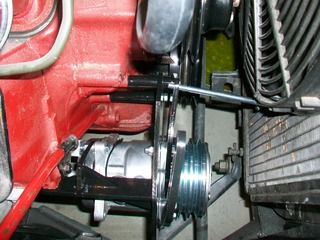
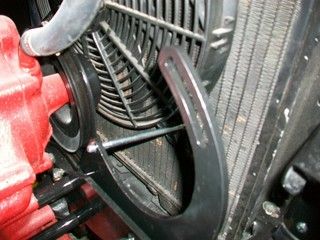
Yep - that long bolt cannot go into that hole in the bracket because it cannot clear the electric fan/radiator (that Vintage Air recommends...

). Ok so now what? Time to loosen up the bracket and slide that bolt ever so gingerly into the hole, twist the alternator just so, get that rinky dink 1/2" spacer into position and... and... wait a sec... there!

she's in!
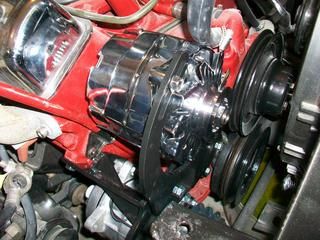
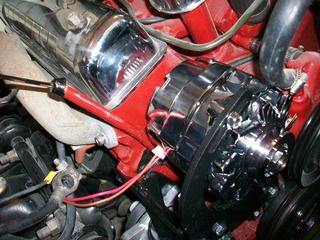
Looks good. Never knew there would be so much drama over getting an alternator into position. I purchased one that had the 2 wire socket at the 3 o'clock position, thinking that we would be ok on that side and thankfully it fits like it should - the position of that main battery hook up is close though!
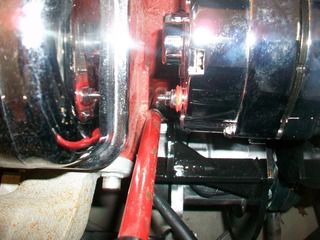
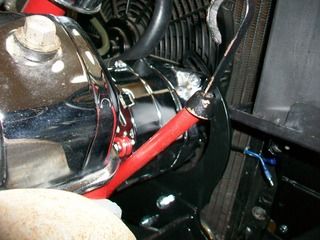
If you know Y blocks, by now you can probably tell that the dipstick tube is backwards. In other words, the main bend is oriented towards the passenger side when it should be towards the driver's side. I am glad I did this. I really don't know how the alternator could have fit into position if the dipstick tube was in the stock position. Maybe a 12SI is smaller?
Back to our story.....
Now it was time to get some belts! Vintage Air had some suggested measurements in there instructions, but they did not seem to match what I was coming up with on the Y block. The instructions did say something about variances with pulleys and all of that so I decided it was time to take things into my own hands.
I took some wire, placed it around the pulleys, twisted it together, and then cut it so I could measure it on the bench, adding a little bit of length to make up any difference in pulley groove depth.
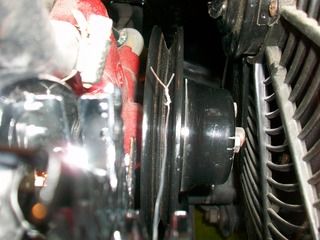
What happens next is an exercise in futility. I ended up going through these pictured belts lol...
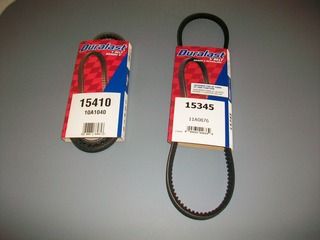
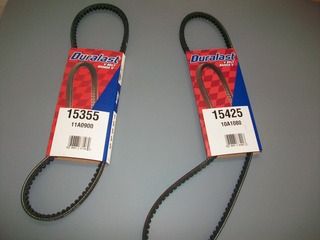
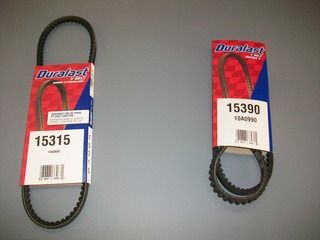
Let's just say I am glad that Autozone is literally 1.5 miles away from my house! What a fun time all of that was. You should have heard the wife when she found out I was going for the third time...:eek: "Are you kidding me? You gotta go back again? That don't sound like you at all, you usually nail this stuff..." Oh my, if she only knew!

One of the best parts was on my second trip the piece of paper with measurements and part numbers went flying out of my grip and across the entire parking lot. I waddled around trying to step on it, chasing it down. That was completely hysterical. I probably looked like I was chasing a $100 bill!
Ok so, third time's a charm - these grooves look to be lined up really good, and the belts fit very nicely with good tension.
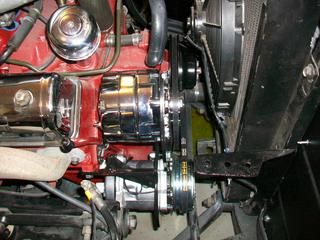
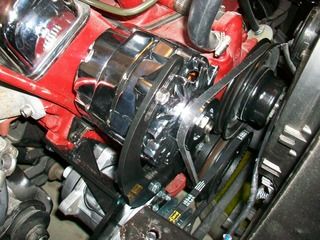
After assessing this alternator install a little bit however, I realized that the heater hose from the water pump is going to rest right smack dab on top of that alternator as it swings back to the heater core. Nope, can't have that.
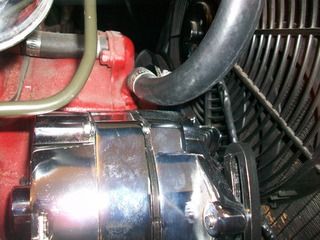
What I plan to do is make a sheet metal bracket that will come off of the alternator, placing both the hose from the water pump and the hose from the intake manifold above the alternator a bit more as they travel back to this spot on the passenger side fender -
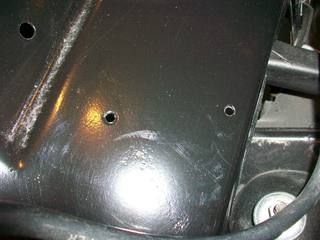
And, after reinstalling the aftermarket battery tray what have we hear?
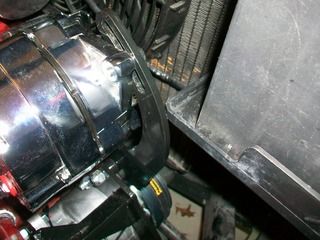
Looks like this tray barely rests against the Vintage Air bracket. It is a plastic tray, not a big deal, but I do wonder if I should not notch it or find something else. I would imagine that over time with any engine movement it will wear into the tray.
If you want more Ford Follies, stay tuned. I happened to start looking at the RebelWire wiring harness tonight. Oh boy, we are in for some fun!
 Daniel Jessup
Lancaster, California
aka "The Hot Rod Reverend" 
check out the 1955 Ford Fairlane build at www.hotrodreverend.com