Merry Christmas! Everybody in the family "wound down" tonight after eating a second time and playing a few games together, having a Gingerbread House contest, etc so I said, "off to the garage" to install a Christmas present.
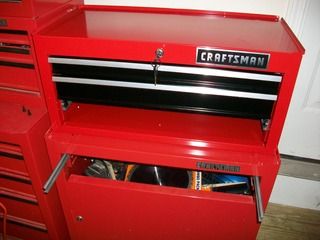
Almost 20 years ago my wife bought me an entry level, though very nice, Craftsman tool box combo for Christmas. For years I had been looking for a way to add a riser, or at least something in the middle and finally this year my wife pulled the trigger on this middle chest with drawers. Sears was running that Black Friday, free shipping, deep discount special back in November so I decided to take a shot to see if a newer model would work/fit on what I had kept all these years. Here are some photos of the install...
First I removed the top chest unit with the two bolts that hold it to the lower cabinet and then I removed the one large drawer in the lower cabinet. The new middle chest was put into position to check the hole alignment and position so its lower drawer was also removed. The size and dimensions were perfect - roughly 12 inches deep by 26 inches wide. The holes were way off and so I just marked new locations and drilled away.
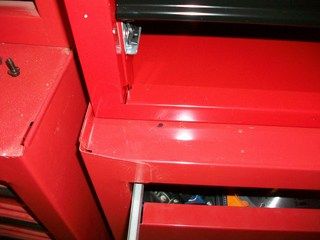
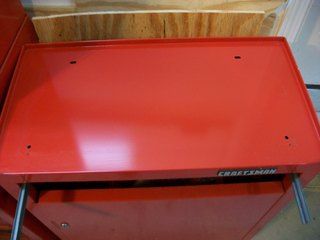
The original slotted holes were in the rear of the cabinet, but the new holes had to placed at the front. Easy breezy and to top it off I used nuts with serrated faces so that one wrench was all that was required to tighten it down.
I thought this was pretty telling...

I don't know where the new unit was made but of course the old tool chest/cabinet combo was purchased years ago. A good number of people are saying that the Craftsman tool boxes are now being made overseas...
Next came the mount of the old chest on top of the new middle chest to check the alignment for holes... way off lol.

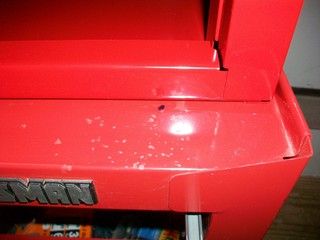
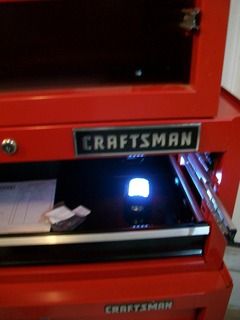
New holes had to be drilled after measuring. This process was a little more tricky because the original chest had nut inserts so there was not much room for error. Also, lining this up would be problematic because of the location at the back of the chest and I really did not want to remove so many items from the wall to get it out to roll. So... we measured twice, drilled once, and then got out a portable LED to see exactly where the holes were lining up.


Thankfully that worked well and with very little fanfare the new unit has been installed. Obviously the drawer colors are black, but so be it. At the ultra low cost of the new chest who cares?
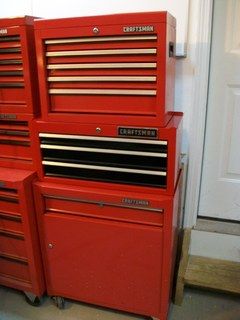

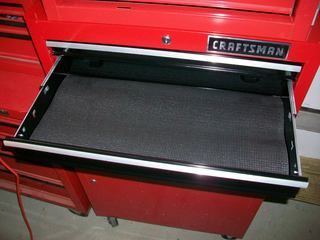
Took a few minutes to trim some tool mat and then it was time to reorganize my stuffed drawers and put the new space to good use. The unit on the left houses most of my mechanic tools, the one on the right holds most of my woodworking tools.
Anyone else get that deal from Sears for Christmas? I was thankful that a "retro-fit" went pretty well with what I have.
Daniel JessupLancaster, California
aka "The Hot Rod Reverend" 
check out the 1955 Ford Fairlane build at www.hotrodreverend.com