Oh man what a night! :mad:
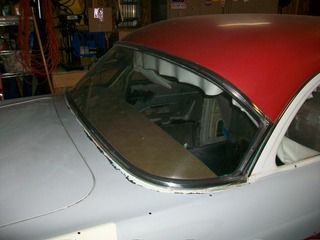
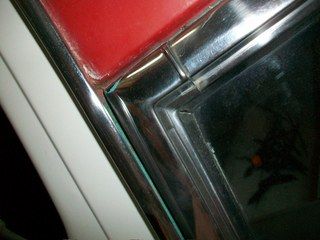
My plan was to spend a few minutes removing the rear glass. I had stripped up to the edges of the stainless trim as not to scuff them up so to get the rest of the metal there and underneath of the seal (windshield and the doors/quarter windows will come next) the glass and SS trim needed to be removed. Right. A few minutes. Jessup don't kid yourself.

On with the "show"
First off, I say to myself, "Jessup, you better get out the manual and read up just to check it out, there may be a hidden clip or screw or retainer that you can't see."
Now mind you, I have installed and removed the windshield 4-5 times and was very familiar with that and felt pretty confident about the rear glass. I read up on the pages in the manual.
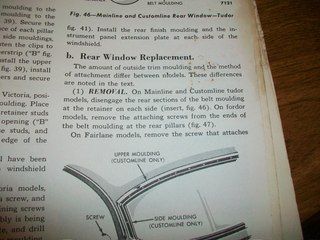
Good, got it, ready to go. Now out to the garage to remove the rear glass.
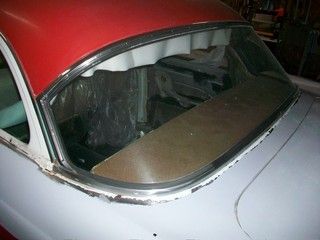
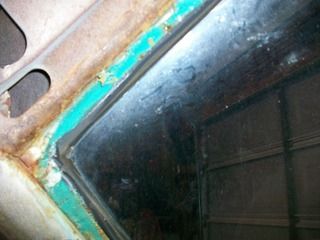
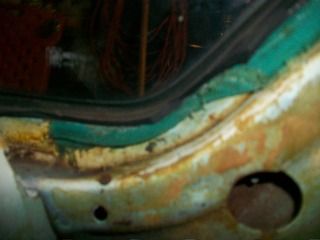
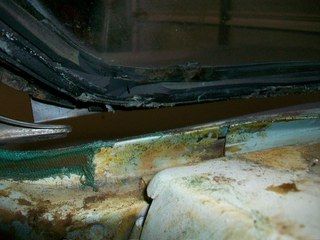
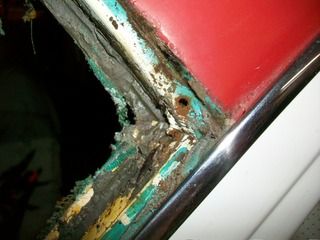
The seal was still on the soft side, but you could also see places where it had split or come apart and just needed to be replaced.

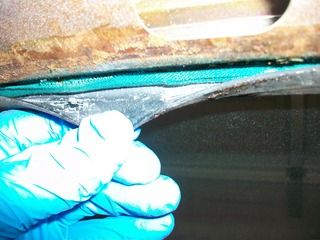
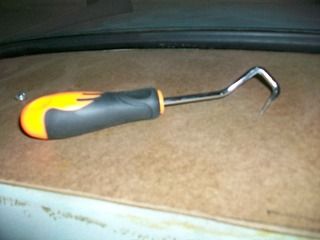
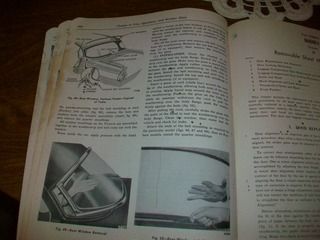
I used the tool above to pry the edge of the seal along the length of the sheet metal edges and tried to push the glass out like the manual says to do. I spent over an hour trying to nudge, push, tug, shove, cajole, tap, move, slide, pry, coax, cut, pull this 62 year old installation of rear glass from FoMoCo. I decided to cut the seal on the inside of the car.
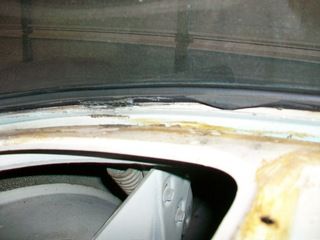
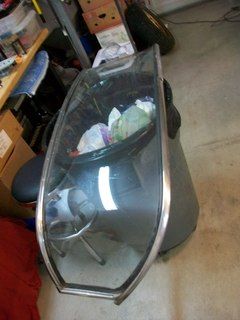
and it finally started to budge.
How, I have no idea. For some reason it seemed that the passenger side was glued in heavily.
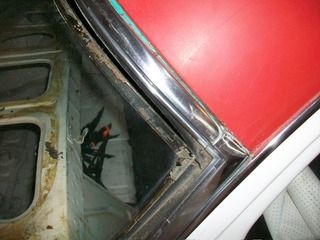
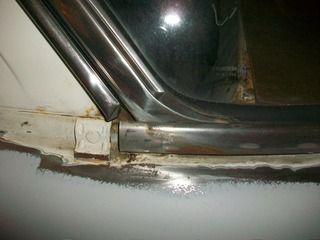
Let me just say that through all of this frustration I was glad of one thing... I did not gorilla the thing out. If I had done so, I would have surely cracked the glass. Look what was hiding under the side trim on the passenger side.
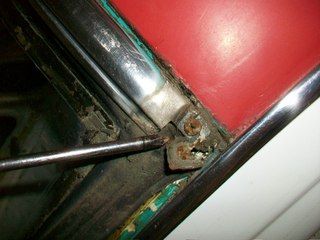
Thank you Ford, no help there lol.
I thought there would be one on the driver's side but there wasn't.
It all came out fine but I am concerned about how to that screw back in there and then put that side trim over the screw after everything is fitted. How will that work?
 Daniel Jessup
Lancaster, California
aka "The Hot Rod Reverend" 
check out the 1955 Ford Fairlane build at www.hotrodreverend.com