We had some time on Monday night to get in the garage and do a little bit... and lo and behold a good lesson learned!!! :eek:
Check out these photos:
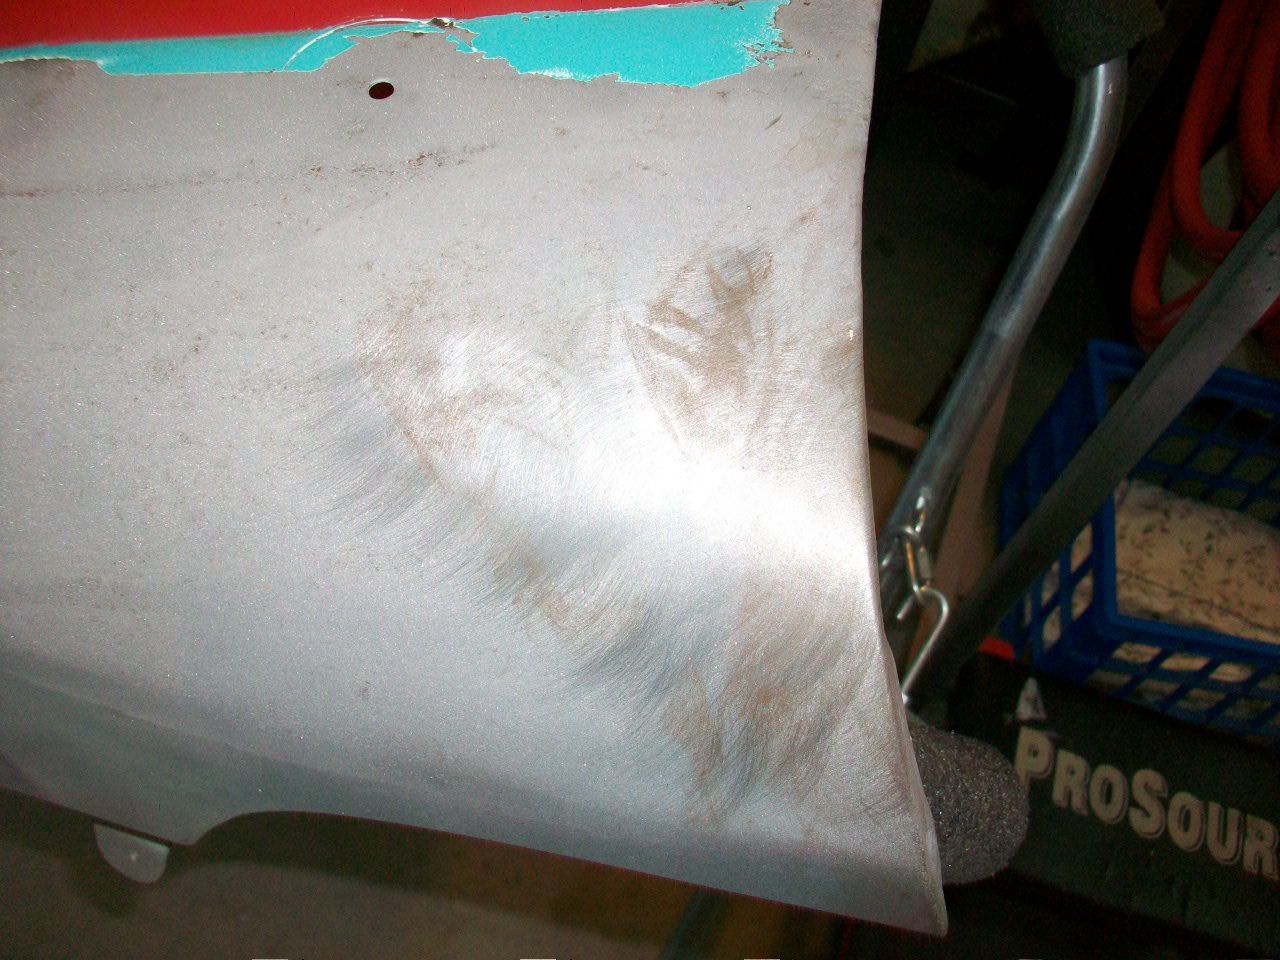
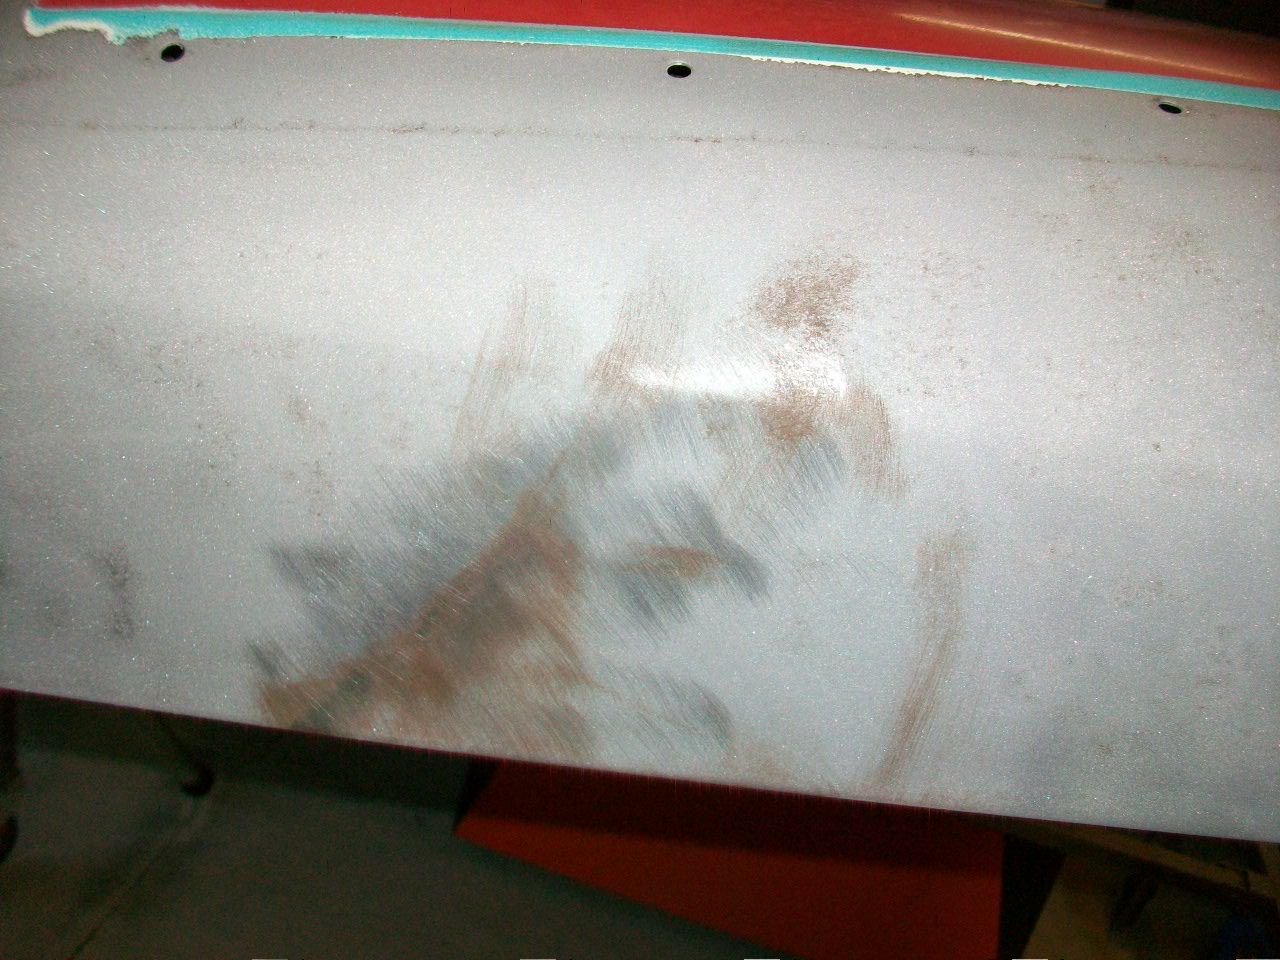
Yep, I was pretty dumb after I blasted this fender - got my sweaty hands all over the freshly cleaned metal and after a few days surface rust began to show. :mad: Just a couple quick shots with the grinder though and it's gone. I've got to get this thing primed soon.

And of course, it always go to show - keep that metal clean and dry. Hopefully next time I will remember.
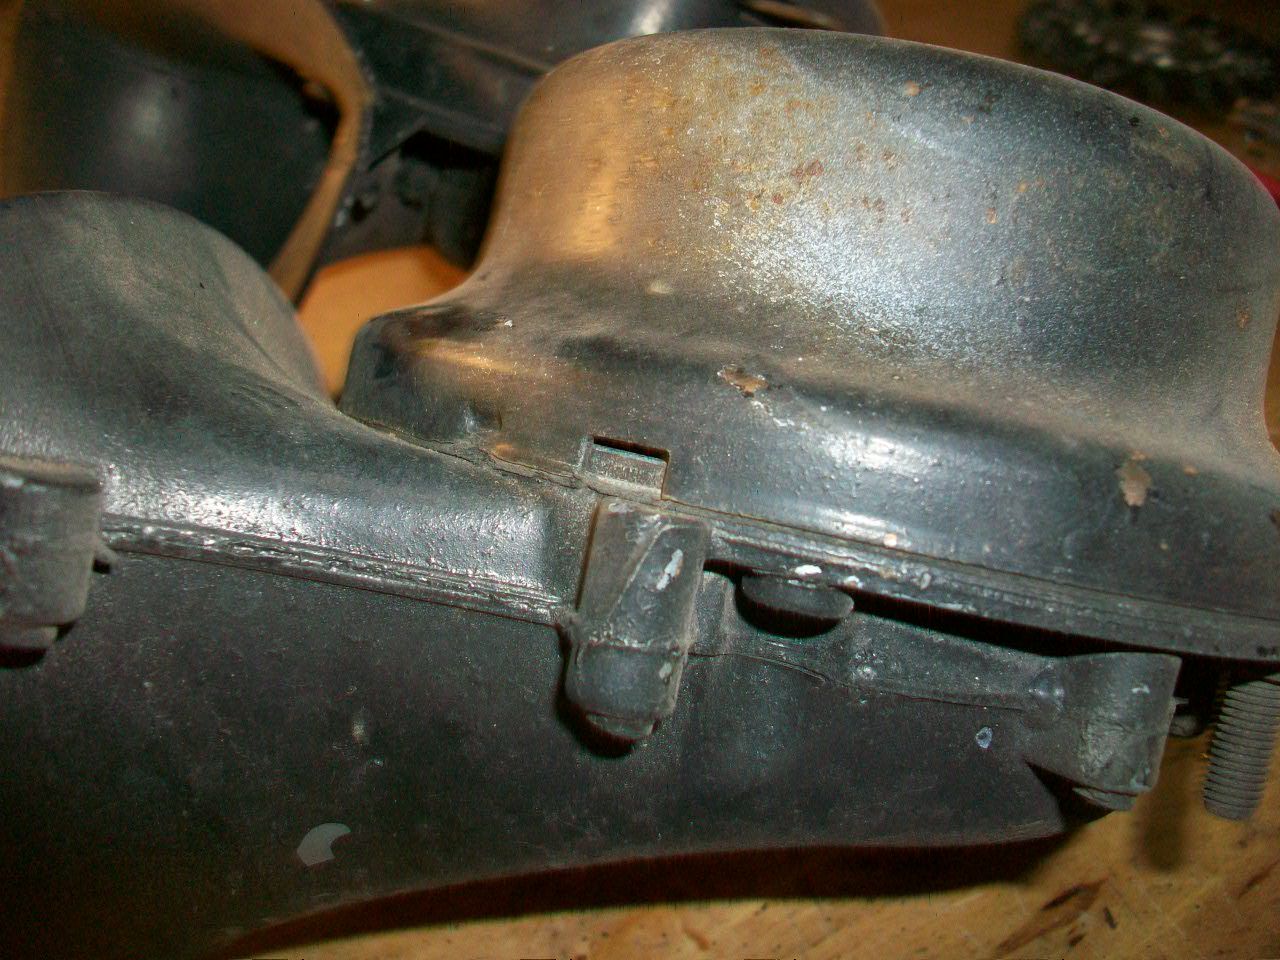
This passenger fender has a small problem with it's lip up front.
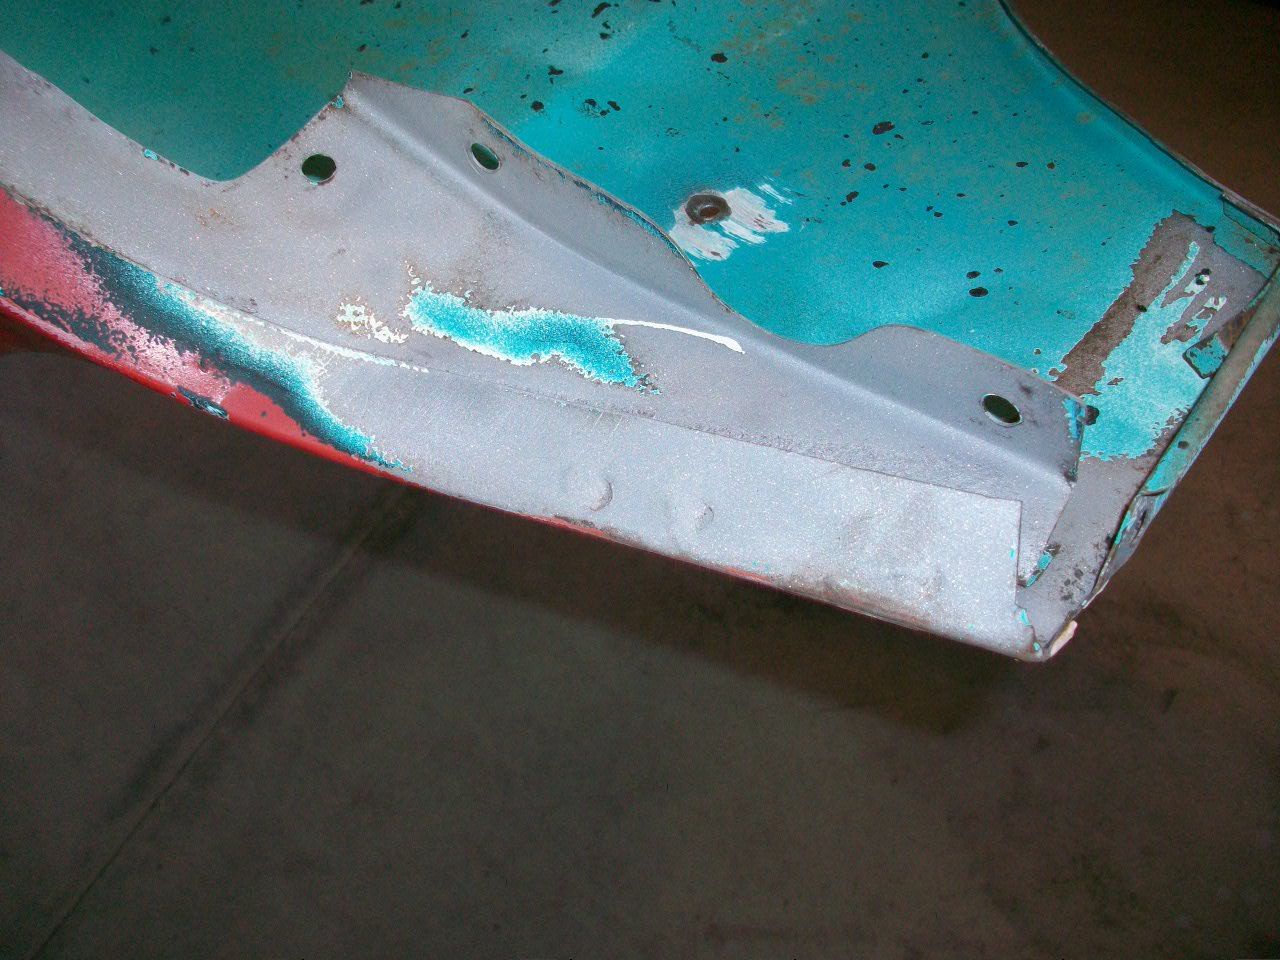
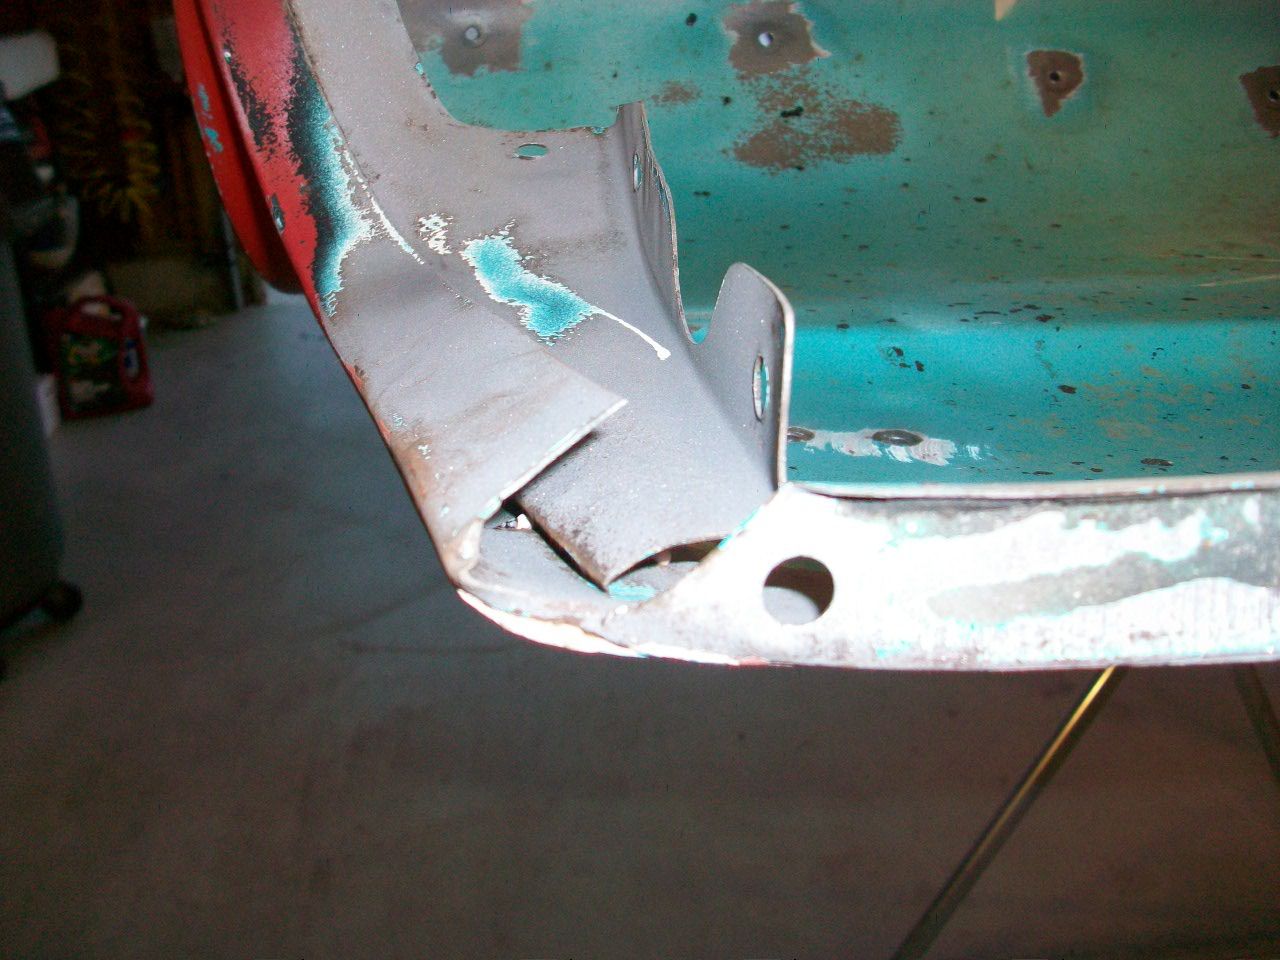
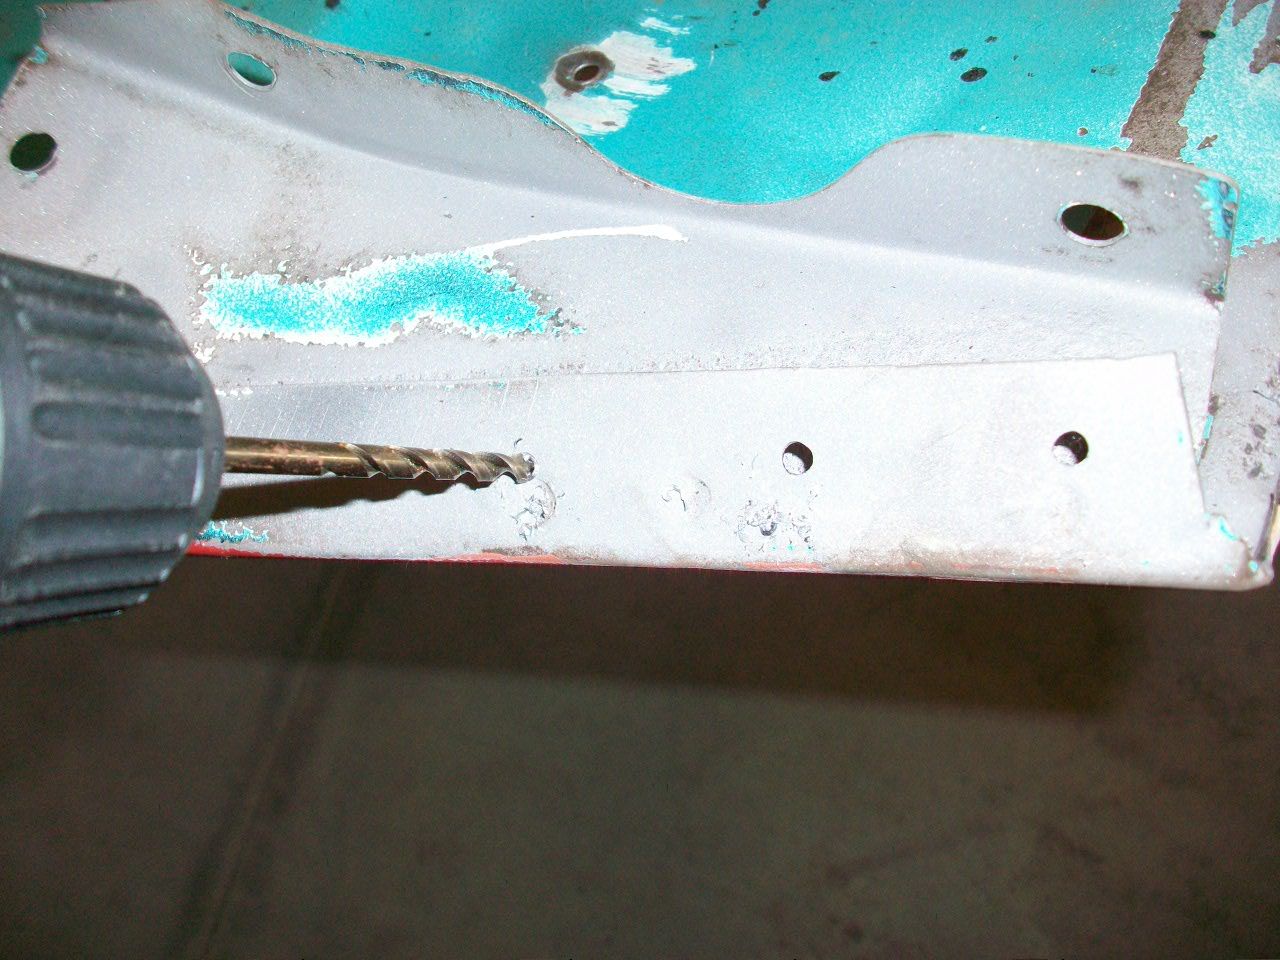
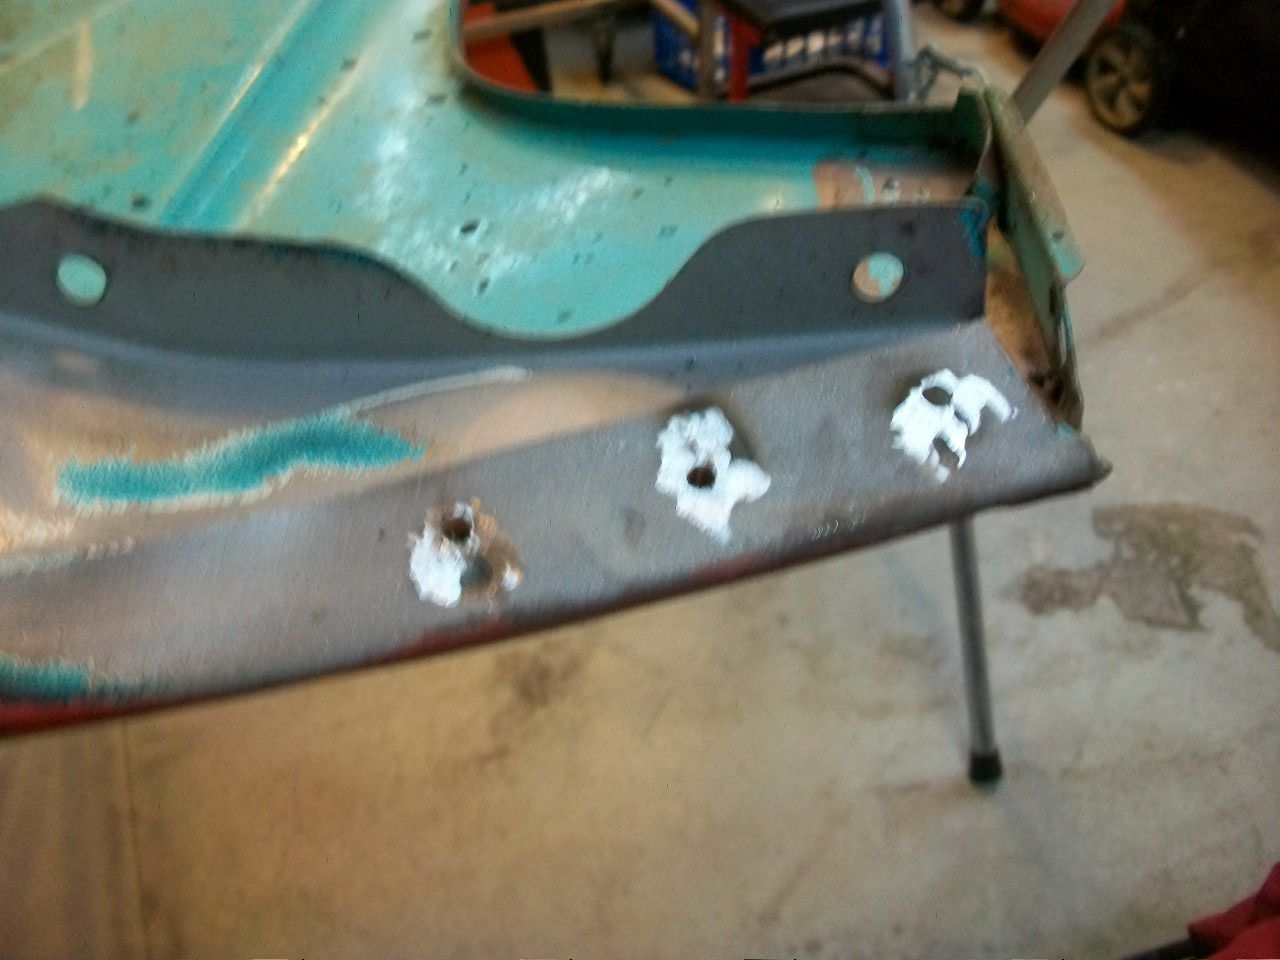
The original spot welds had come apart. This lip does carry some significance since it is in a place where the front part of the fender bolts to the air dam so the pieces have to be welded together to proceed. I drilled 3/16" holes in the overlapping sheet metal and got things lined up with a couple of my handy-dandy vise grips... these things are just the ticket. I probably have 8 or 9 different sizes, shapes, and ends with these things.
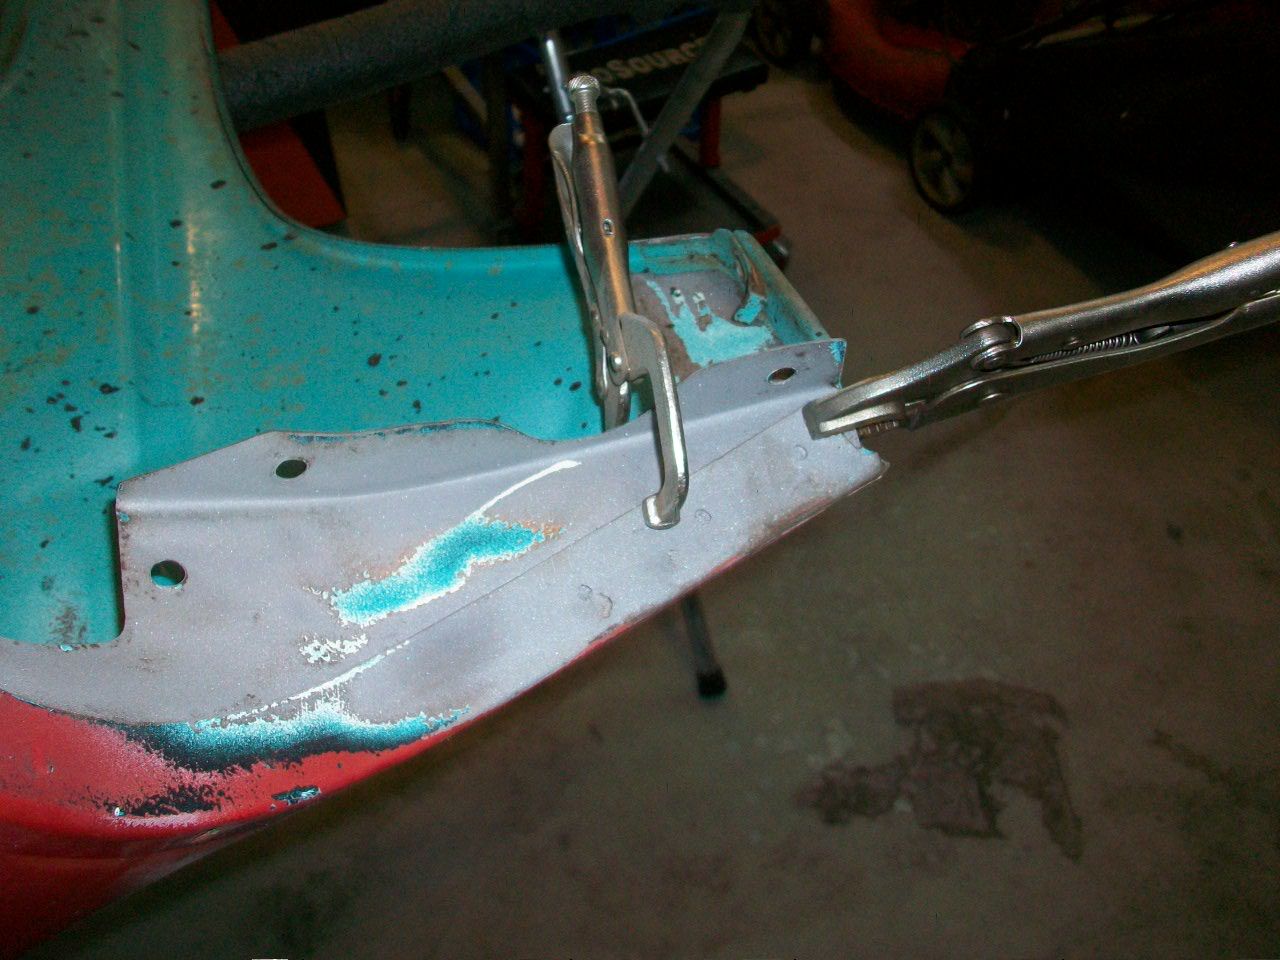
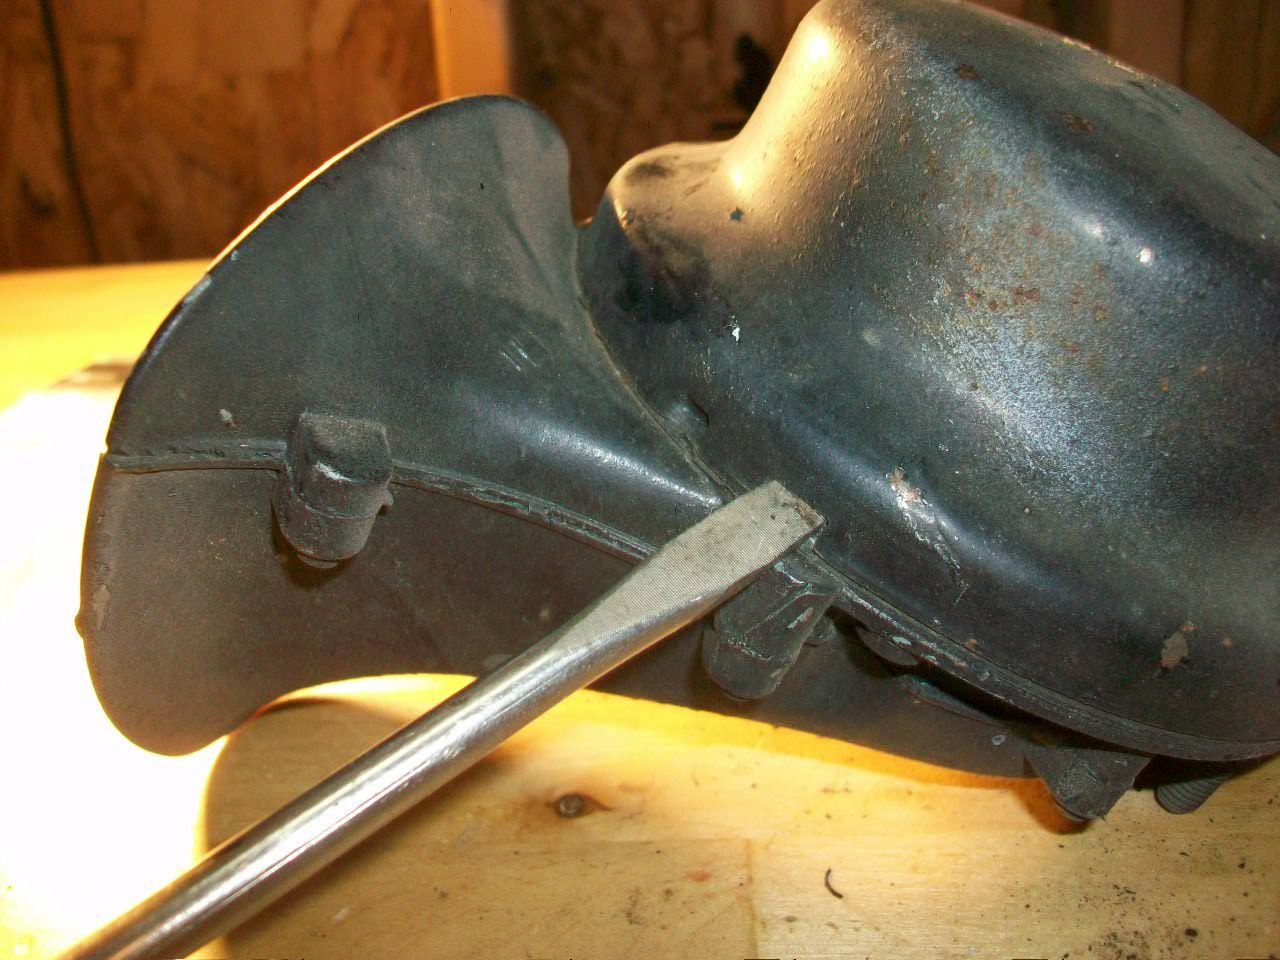
Aaaaaaaaaaand if you check the following photo you will see another lesson learned.
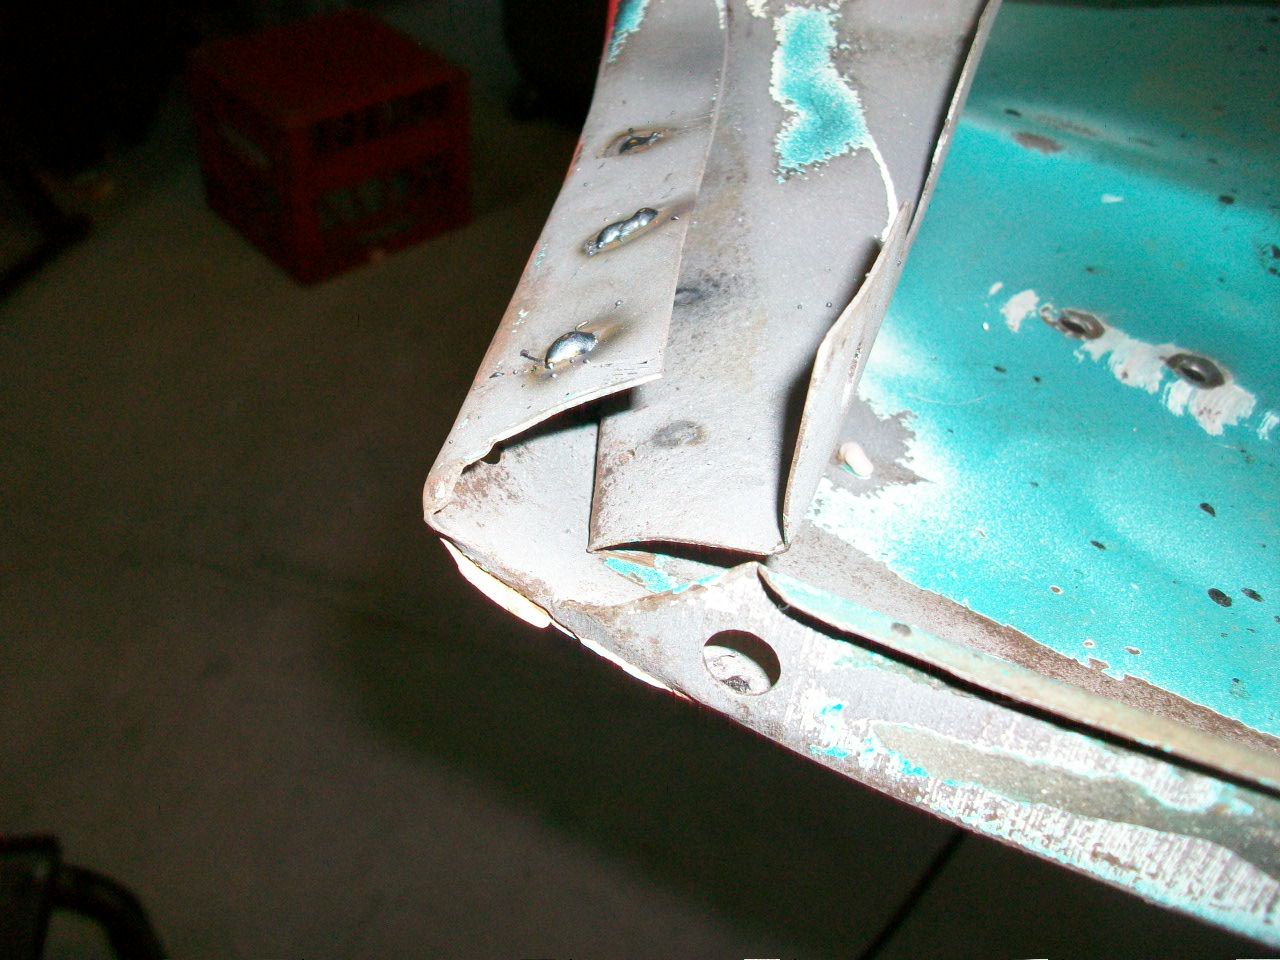
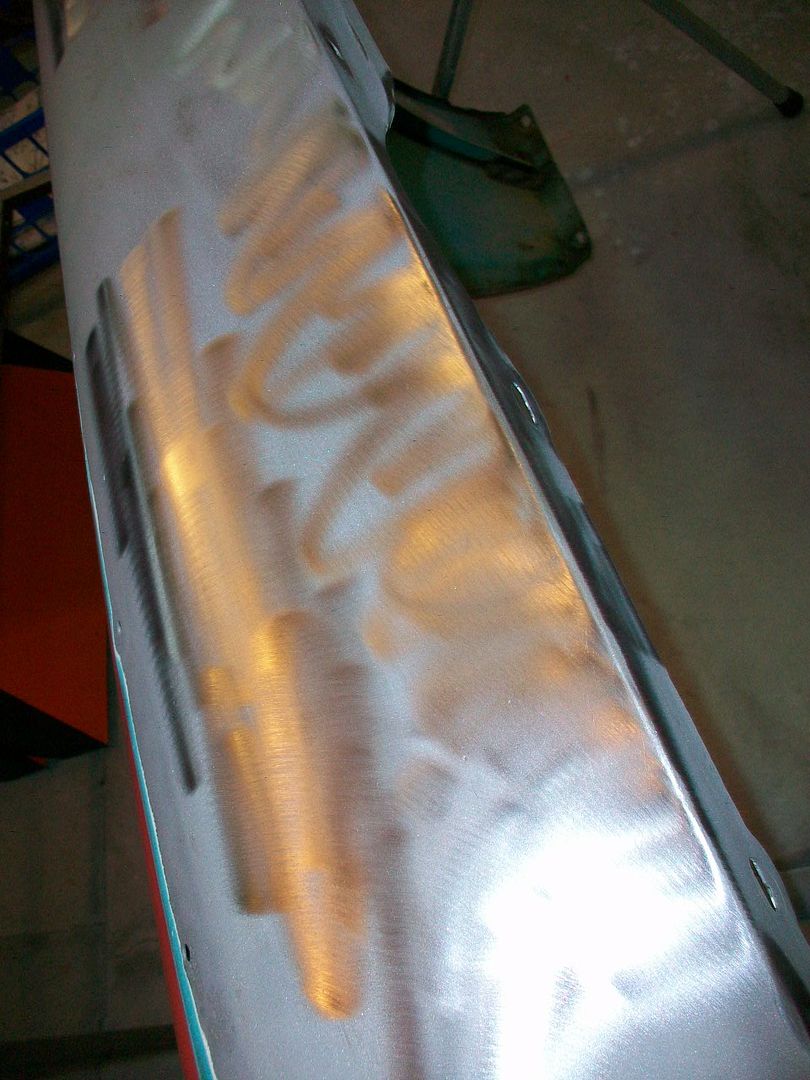
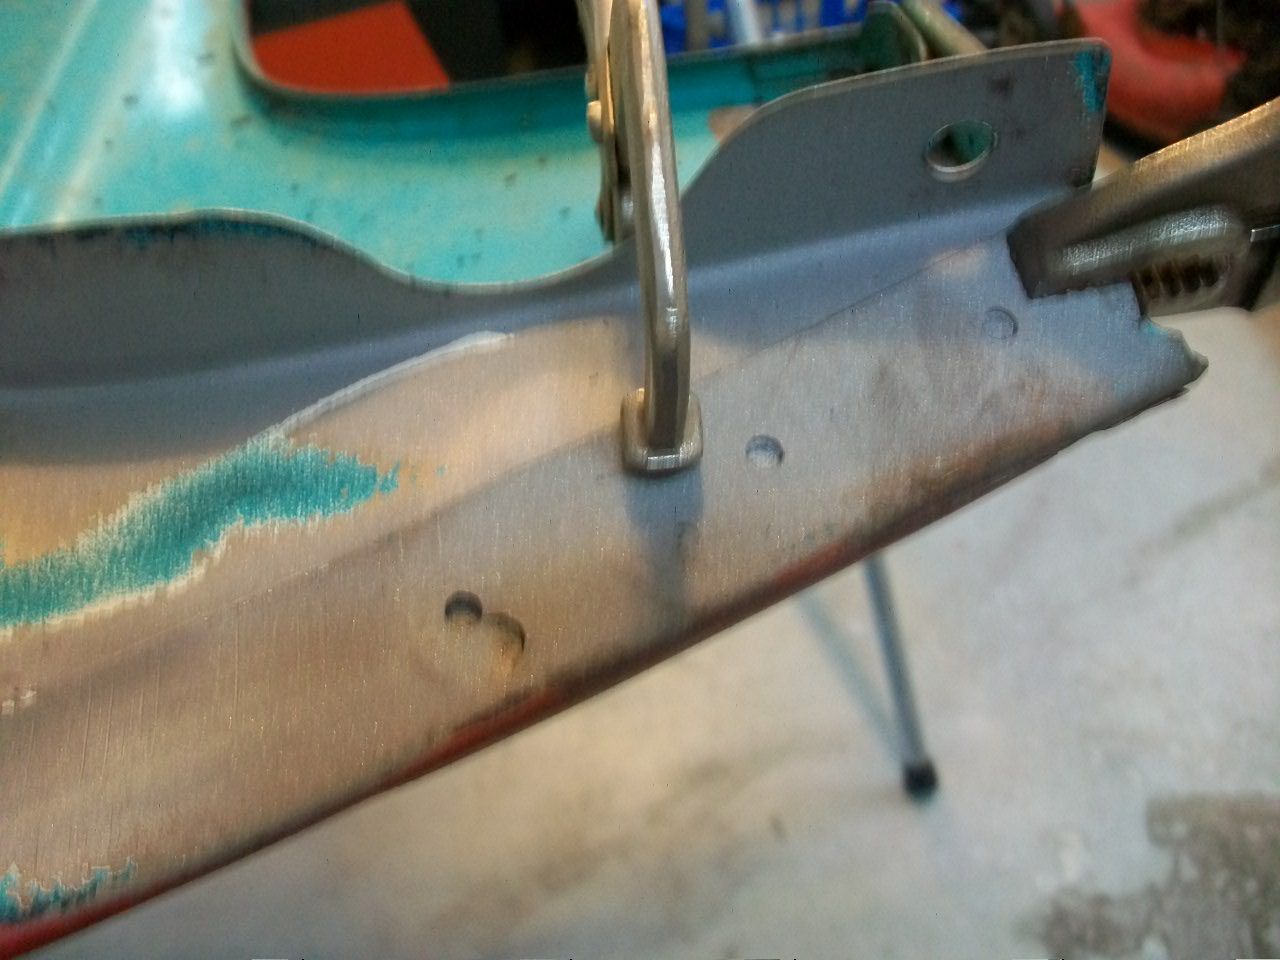
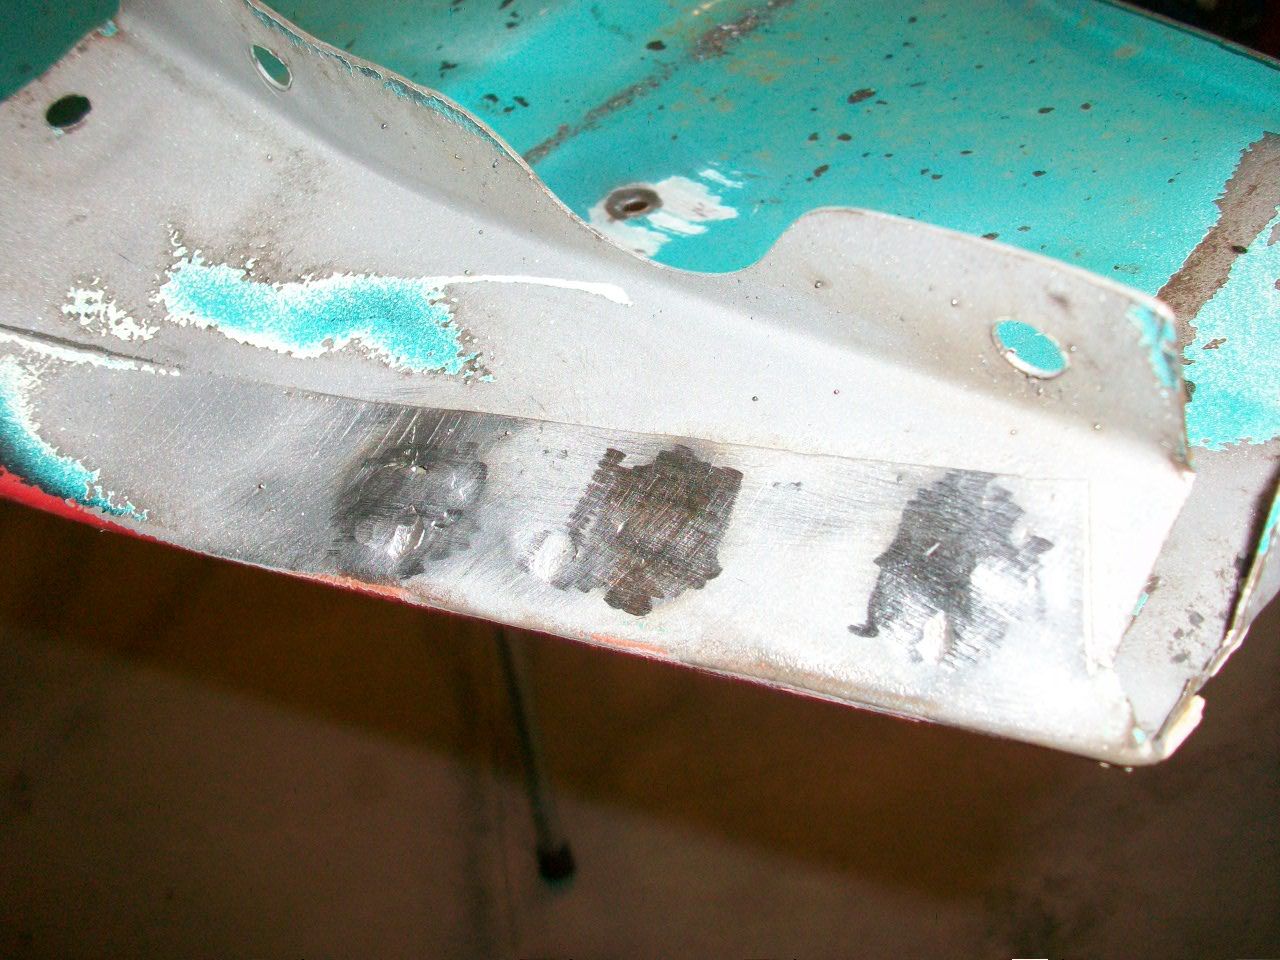
TURN UP THE HEAT! you can see in the photo above that my "welds" did not penetrate, and off popped my lip. So we ground down the proud welds, redrilled holes, and then ended up with this strong repair.
Next, it was on to the horns. What a fun way to wake up the neighborhood. First we did a simple test of each unit to make sure they were working. I broke out the battery charger and hooked up each horn. BBBWWWAAAAAAAHHHHHHH

away we went. No problems there. Just a couple of neighbor's lights came on in the bedroom next door! :p
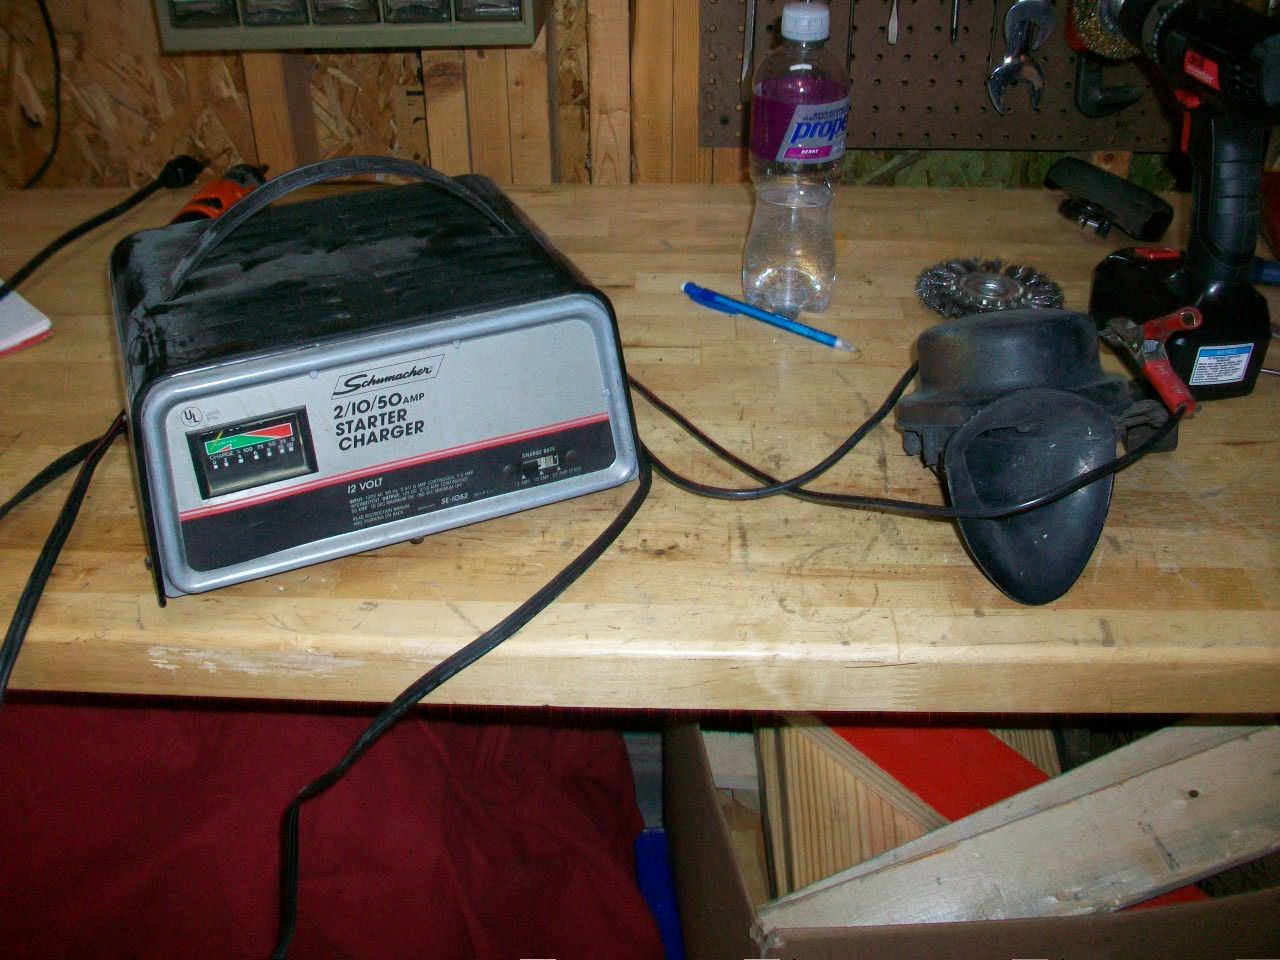
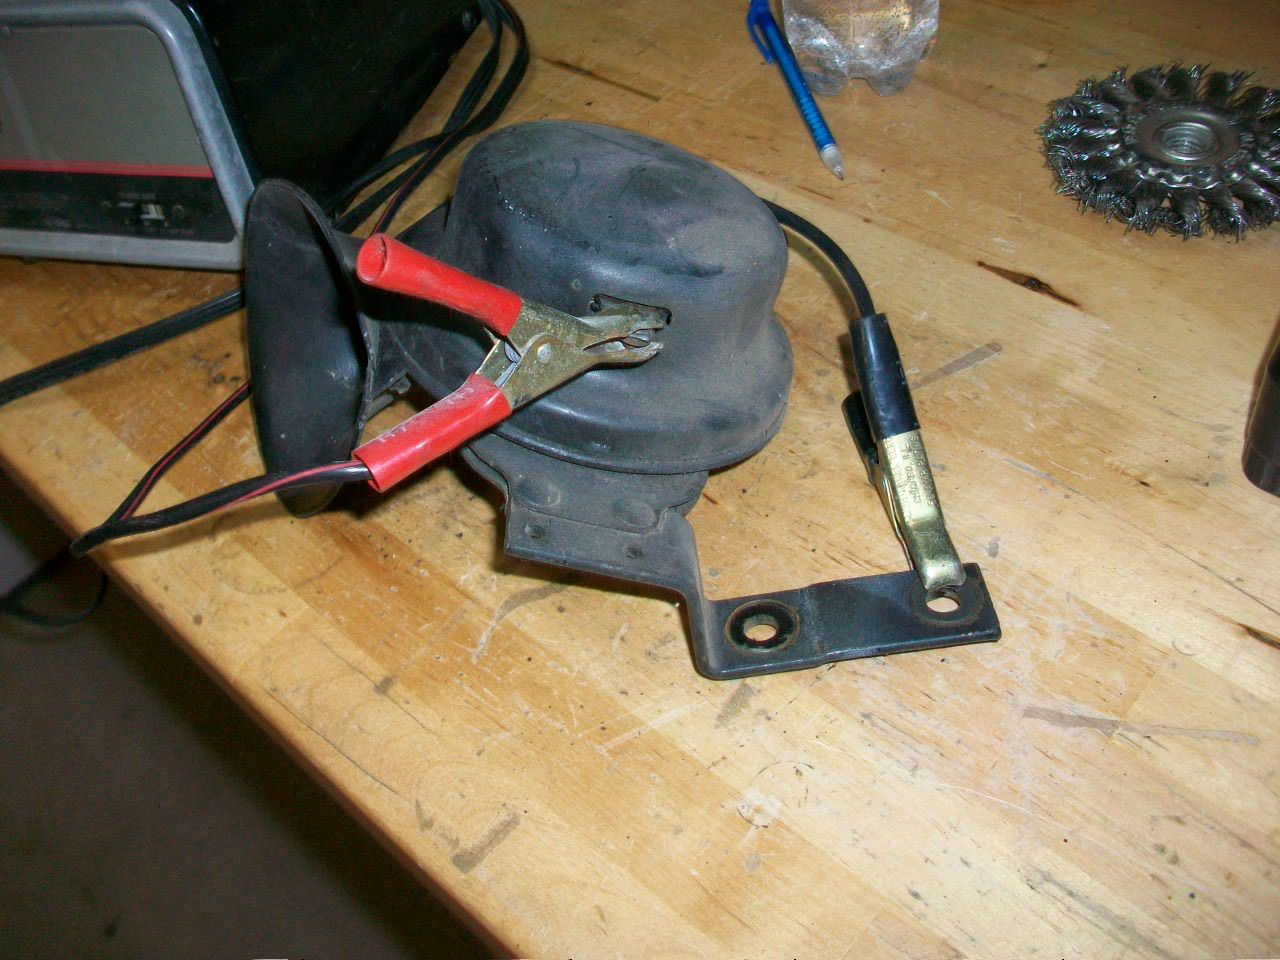
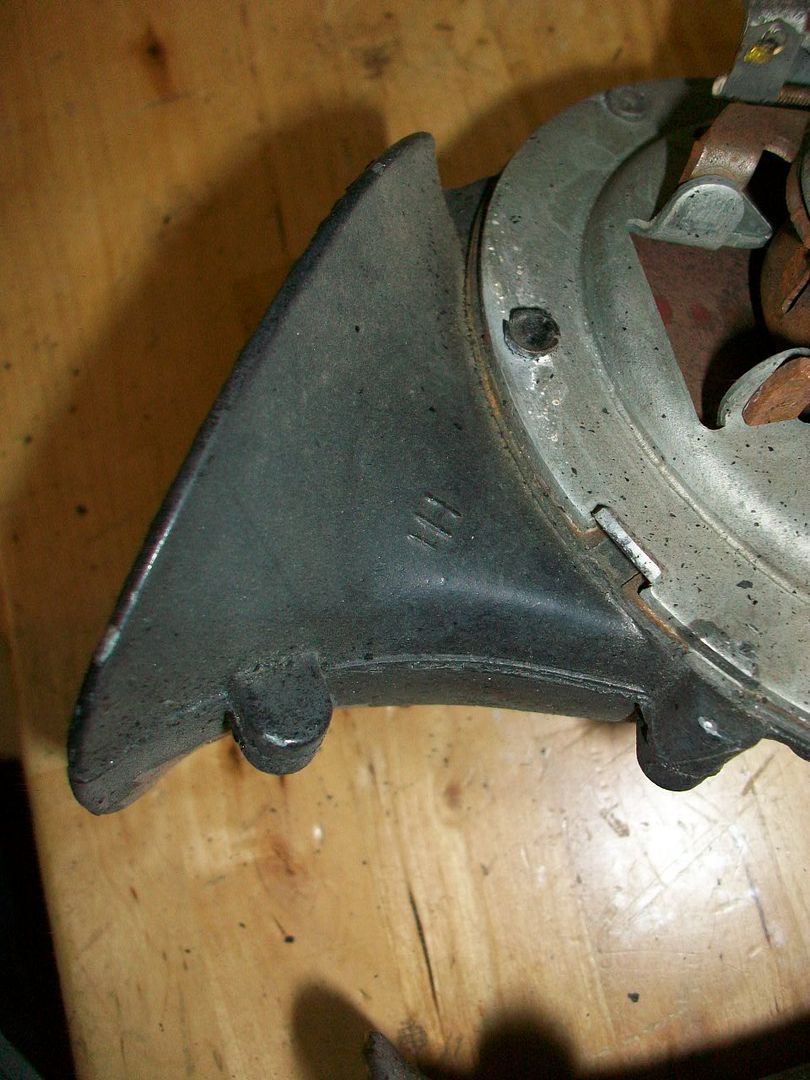
By they way, if you are putting together a basket case, make sure you have a set of Hi and Lo horns. You can find the "Hi" or "Lo" stamped somewhere on the horn itself. Of course, you can also listen to each horn and see what you have too. Note the "Hi" stamped on this horn here...
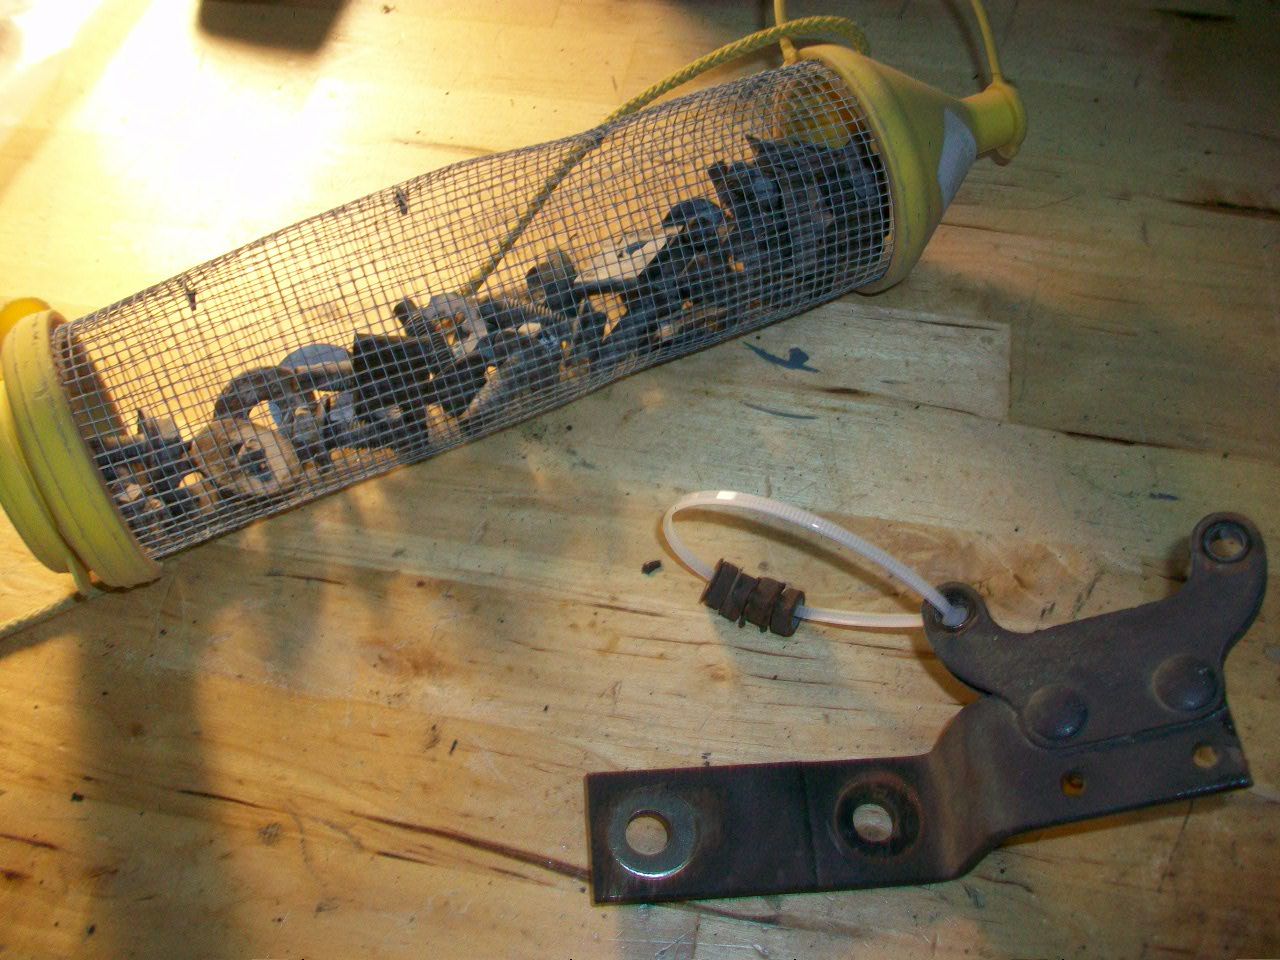
Next would be to disassemble each one. Basically the bracket just unbolts from the side. I like to either zip tie the hardware to the bracket as shown before blasting, or I use a cricket tube like the one in the picture. That way, nothing gets lost and it is easy to hold in the cabinet!
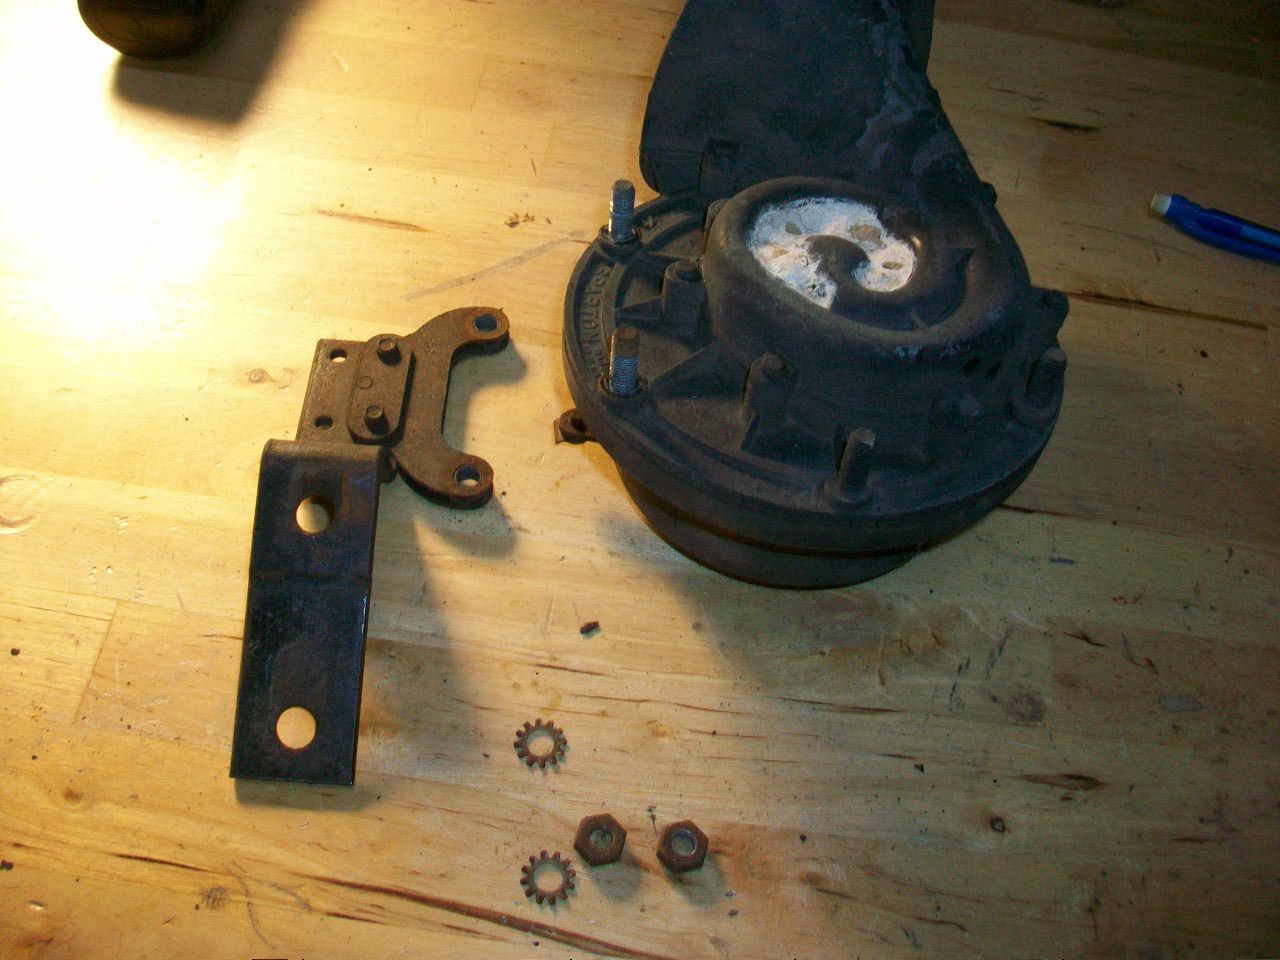
After you remove the bracket, go ahead and remove the cover. You should have a place on the cover where you can insert a flat blade screwdriver and simply pop it off.
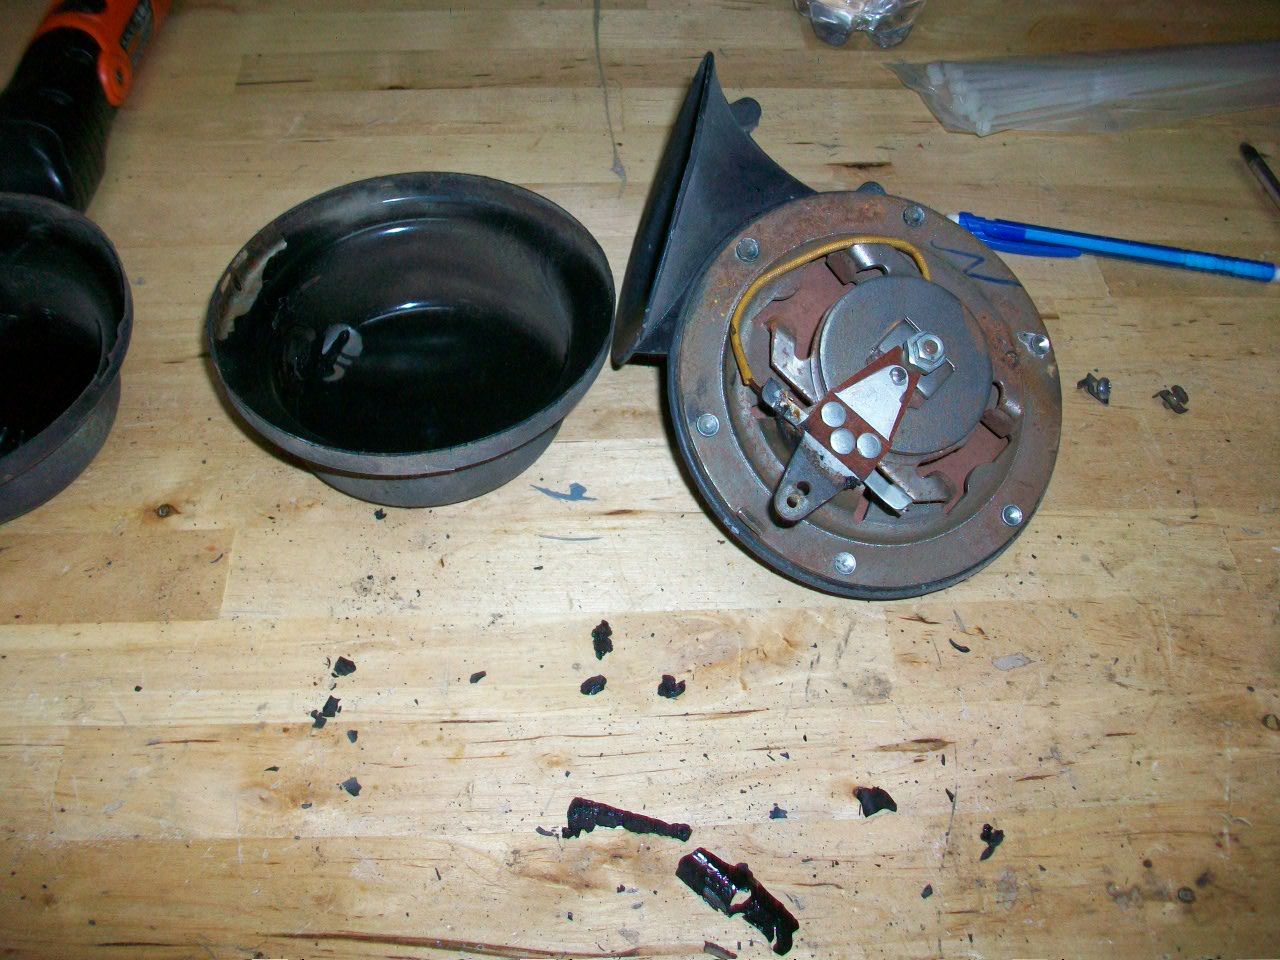
When I removed the covers, I had one horn that looked to be in really clean shape, and the other one had a little corrosion.
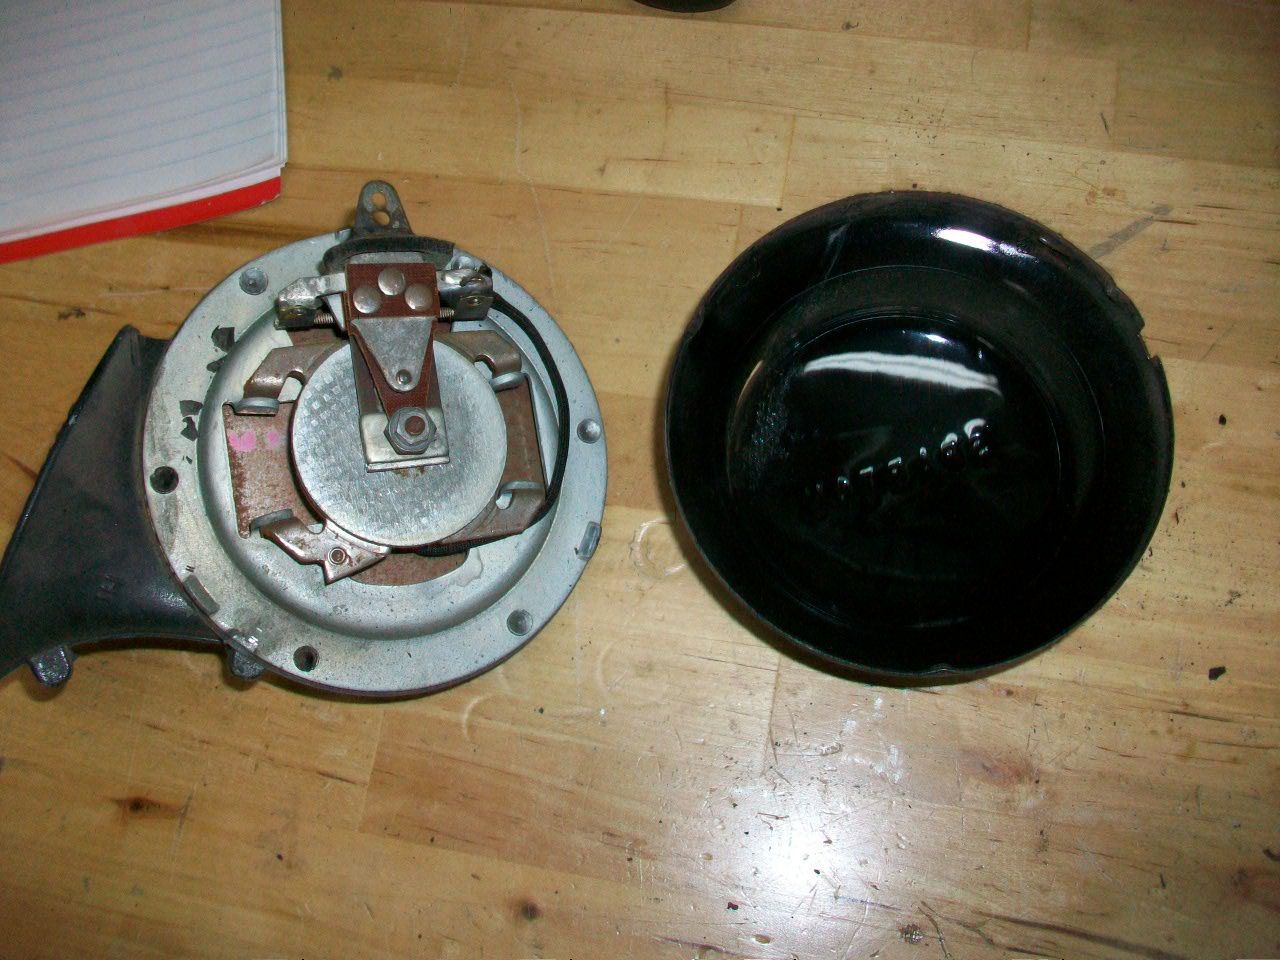
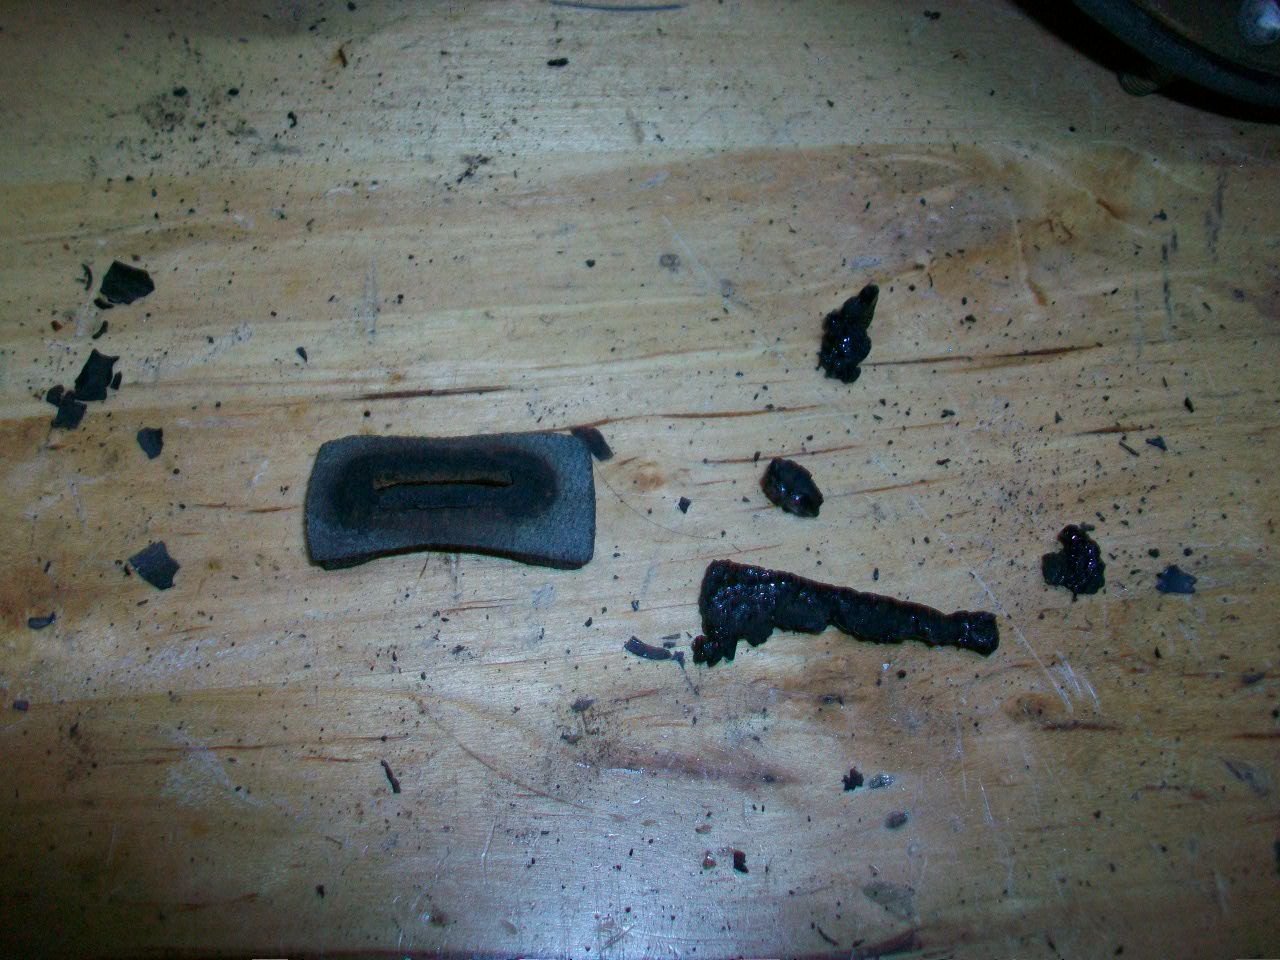
The difference? This small seal that goes in the slot in the cover where the "hot" side of things hooks to each horn. One seal was intact... the other was disintegrated. :confused:
I took the cover and the bracket/hardware and blasted them. But the horn assembly I basically took a wire wheel and other hand-powered instruments to clean so that no debris got into the contacts and what have you. We will paint these horns with Rustoleum Semi Gloss Black, make new seals and affix, and reinstall soon.

Another small detail down, many more to go!
Daniel JessupLancaster, California
aka "The Hot Rod Reverend" 
check out the 1955 Ford Fairlane build at www.hotrodreverend.com