It's been a very busy August - traveled thousands of miles literally and been in several different states. Nope, not vacation either - all work/church ministry related in training people. I have not been home very much at all. This weekend I am "off" like many of us so I decided to hit it hard with the 55 Ford and do as much as I can.
First things first - take a look at the sandblaster nozzle and stopper. Think it's time for a new one?


Found new parts at the local TSC and we are good to go.
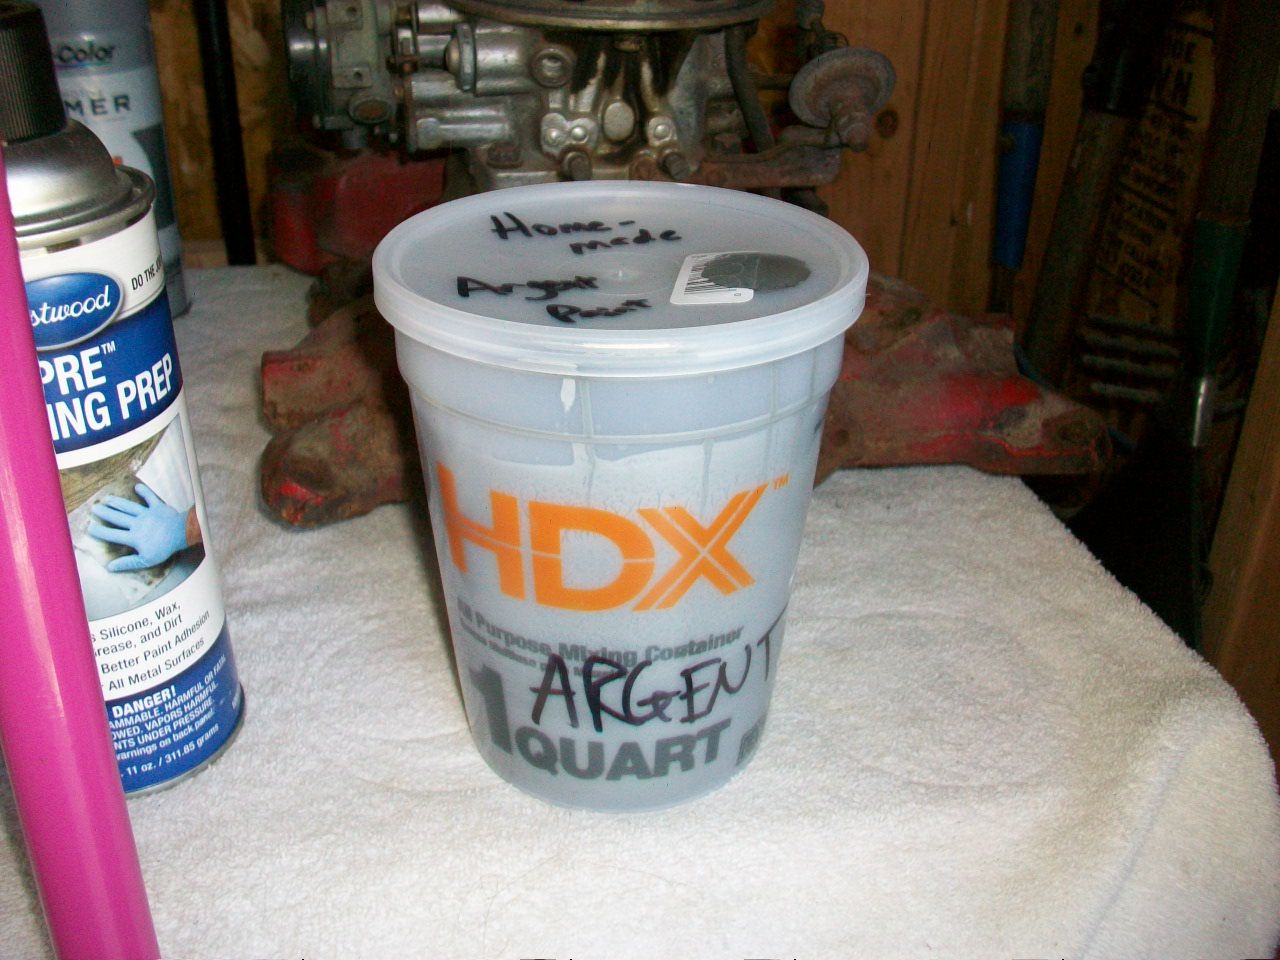
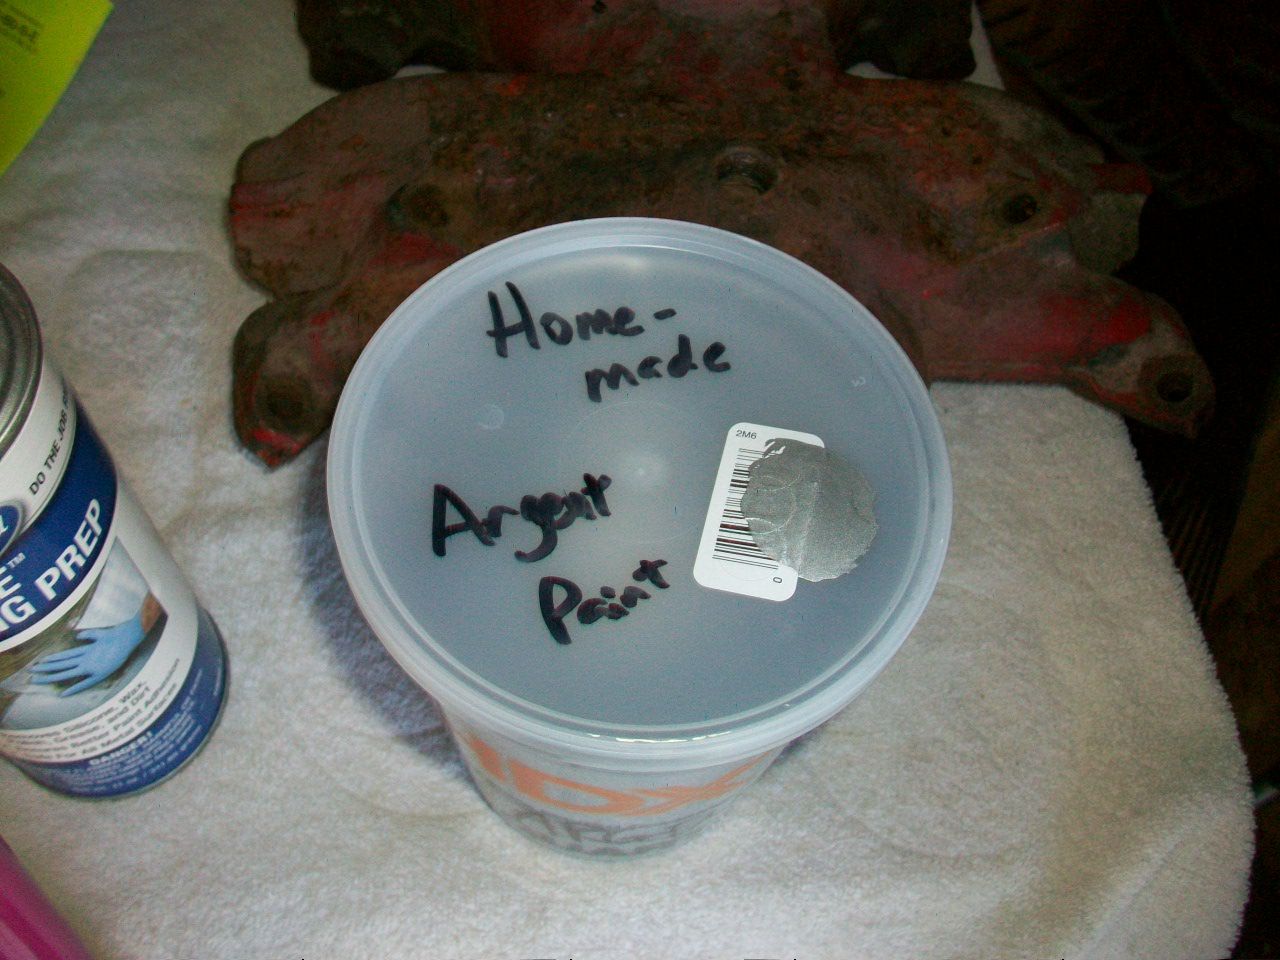
On the Gravel Pan, I really wanted to find an Argent color that I could use but did not want to go the spray can route. I favor my gun as much as I can. So what to do? Let's see.... time to experiment and make our own. Here is a photo of the two colors I mated. The top is Rustoleum Aluminum and the bottom is ACE hardware gray.
I put some of the dark gray in with the aluminum a little at a time and voila!
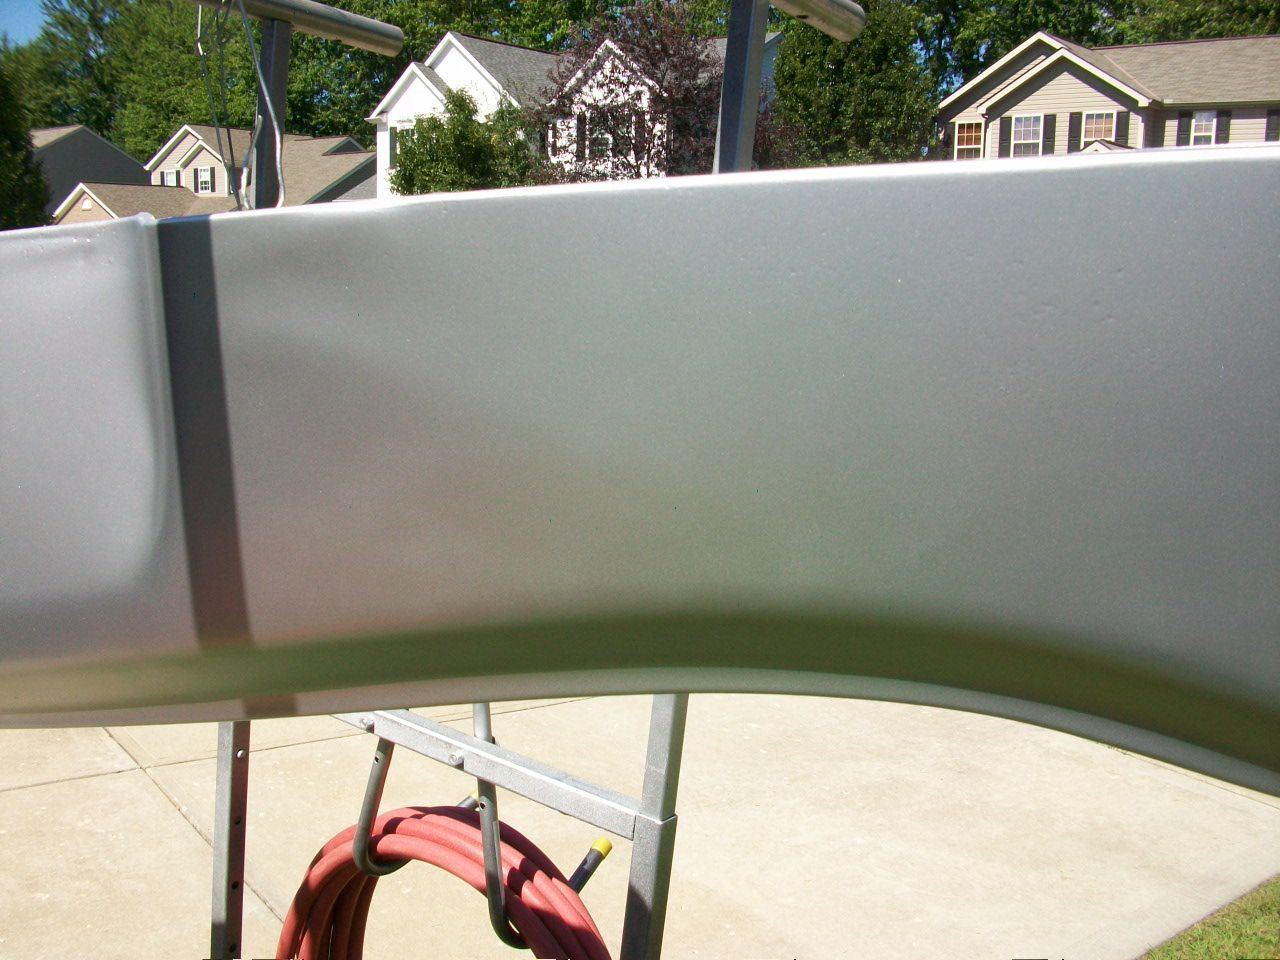
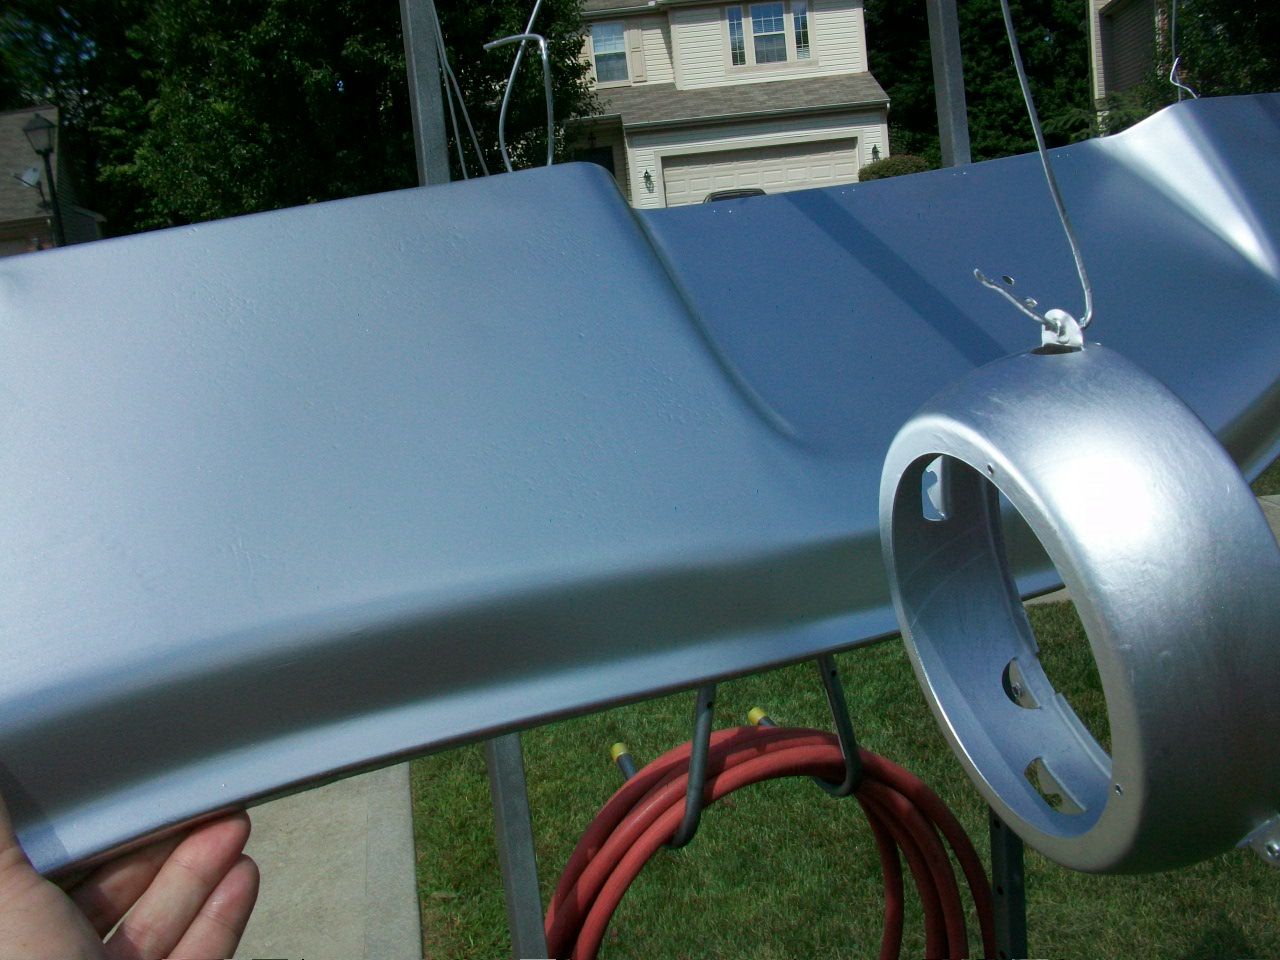
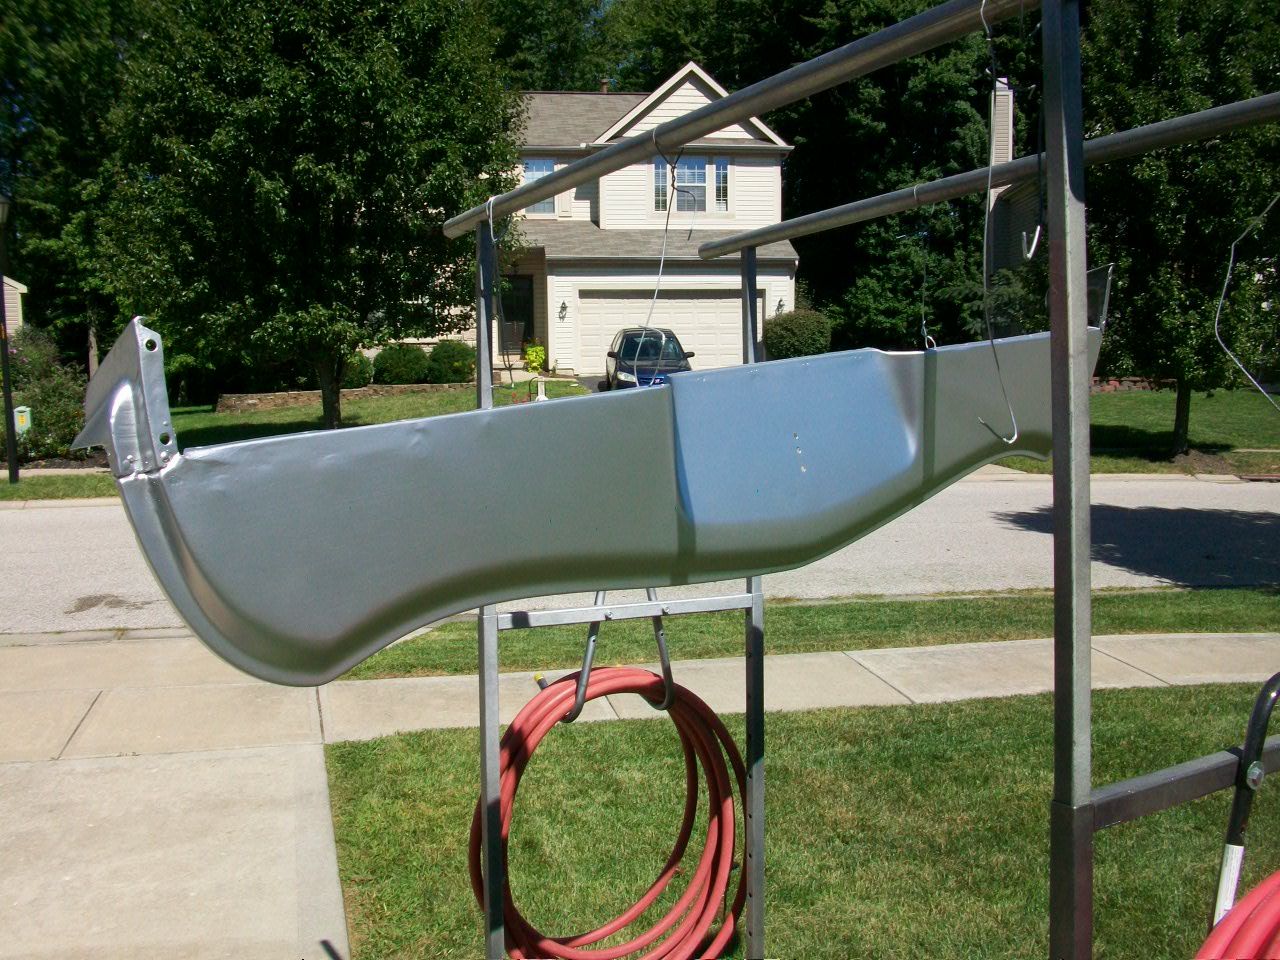
The photo of the headlight adjuster frame and the gravel pan together give you a point of reference. Hard to tell on a digital photo, but the headlight adjuster frame is Rustoleum Aluminum and the gravel pan is my Argent color. I like it, and I like the fact I can spray what I need through my gun.
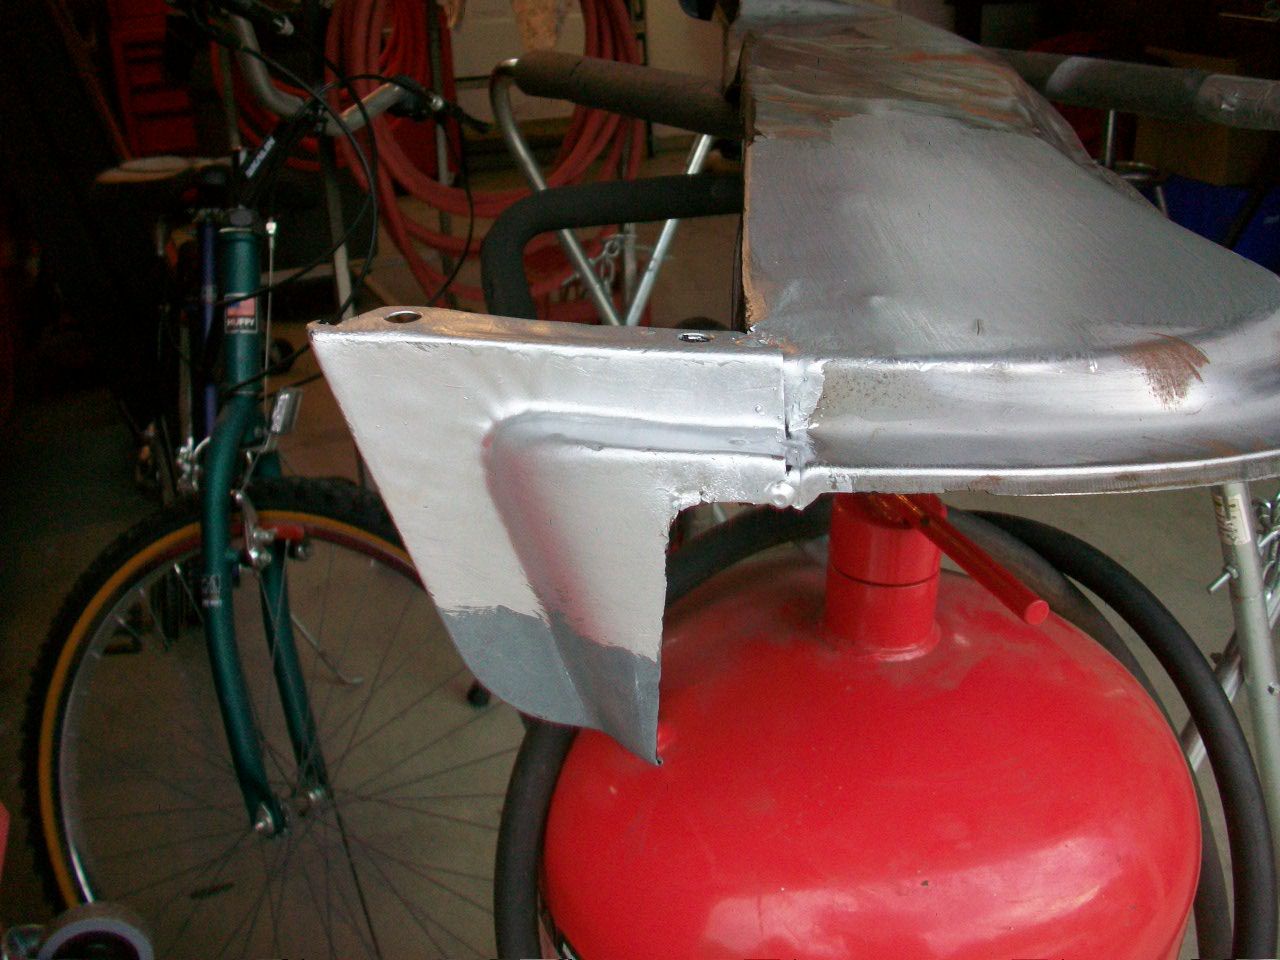
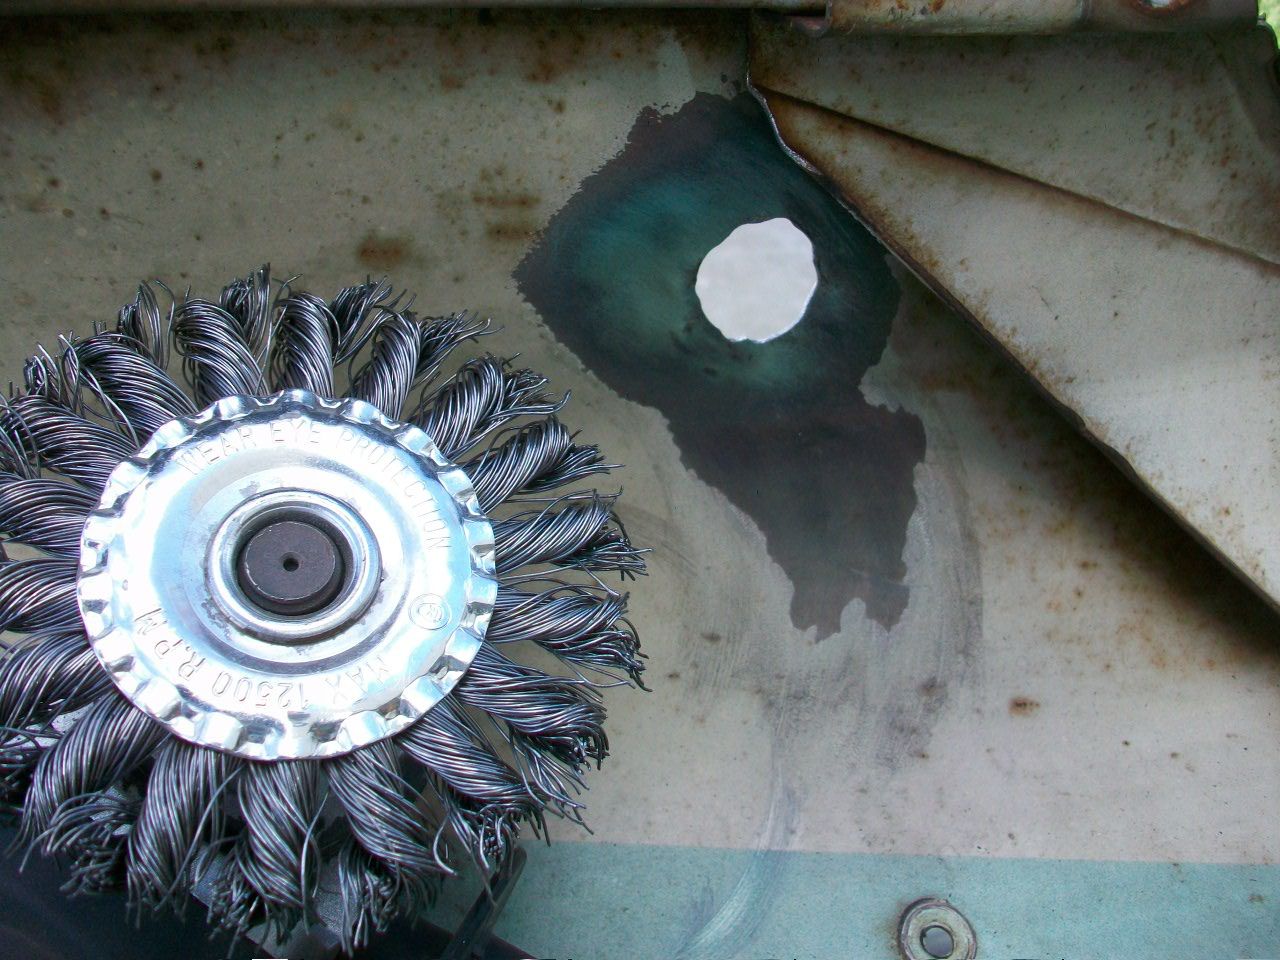
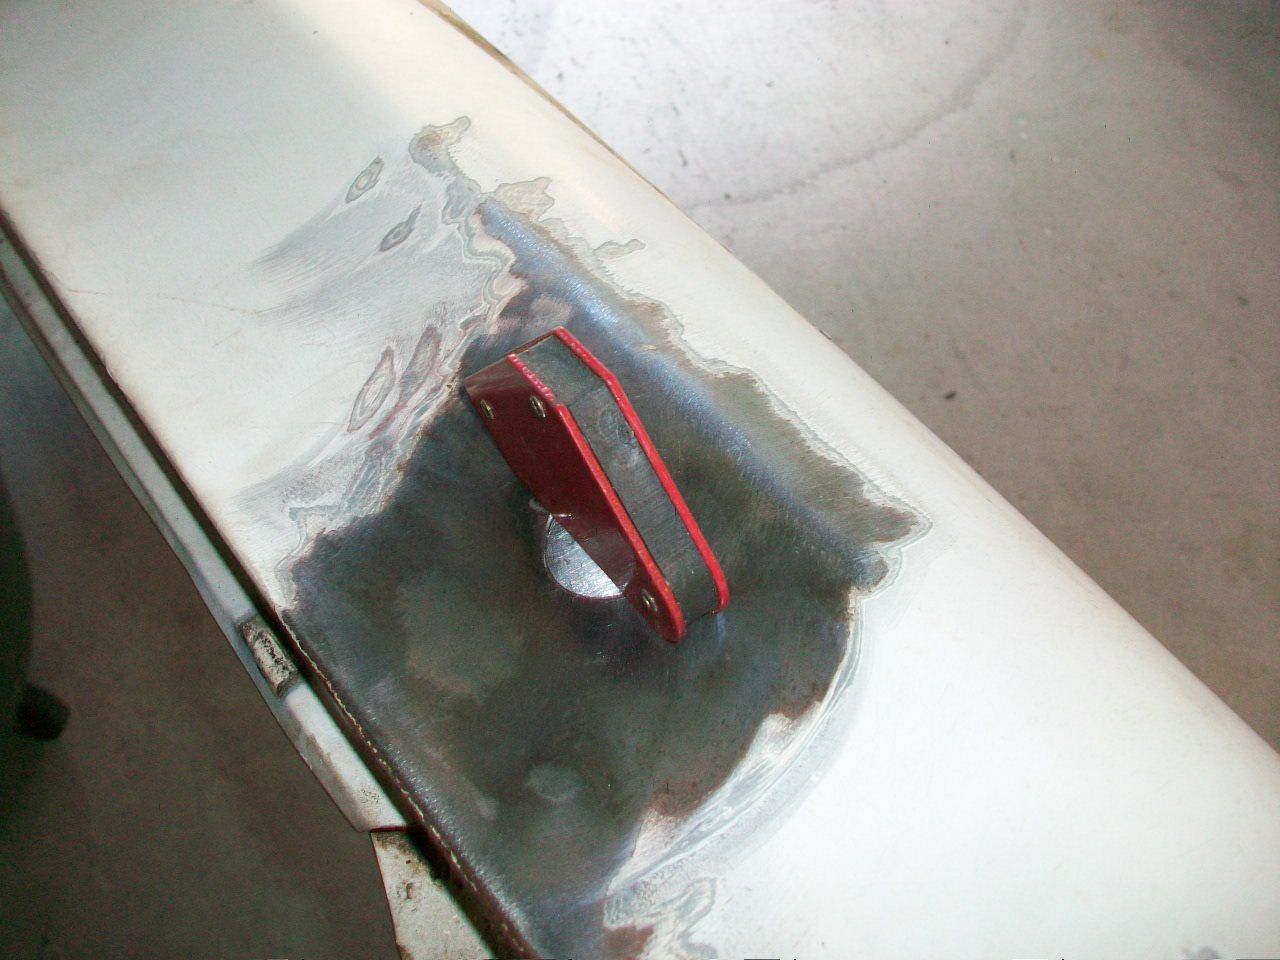
Then it was on to tackling the passenger side fender. The PO had a pet chipmunk that had wallowed out a hole for the antenna. You can see how this hole was all cobbled into the fender here...
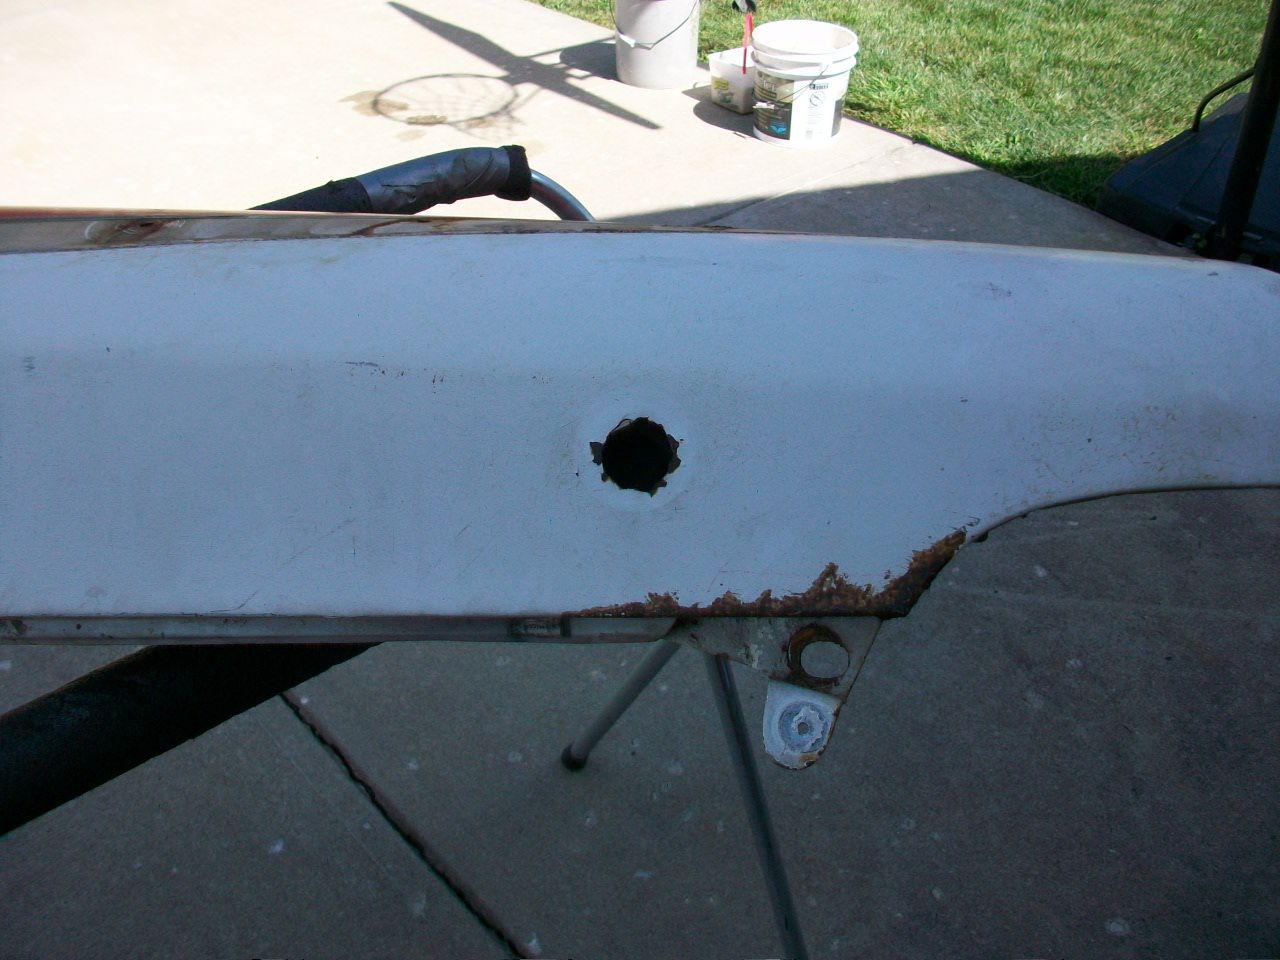
I guess it's not too bad, but I did not want to put an antenna there when I repaint... planning on using just one rear antenna. At any rate, it was time to cobble it back to flush with the sheet metal!

I am no professional welder, but I will show what I did. You professional body men chime in here please. I am sure there is more of this work I will have to tackle at different points soon.
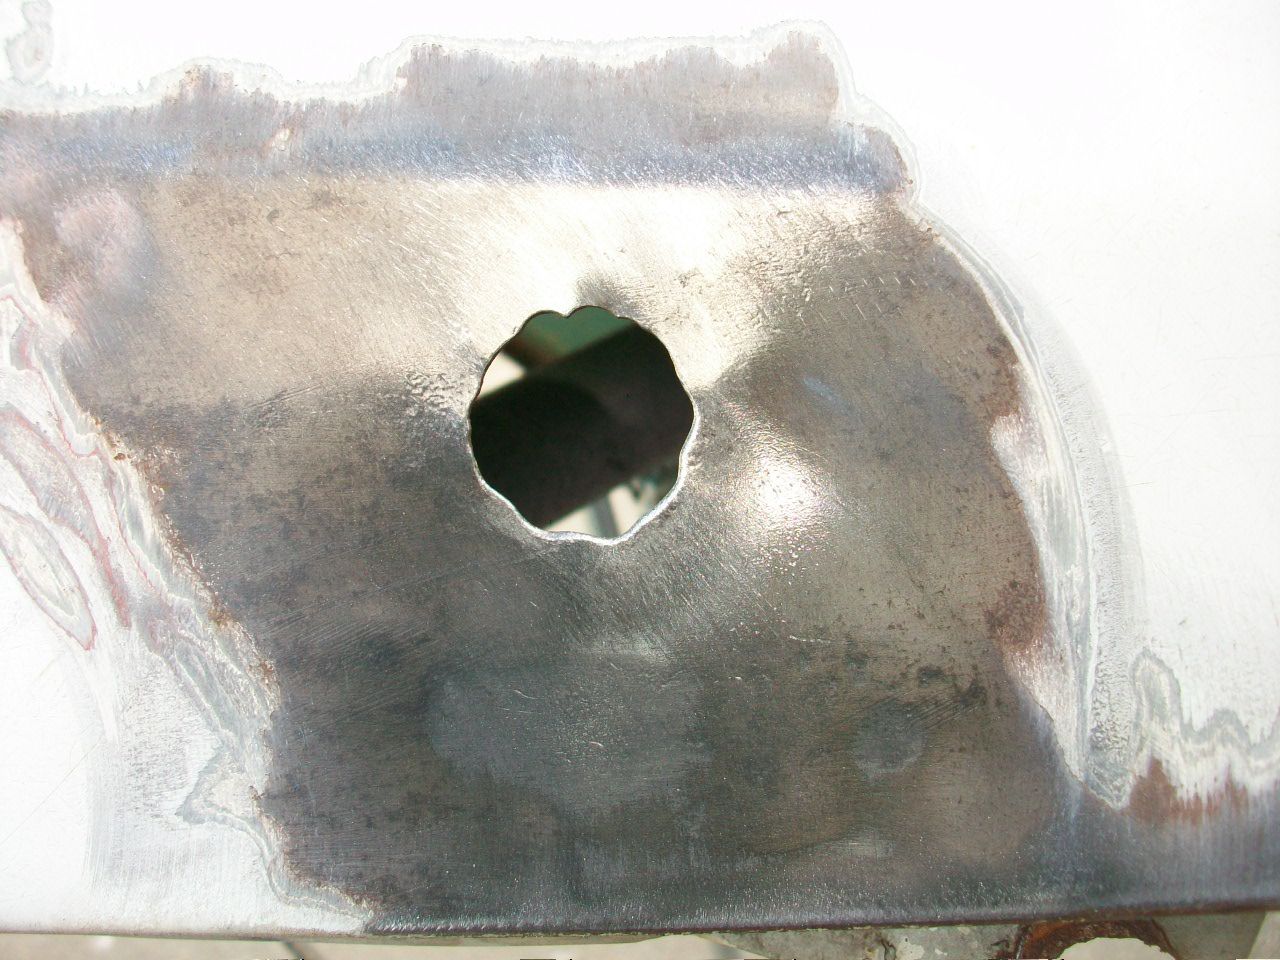
Basically, I took a wire wheel and cleaned both sides of the metal, inside and out.

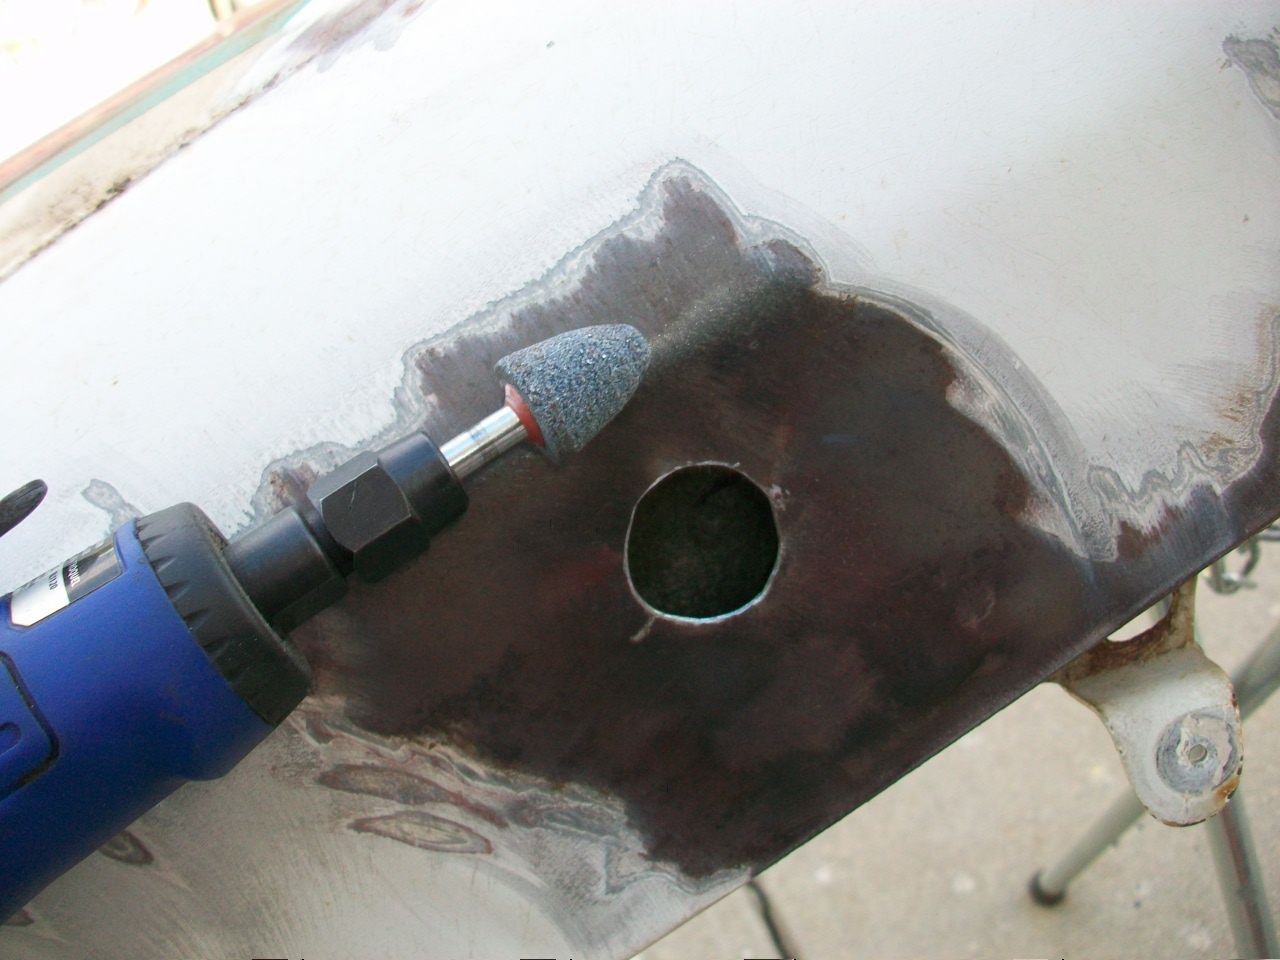
Then it was on to an air grinder so we could smooth out the hole.
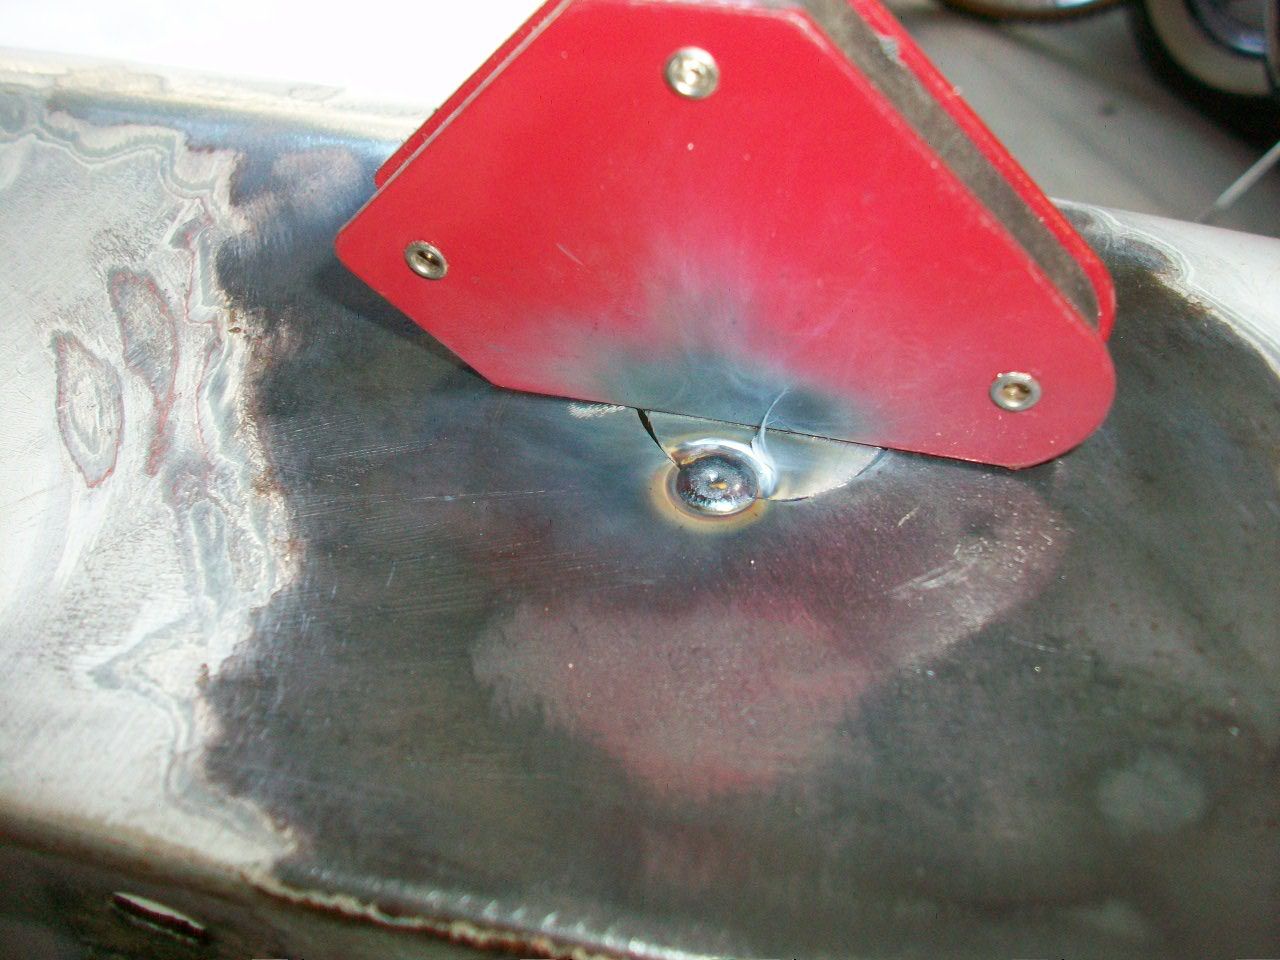
After that, I took a stiff piece of paper and copied the circle shape with a pencil, cut out the shape, and then transferred that to a piece of sheet metal the same thickness as the fender.
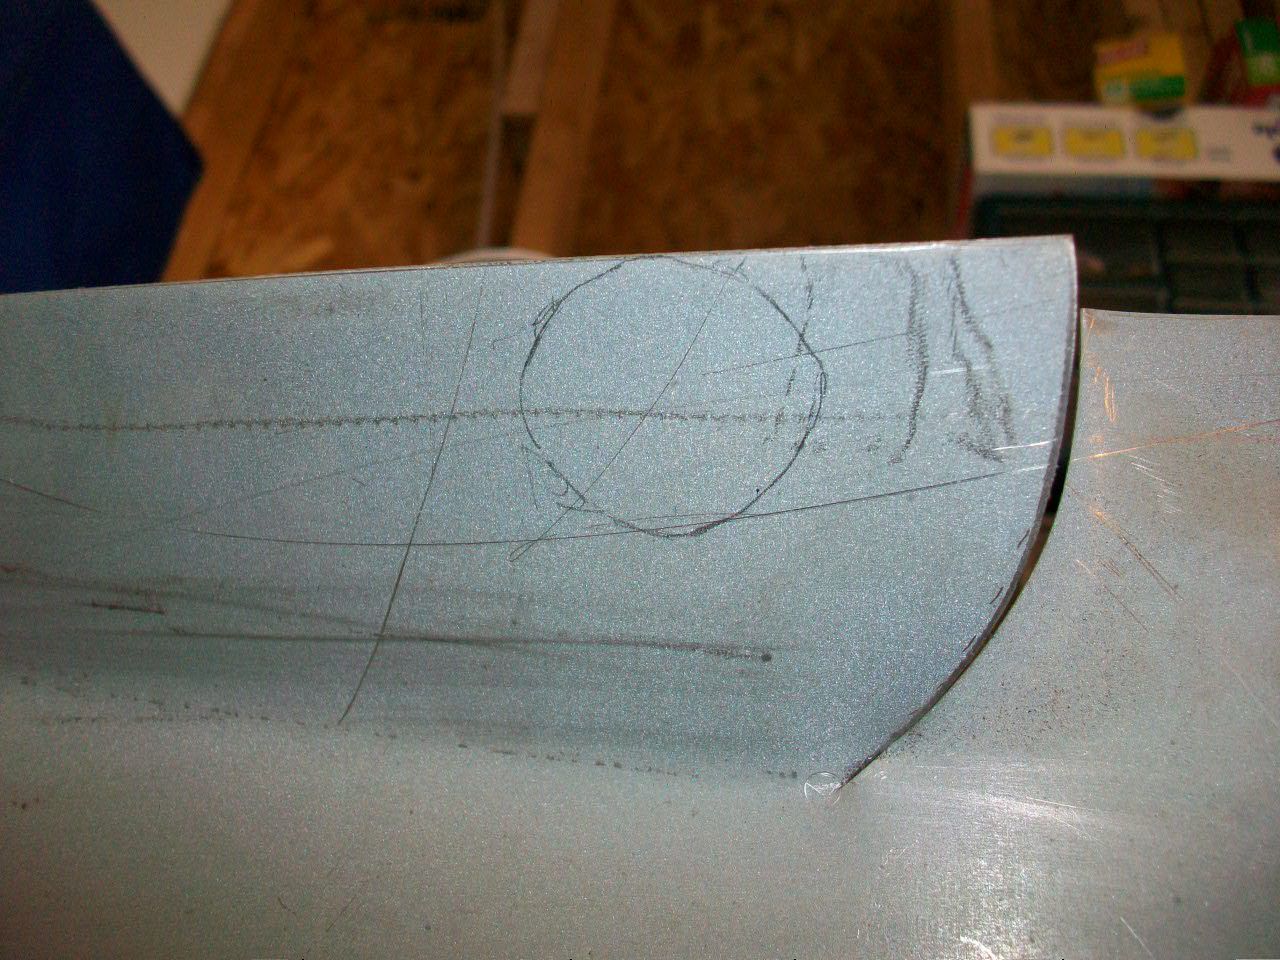
After some judicious grinding and shaping, we had a good fit to the hole. So i got out a magnet and put it flush with the fender like so...
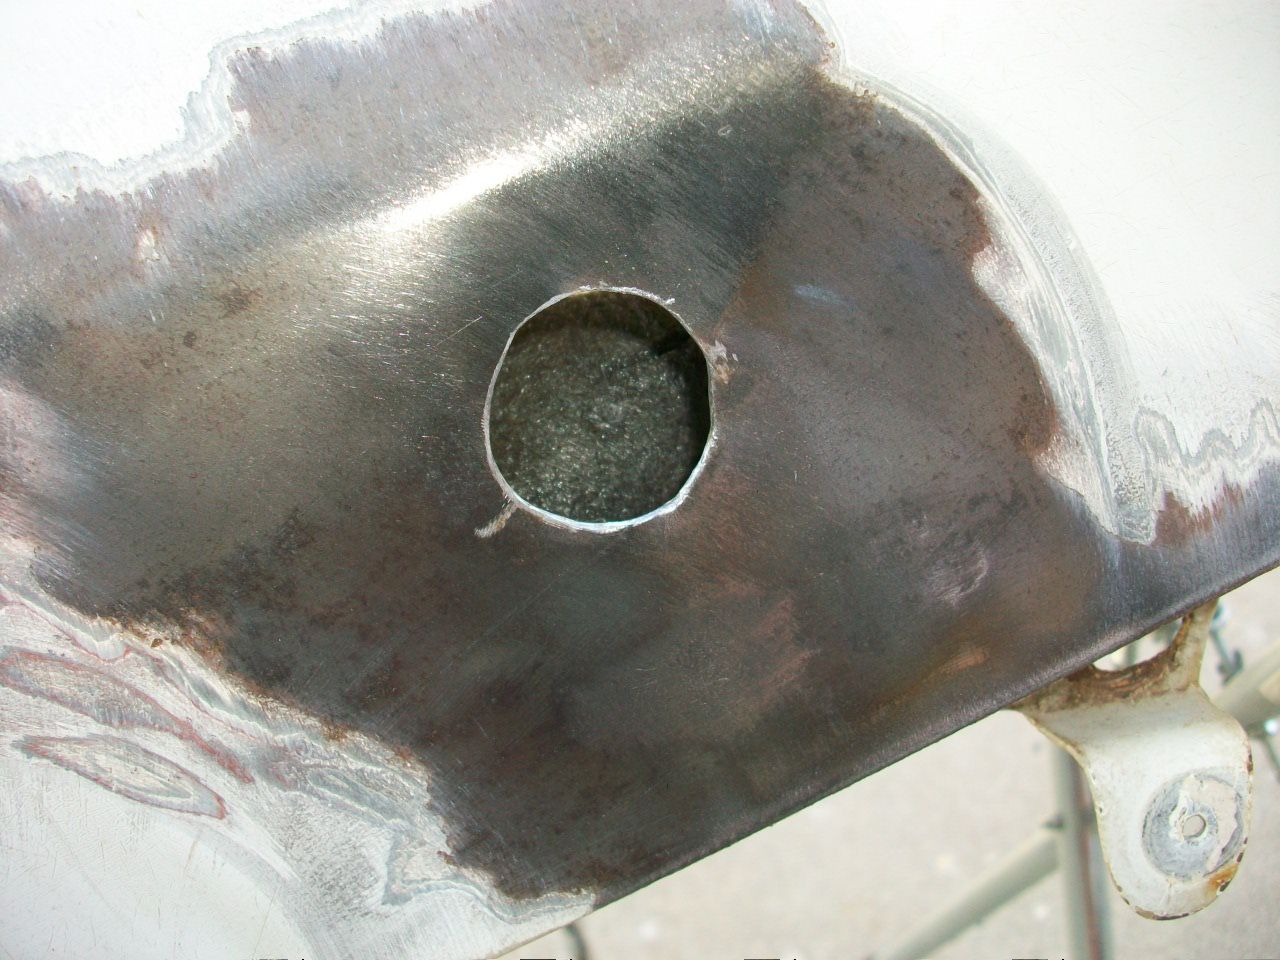
One tack weld and away we went with several. You can see from the photos that I blew a few out... if I had more experience I am sure it would have went better.
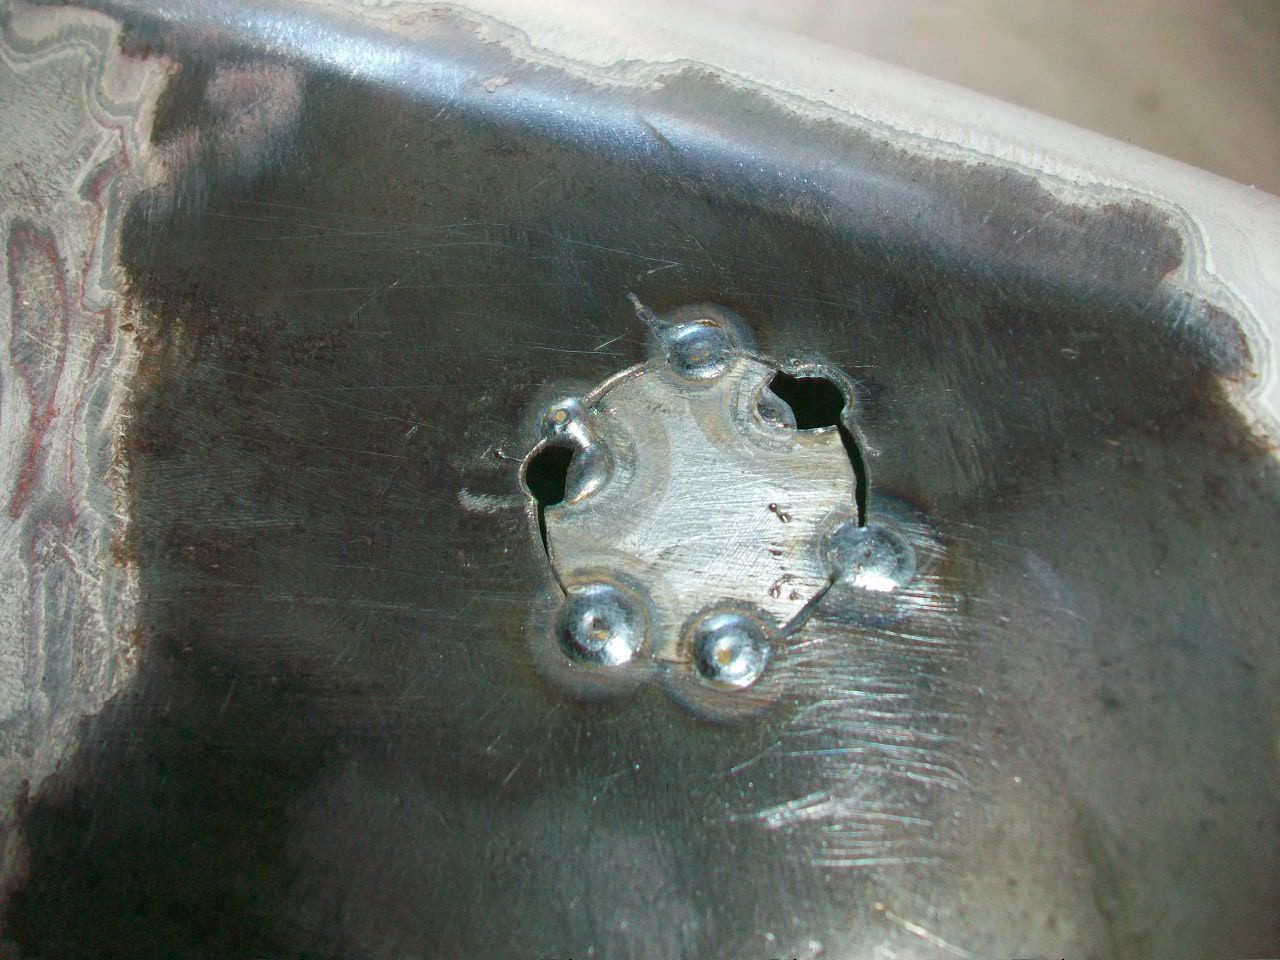
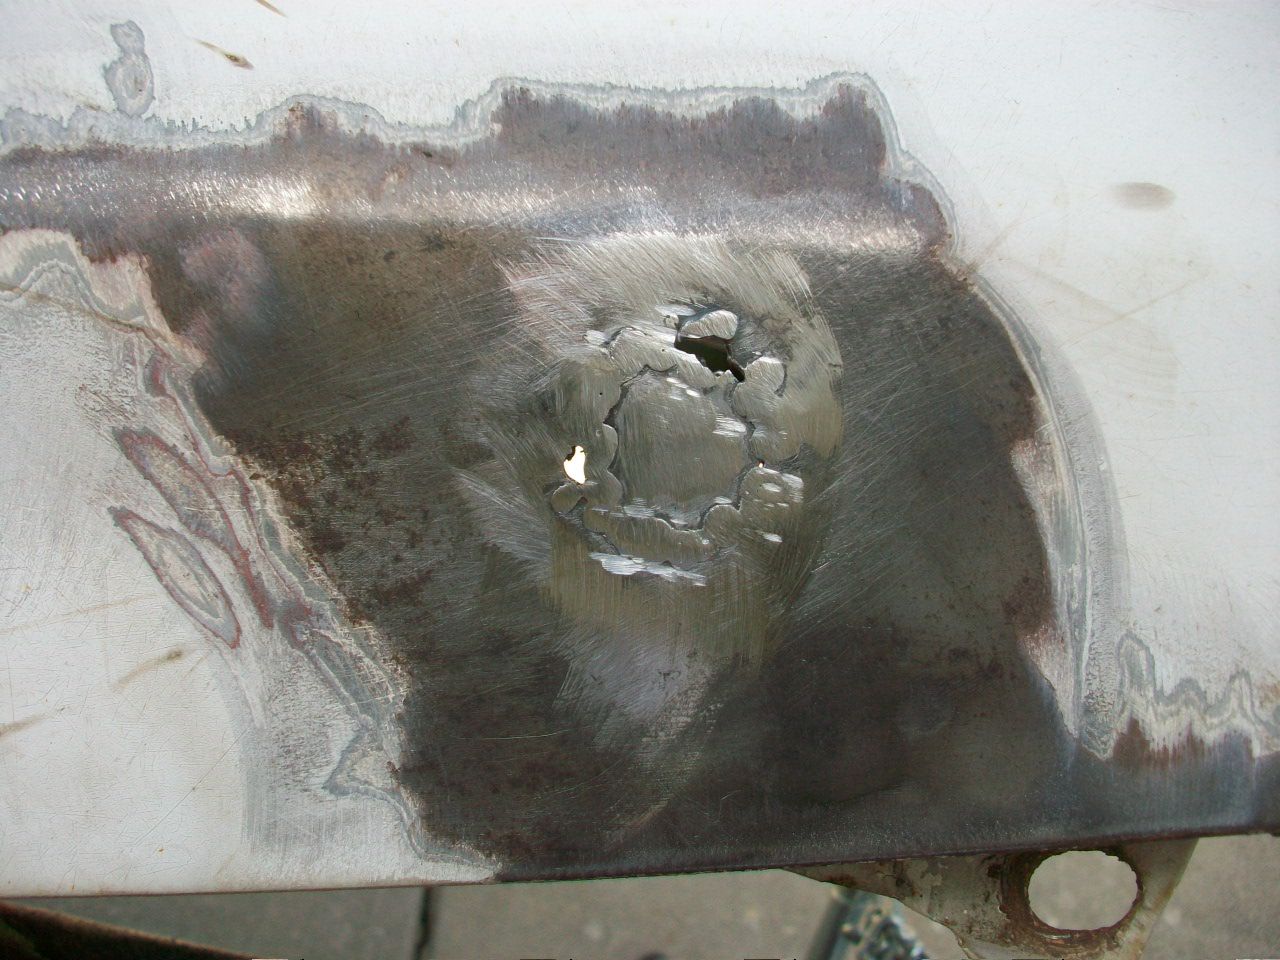
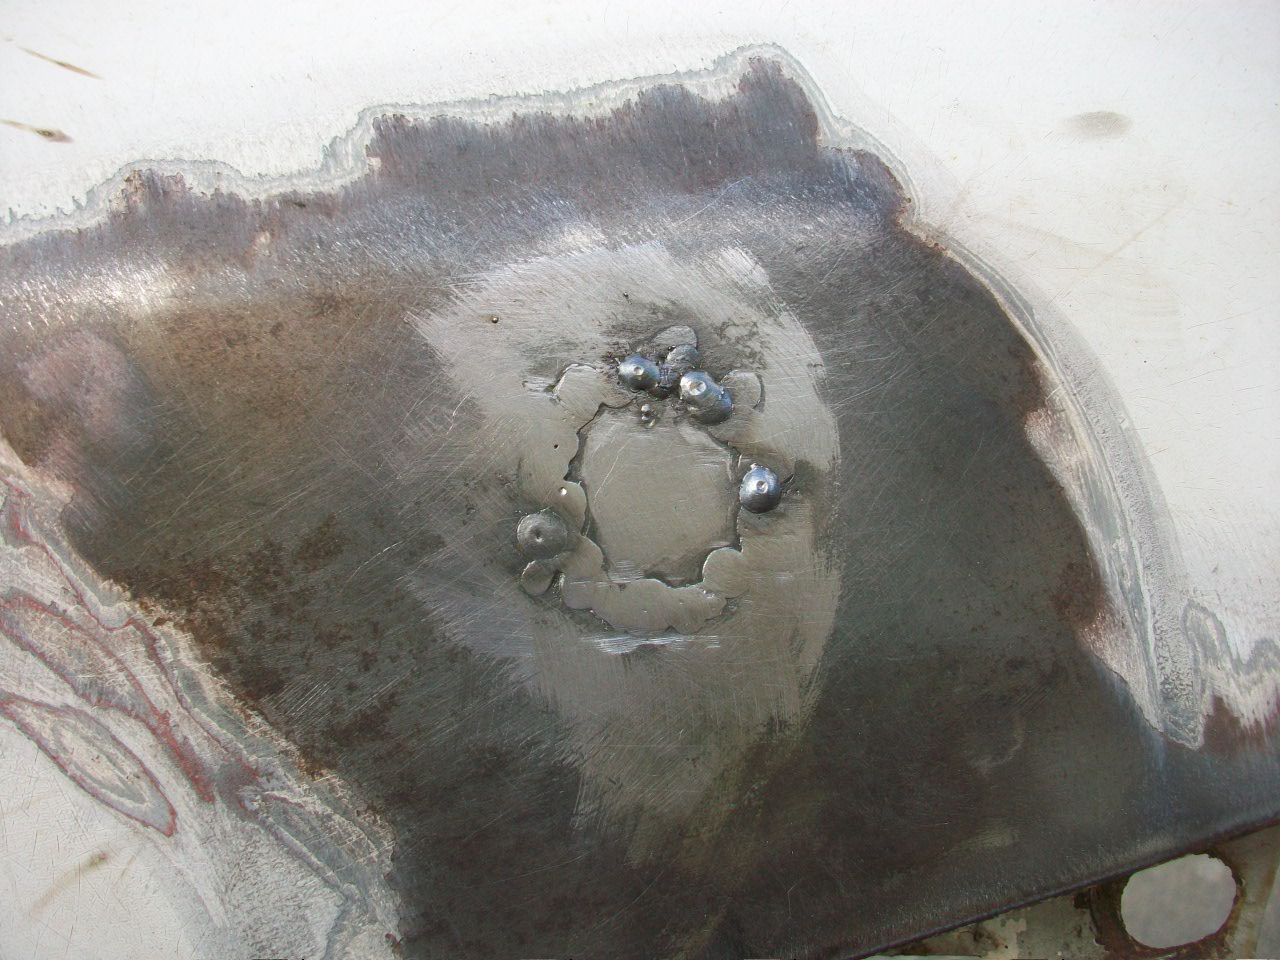
I would have had it all pretty flush and looking really nice but I got carried away with my grinder - pretty dumb to do actually. Don't follow my lead. It should be pretty easy to fill though with a skim coat when it is time to prep this fender for paint. I would like to get all of my welding done and then prep each piece for primer.
Hopefully I can get more done on this fender soon.
Daniel JessupLancaster, California
aka "The Hot Rod Reverend" 
check out the 1955 Ford Fairlane build at www.hotrodreverend.com