|
Author
|
Message
|
|
jimcar-9
|
|
|
Group: Forum Members
Last Active: 6 Years Ago
Posts: 89,
Visits: 894
|
bird55 (4/7/2010)
Welcome to the asylum. 
Hie guys. I am a newbie at this forum but the youtube of this engine made me tic for the Y-block. It looks like nothing else from this world. What paint did you use for the ram horns??? did the paint make it or not? All thumbs up Thanks Jimmy the Swede
Best regards Jimmy Carlsson, Fagersta (Sweden) Ford F100 1956, 272 , 3 manual with OD
Follow my restoration on http://dinnerhillspeedshop.blogspot.se/
|
|
|
|
|
bird55
|
|
|
Group: Forum Members
Last Active: 2 Years Ago
Posts: 1.1K,
Visits: 58.8K
|
Nice work Groovedog. I've been pretty bored today and you just fixed that. What is it about a yblock running on a dyno?! Always get goosebumps.
A L A N F R A K E S ~ Tulsa, OK
|
|
|
|
|
ScottY
|
|
|
Group: Forum Members
Last Active: 12 Years Ago
Posts: 31,
Visits: 204
|
Hey Grovedawg, All looking fantastic, especially, intake set-up, re; the filler tube, look up OTB Gear, they have some neat alloy stuff, including a really slick universal Filler tube n cap, finned at that, should fit in perfectly
"MY TWO BOBS WORTH!" (Twenty Cents AUD)
Y-BLOCKS ROCK!!!!!
|
|
|
|
|
grovedawg
|
|
|
Group: Forum Members
Last Active: 13 Years Ago
Posts: 246,
Visits: 622
|
I finally got around to breaking my motor in. My brother who lives in Boise ID is related through marriage to Frank "Mac" Quinlin who runs a great dyno shop out of Nampa, ID. So, what better excuse to spend a weekend with my brother and break in my motor. Here's a shot after the break in and just after we made a huge jump on the main jets to overcome a rich condition. It's actually the first video I've posted on YouTube. You can see it HERE. The story was the main jets on the center carb are 51's. Which wouldn't allow us to go over about 2500 rpms because it would get to lean (like 18-19:1 AFR). So we finished the break in with a load but at lower RPMs. We then used the only jets Mac had left which were 70's and you can see in the numbers it got REALLY rich. the AFR's are now in the 12.5:1 range. Unfortunately I ran out of time and had to come home before we could add the second valve springs, and pump it up to higher RPMS. But, I'll head back up in another month and post the second video with some higher RPMs and hopefully some sweet numbers.
Heber City, UT (15 mins outside of Park City- basically it's in the mountains)
55 Effie
|
|
|
|
|
grovedawg
|
|
|
Group: Forum Members
Last Active: 13 Years Ago
Posts: 246,
Visits: 622
|
I was planning on taking the measurements with a stock unit, and then verifying it when the intake shows up. Then I'd measure the angle(s) and use a board underneath my drill press, like a pie or wedge, to maintain the reverse angle. With it clamped in good and tight I'd slowly cut it out with a hole saw.
I also found a cool chrome "cheapie" oil filler through speedway for like 15 bucks. I'm still looking though.
Heber City, UT (15 mins outside of Park City- basically it's in the mountains)
55 Effie
|
|
|
|
|
Rono
|
|
|
Group: Forum Members
Last Active: Last Year
Posts: 1.3K,
Visits: 80.0K
|
Greenbird56; Thanks for the compliment! Those water tubes on Kirk White's motor are very interesting. I wish I could see the radiator and how those hoses are plumbed. I wonder if he's using a remote T-stat housing? I agree it's a very clean set-up. Alot of thought, time and custom fabrication went into that bad boy(girl) Rono
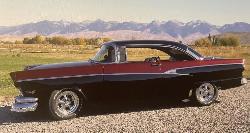 Ron Lane, Meridian, ID Ron Lane, Meridian, ID
|
|
|
|
|
MoonShadow
|
|
|
Group: Forum Members
Last Active: 14 hours ago
Posts: 4.6K,
Visits: 38.5K
|
I used the push in chrome type made for scrubs. Cut an angled hole to press fit the taper of it and used a K&N type cap/breather for it. Worked great. Porblem is getting someone to accurately cut the hole to the size and angle. I used a stock valley pan to get the angle. It can be done with a good holesaw but it ain't easy! Chuck in NH
Y's guys rule!
Looking for McCullouch VS57 brackets and parts. Also looking for 28 Chrysler series 72 parts. And early Hemi parts.
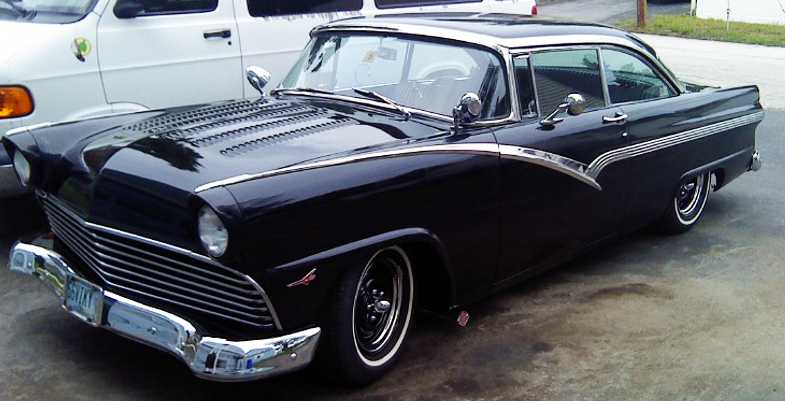 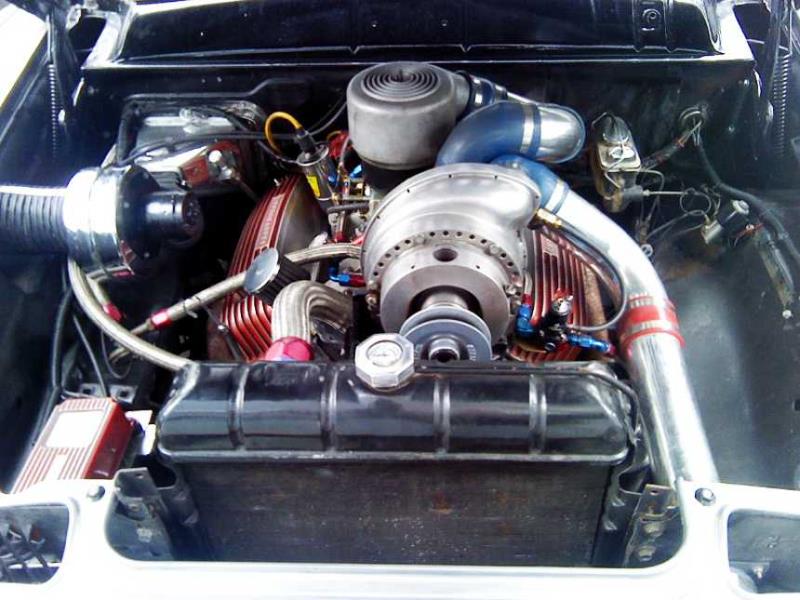
MoonShadow, 292 w/McCulloch, 28 Chrysler Roadster, 354 Hemi)
Manchester, New Hampshire
|
|
|
|
|
GREENBIRD56
|
|
|
Group: Forum Members
Last Active: Last Year
Posts: 1.7K,
Visits: 102.7K
|
I've always really liked the look of the dual four arrangements - your's is way clean Rono, nice job. While looking for these 2X4 set-ups I came upon this car - owned by Kirk White - and the motor by Doane Spencer.... 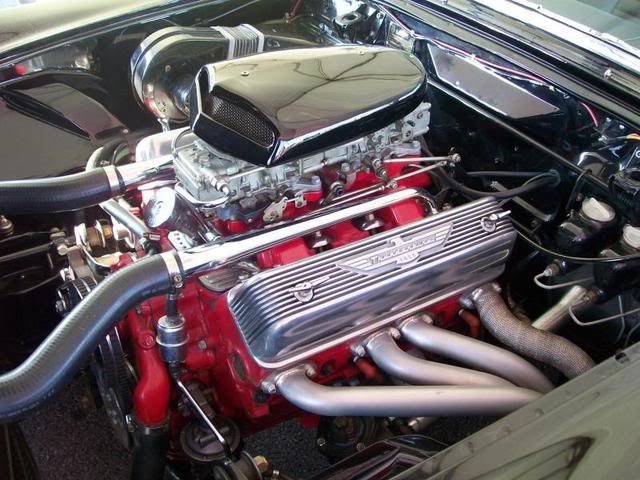
The water tubes intrigue me - but the two 4160 (?) Holleys set butt to butt are different to say the least. 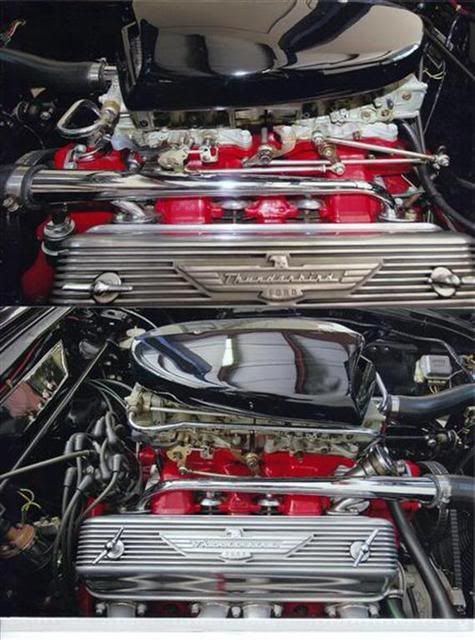 This little bird is supposedly "PDQ"
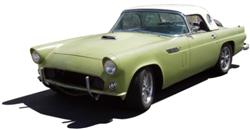
Steve Metzger Tucson, Arizona
|
|
|
|
|
Rono
|
|
|
Group: Forum Members
Last Active: Last Year
Posts: 1.3K,
Visits: 80.0K
|
Grovedawg; She'll be real pretty when all together. You may already be planning this, but as Moonshadow said, you will need to plan for an oil fill somewhere. "Mooneyes" makes some nice cast aluminum breathers for the valve covers if you want to cut holes in them. Otherwise, you will need to machine a hole in the Valley cover for an oil fill tube. This is not as easy as it sounds because the fill tube needs to be set at a forward angle to clear the intake. When I fabricated my aluminum valley pan, I used an original steel valley pan for mock-up. The valley pan I used for mock-up was a later model one with the breather hole so I could locate a breather hole for a PCV valve in the new aluminum pan. Just some things to think about. Rono
 Ron Lane, Meridian, ID Ron Lane, Meridian, ID
|
|
|
|
|
grovedawg
|
|
|
Group: Forum Members
Last Active: 13 Years Ago
Posts: 246,
Visits: 622
|
I'm also looking for a nice aluminum thermostat housing to go up front. I called John and he said he'd have some shortly. I may also just clean up the cast part and have it chromed.
Heber City, UT (15 mins outside of Park City- basically it's in the mountains)
55 Effie
|
|
|
|