Thought I would post some pictures of what I did to route the lines and how I situated the bulkhead fitting where the lines pass through the firewall. At this point I am not finished with the plumbing since I want to get my heater sheet metal installed first and I am not 100% sure how I want to route in the engine bay itself, I am HAPPY that I bought a number of various fittings ahead of time. This is definitely a custom install and different bends/sizes are needed all over the place - especially with that bulkhead fitting.

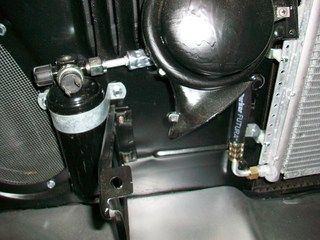
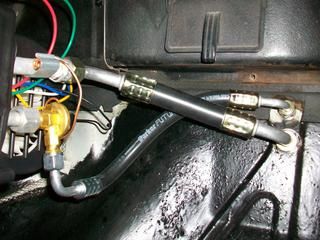
First up, the receiver/drier line... used one 180 and one 90 to put this together. This install was pretty straight forward. The size 6 line goes behind the horn on the passenger side.
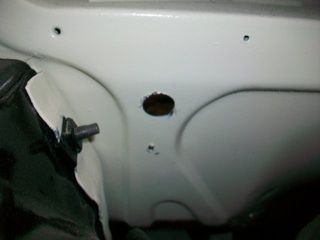
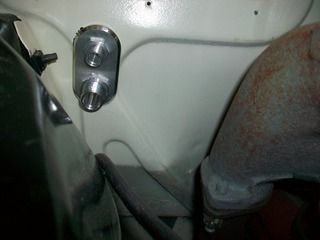
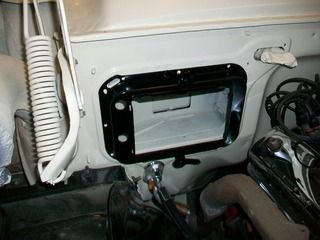
Next up was to determine where the bulkhead fitting was going to go. I decided the best place would be on the same plane with the evaporator and the fortunate thing for me was that this placed the pass through point directly below the heater duct that attaches to the firewall. If you are thinking, "Great, he is burying the fitting where he cannot reach it later on..." Just remember that the sheet metal plenum at the firewall is easily removed with the two levers on the heater core boss and the clamp that attaches the square duct.
I placed the fitting plate on the engine side of the firewall and made a mark, then used a punch to give me a locating point. Next up was a step drill to give me the first hole (size 6 fitting).
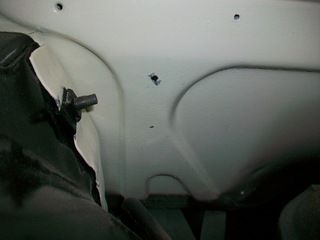
Then I attached the plate/fitting to give me a reference point for the larger hole on the bottom - this one needed a 1 1/4" hole saw. :eek:
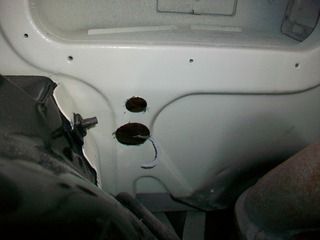
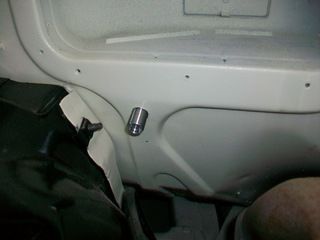
after a little clean up...
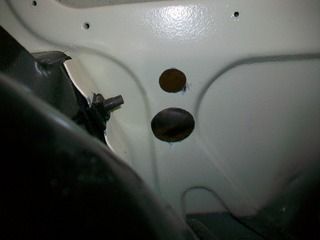
Once I checked the fitment of the bulkhead fitting I used some 3M weatherstrip sealant on the back of the plate so we wouldn't get any leaks later on.
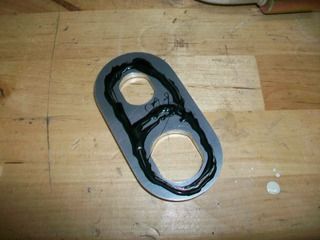
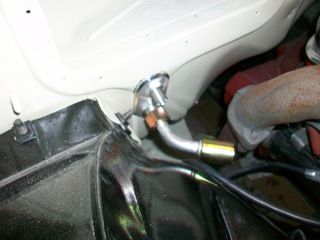
and we attached the two fittings, plate, and the nut and voila!
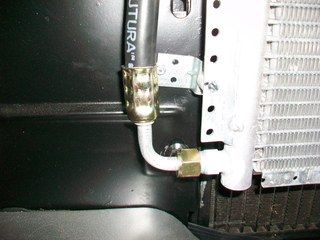
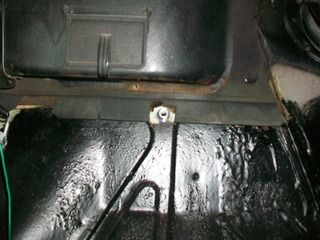
Back to the inside of the car now. I played around with various fittings - 90 degree, 45 degree, and 180 degree - to find out which orientation would work best.
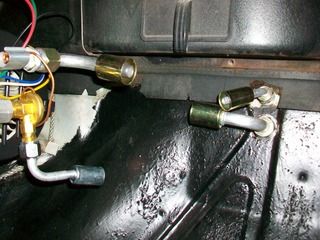
If you are paying attention you can see that the lines will criss cross as they pass through the firewall. This is "by design" - this time I actually thought about this ahead of time since I knew where we were headed with the size 6 line and the size 10 line moving up front. I also had to orient the fitting in "portrait" and not "landscape" on the firewall so this configuration worked best. It really was not a big deal. However, if you look at the photo above you will see that the size 10 fittings are just not lining up. I did have work them a little with some judicious, altered, bends so that they would line up to each other.
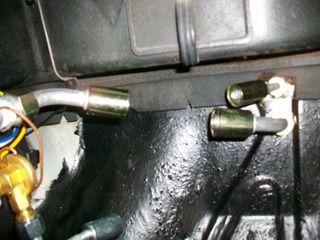
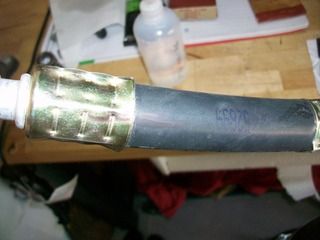
Since I was not dealing with any 180's on this evaporator hook up, the first fitting was crimped to the hose after a general measurement was taken. Then that fitting and the hose was installed. I then took the other fitting that the hose was connecting to and installed that with the hose in the final fitting "uncrimped". This made the jockeying around very easy and I just marked the fitting to the hose, pulled everything out, crimped, and reinstalled. I am not sure if that is the way it is supposed to be done but it worked for me and I am happy with the way it all went together. I am also very PLEASED I bought this Mastercool crimper. I could not imagine the multiple trips to a shop to have the ends crimped without being able to tell what I was doing. Some guys may be good enough to handle that but I am not.

Next up was the size 6 hose for the evaporator and by this time it was getting to be standard operating procedure.
Next up is to install these parts...
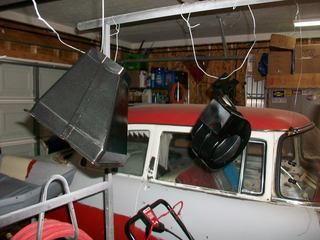
and then get the lines from the bulkhead to the compressor, condenser, and receiver/drier up front. If I can get as much installed as possible it should be easier to figure out where the ports need to go. With a rear exit compressor and the Vintage Air bracket that puts the compressor almost out of reach, I am planning to bring both the Hi and Lo ports over between the starter solenoid and the heater box somewhere.
 Daniel Jessup
Lancaster, California
aka "The Hot Rod Reverend" 
check out the 1955 Ford Fairlane build at www.hotrodreverend.com