Hi guys,
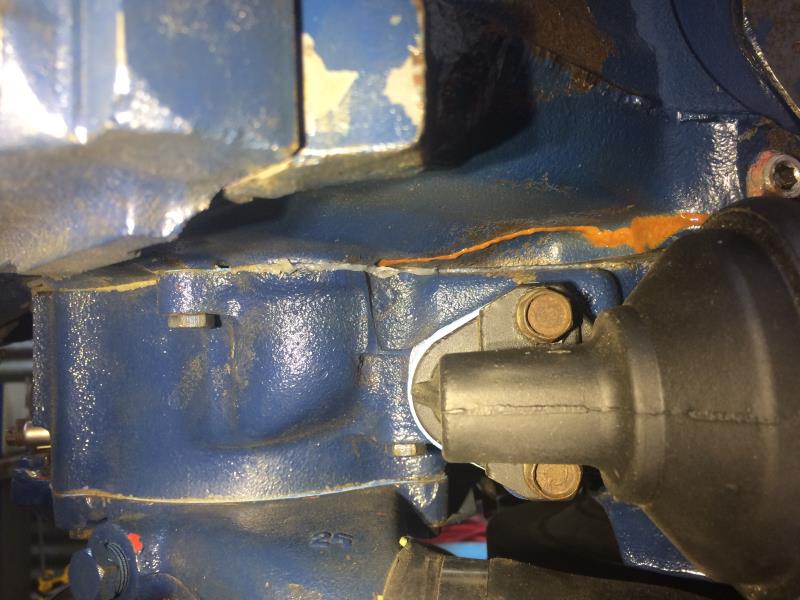
I have just got my engine running after a rebuild and I have got my 2nd hurdle. I was about 15minutes in to the break in procedure and i noticed water all of a sudden coming from below each water hole on the timing cover.
(See the rusty water dribble)
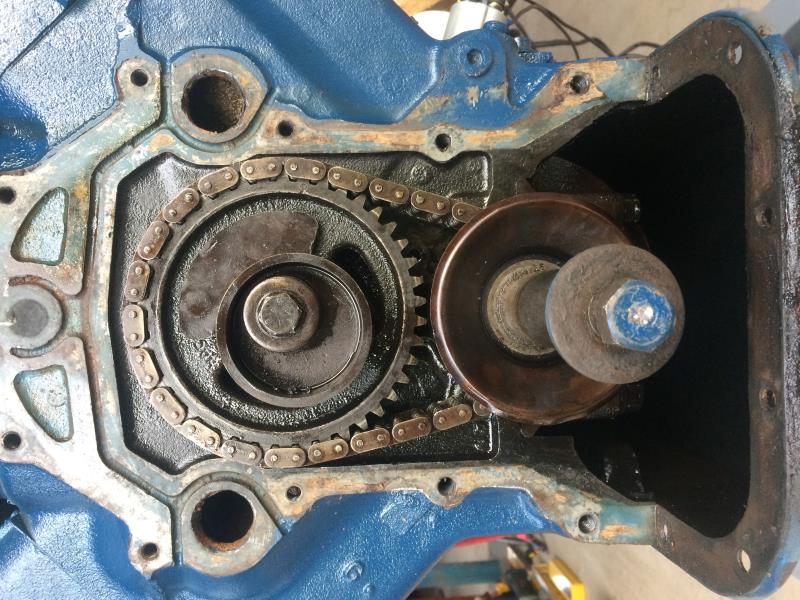
I can only assume these grooves around the water holes are to channel any minor leaks away from entering the sump. And by the looks of it this is what is happening. (This photo is from the tear down before the rebuild)
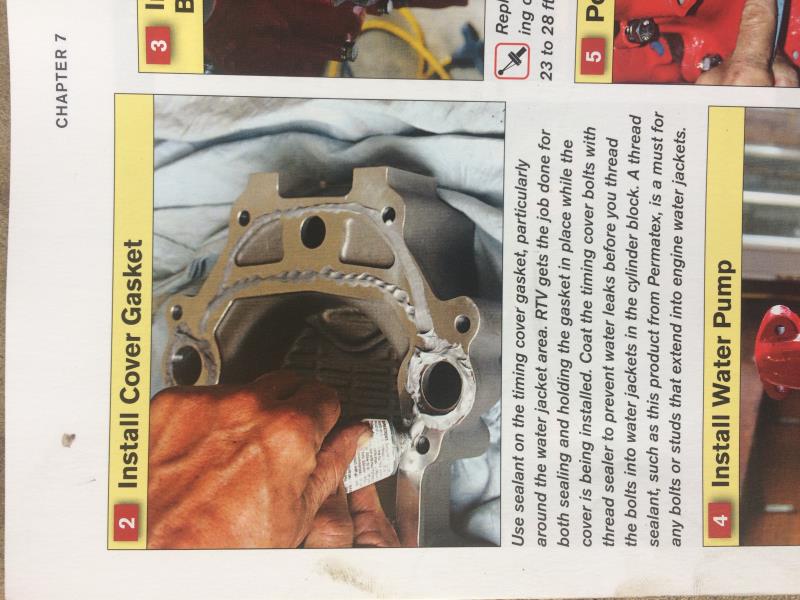
When I assembled the engine I followed instructions from this book, and used some gasket sealer around the jacket area
The water just started when I was varying the revs up (ok I got a bit excited and gave it some throttle) do you think that may have contributed, like excess water pressure from the pump? Funny thing is that it happened on both sides, or is that just because the groove runs from left to right across to both jackets?
Any insight would be appreciated? Hopefully I'm not taking too much of a toll on the patient Y Blockers on here, especially after my other engine starting post😅
Thanks, Dennis.
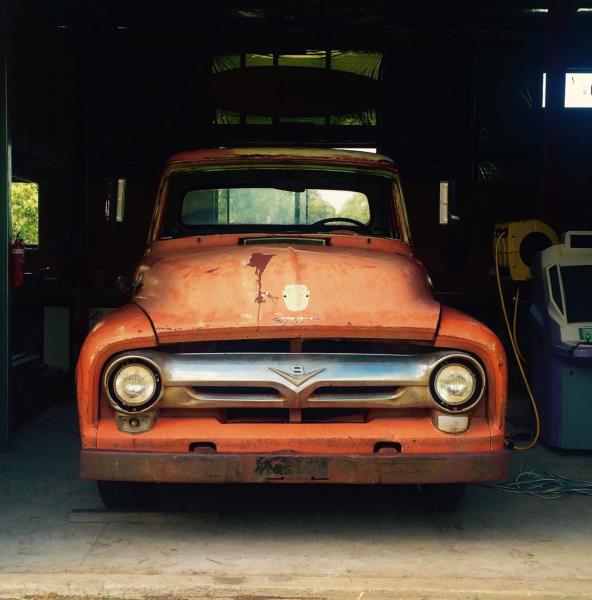
56 F100 - 272 Y Block
NSW, Australia.