Holy Cow! What a fun time my 14 year old son and I had last night - the best example of which was when mama came into the garage and said, "What is going on in here?"
My son replied, "Ummm, Dad just almost killed himself when that bellhousing came close to falling on his head..."
Really, you can't make this stuff up! Here's the story:
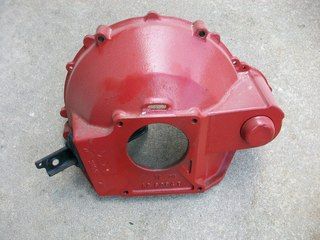
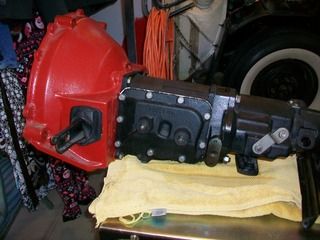
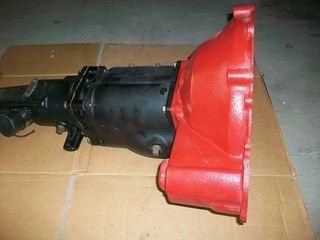
With the transmission all buttoned up and ready to go, it was time to reattach the bellhousing and get the whole works in position to be reinstalled. First I removed the housing from where it sat bolted to the engine block.
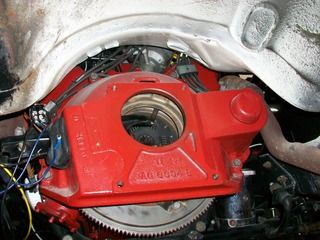
Once it was removed I briefly inspected it, making sure the fork looked good and the clutch release bearing was in place.
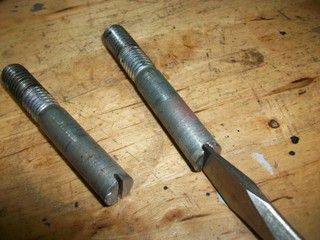
While inspecting the housing and considering the plan to hoist back up into position with the transmission, I thought of a good idea - make a couple of pins, or studs, that will help locate the bellhousing to the block when we are reinstalling everything back into the car. Here is a photo of the original 2.5" bolt (7/16, 14 threads per inch) lined up with a 3" bolt that I found in my stash. The four bolts that mate the transmission to the bell, and the four bolts that mate the bell to the engine block all have a 5/8" hex head.
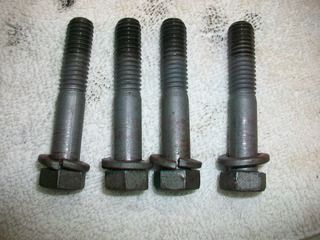

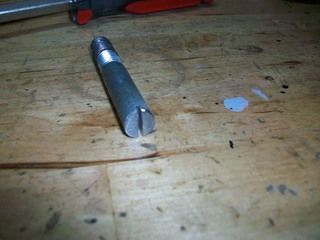
I cut the heads off of two of these bolts and then made a slot for a screwdriver.
So far so good. Next was to bolt the bell to the trans while both units were resting on the workbench.
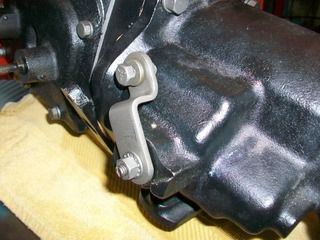
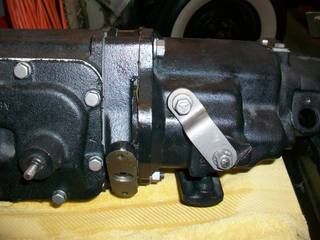
One note we will give here, I did take another look at everything before putting it down on the floor and noticed that the overdrive lockout lever was flipped the wrong way. The 90 degree was supposed to face in, not out, so we took care of that pretty quickly.
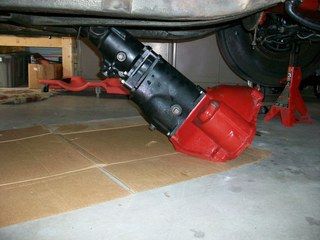
Down to the floor gently went the whole works, and the transmission was placed on sheet of thick cardboard to help it slide into position.
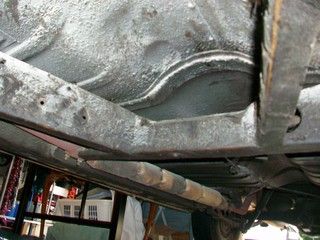
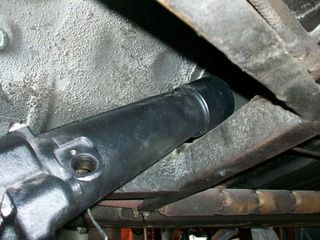
There is a crossmember towards the rear that must be cleared first, so essentially the tailhousing must be lifted up first and slid backwards in order for the bell to clear the clutch/flywheel.
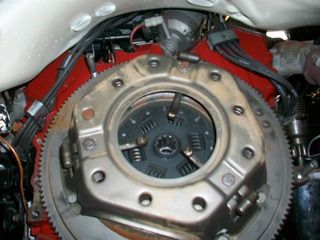
This is where it got really sticky. Tried as we might, there was no way for the bell to clear the clutch pressure plate assembly as it was jacked into position. The more I think about it now, it may just be that the replacement clutch, though working normally, is much taller (in essence thicker) than the original 55/56 parts. (Remember two things here - I had no original assembly to compare because this was a switch from an automatic to a standard, and secondly I had installed the engine and transmission as a combination when they first went in together.)
I must have spent an hour with my son just trying to figure out how to clear, make more room, etc. There was no way it was going to work. My body went through several configurations as I went into Gumby mode. Often tied up like a pretzel, placing my arms and legs for leverage/power, smearing grease all over my body, on the creeper/off the creeper, charlie horses in my left leg, my son trying to operate the jack, and me wrestling with a stubborn assembly of cast iron. It was indeed a show - we could have sold tickets!

So, we did the hard thing... the assembly was pulled back out, the bellhousing was unbolted from the transmission and we made plans to lift the two into position and then bolt the two together before sliding the final assembly forward. I am not so sure that is the way it is supposed to work but here is how we did it and where the bellhousing almost took my head off:
1. The transmission was jacked up into position, slid back as far as it would go against the permanent cross member.
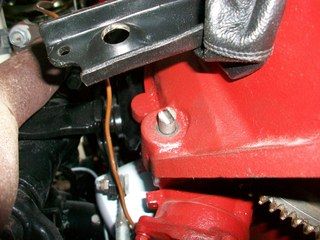
2. The bellhousing was lifted up into position and held there using the pins I had made earlier - since they were so long, the bell had room to slide back and forth as needed.
3. The real issue is that at first I did not use the pins, just the shallow studs on the block itself that are used to orient the bell to the block. Big mistake. As I was trying to move a spark plug wire out of the way the bell came down pretty heavily while I was on the creeper and underneath of the whole works. I saw it in time so no injury and everything is ok but good grief it was getting ridiculous at this point. I would have paid good money to have a full size car lift Saturday night!
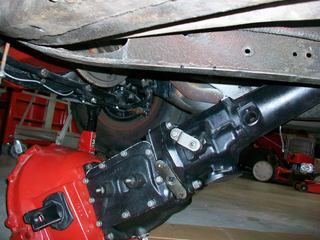
4. The transmission was inched forward and the bell moved backwards until the holes lined up. One by one the bolts were reinstalled, clearances checked, and back onto the block. The locator pins made it a breeze really. My big issue was getting the bell to clear.
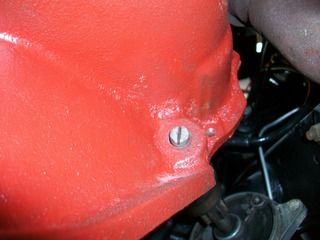
Once we were lined up, I pulled the two access grommets inside the car just below the firewall and installed the two bolts up top:
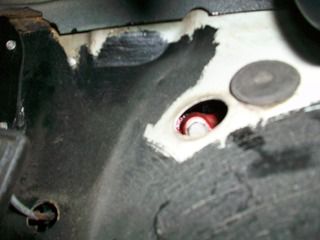
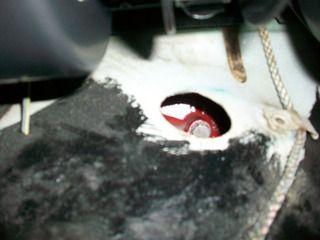
Now to get everything else where it needs to be. How I can turn a 1 hour project into 3 hours I have no idea, but I am becoming an expert!
 Daniel Jessup
Lancaster, California
aka "The Hot Rod Reverend" 
check out the 1955 Ford Fairlane build at www.hotrodreverend.com