Been over a week since my last post, but man have I been busy. We celebrated my wife's 40th birthday, I have been packing up boxes in the house and the garage like a Tazmanian Devil because we close on the house on Wednesday the 24th, and oh yeh - I am trying to get this ol' 55 moving on her own before we haul freight here.
Of course Father's day is also coming up and I shipped off a nice little load of antique truck toys and some cards to my father down in NC, I am sure he will like them. My family gave me my gift early - a new creeper. My son was so excited he talked the rest of them into it. So, Ethan came out to the shop and decided to assemble it for me. Nothing like working with "Lug Nut Junior"! He helped me quite a bit this week - bleeding the brakes, putting on the finishing touches, etc. He even dropped a wrench on his head while under the Y block.


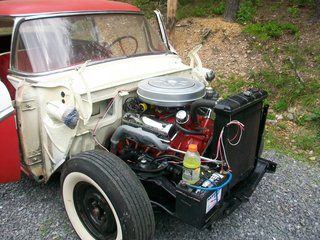
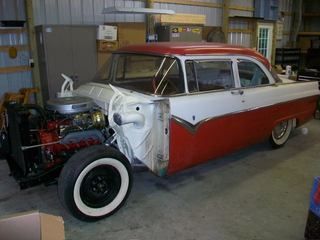
Long story short, the son and I pulled her out of the garage under her own Y block power yesterday with loads of success... no leaks, no trouble, and we had a lot of fun together in the midst of the moving melee. I will have to record video when we pull her out again on Monday to load it up for the trip to Loveland, Ohio.
Earlier this week we bled the brakes and tightened down some of the fittings that were dripping... I thought I had them all cinched down but there were a couple of leaks where they needed a quarter turn or so.
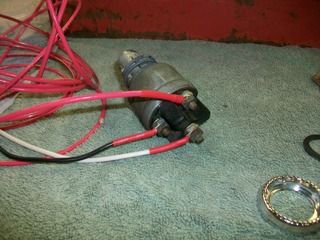
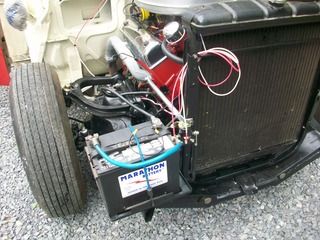
I did wire it up just for a "hotwire" with the original switch and keys, a "batt" line/"start" line/"ign" line so that we can just hook up a battery to a relay and off we go. You can see my zip ties in the photos here. I would have liked to have had the Rebel Wire harness in and ready but I ran out of time (along with other things I wanted to do).
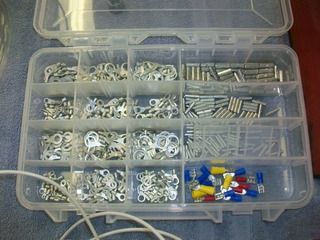
I don't know about you, but I like using the uninsulated wire terminals, crimping, and then using the heat shrink tubing to seal it off. The box above is a custom kit that I put together and then organized the ends in a lure box from a big box store.
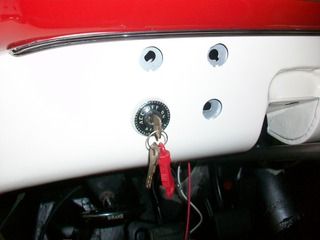
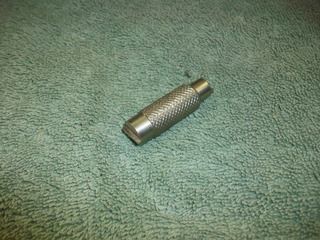
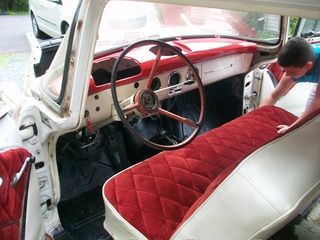
Don't start working on dash parts unless you have that little tool above. It is a must when taking off the collars and chrome fittings for your dash switches!
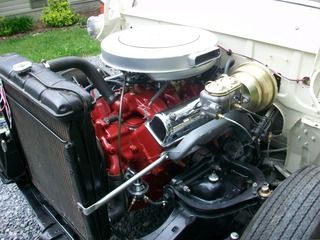
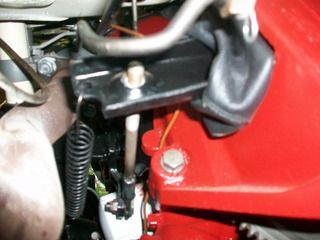
I did get the "3 on the tree" all figured out and at a stand still the shifter will put the transmission in all gears. I did use some nylon washers to tighten things up a bit but you can tell by looking at the push rod that when the clutch pedal is depressed the clutch fork gets too close for comfort with the narrow rod that is actuating the lever on the transmission. I lengthened the push rod by cutting the rod in two pieces, welding a sleeve to one side, inserting a 3/8" stud in the center, and then welding the other side to the sleeve. A very solid piece indeed. As you can see though I did not need too much room, only about 1/2" to get the actuation I needed.
After hooking up some conduit to the radiator frame and the first exhaust bolt on either side I placed a starter relay on the radiator frame and got the battery secured to the car frame. The plumbing for the fuel was pretty straightforward but my son and I had a hoot trying to the fill the transmission case. I guess I need to get one of those drill operated pumps or something. We ended up running a hose from above the firewall to the main case and emptying a few quarts in there. Then we went to the tailshaft where the overdrive is located and I ended up using a small squirt bottle. It held more than I thought it would back there.
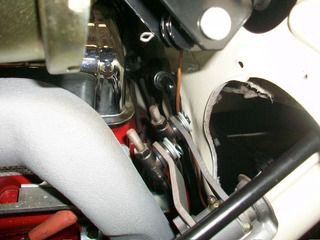
Most of the linkage work was temporary. especially the steering column tube. That collar that attaches the tube to the dash was pretty tight. I think next time I am going to cut it in half, that should work better.
Daniel JessupLancaster, California
aka "The Hot Rod Reverend" 
check out the 1955 Ford Fairlane build at www.hotrodreverend.com